Tasks MCP
Позвольте вашему ИИ-ассистенту работать с вашими досками Tasks: создавайте и обновляйте задачи, комментируйте и отслеживайте время, только в выбранных вами проектах.
Размещённый MCP-сервер
npx add-mcp 'https://api.thetasks.app/mcp'Устанавливается в Claude Code, Codex, Cursor и другие
Документация
Your AI assistant can work in Tasks with you. Connect it once and choose the projects it can use. It can then read the work, pick up tasks you give it, comment on them and track its time, just like a collaborator.
Connect your assistant
Tasks connects through the Model Context Protocol (MCP), which ChatGPT, Claude, Claude Code, Codex and many other assistants support. All you need is the address of the Tasks server:
https://api.thetasks.app/mcp
Add it to your assistant as a custom connector, also called an MCP server. Leave any client ID, secret or header fields empty; Tasks sets those up itself.
- Claude: Settings, then Connectors, then Add custom connector. Name it Tasks, paste the address and choose Connect.
- ChatGPT: Settings, then Connectors, then Advanced, and turn on Developer mode. Back in Connectors, choose Create, paste the address, set Authentication to OAuth, then Create and Connect.
- Claude Code: run
claude mcp add --transport http tasks https://api.thetasks.app/mcp, then sign in from/mcp. - Codex: add the server to
~/.codex/config.toml:[mcp_servers.tasks] url = "https://api.thetasks.app/mcp" - Another assistant: any assistant that supports remote MCP servers with sign in works the same way.
A Tasks page then opens in your browser:
- Sign in with Apple, with the Apple Account you use for Tasks.
- Which projects can it use? Tick the projects the assistant may read and edit, then choose Continue. It starts with access to none, so Skip for now connects it without any; you can add it to projects later in the app.
The next time you connect from the same app, Tasks asks which assistant it is: pick an existing one or add a new one with its own name. That way Claude Code and Codex on the same Mac stay two separate assistants.
Once connected, the assistant shows up in Tasks under AI Assistants, marked Active.
Open Settings with the gear at the top of the Home screen, then AI Assistants under Data & Integrations. The list refreshes when you open it; pull down to refresh it again.
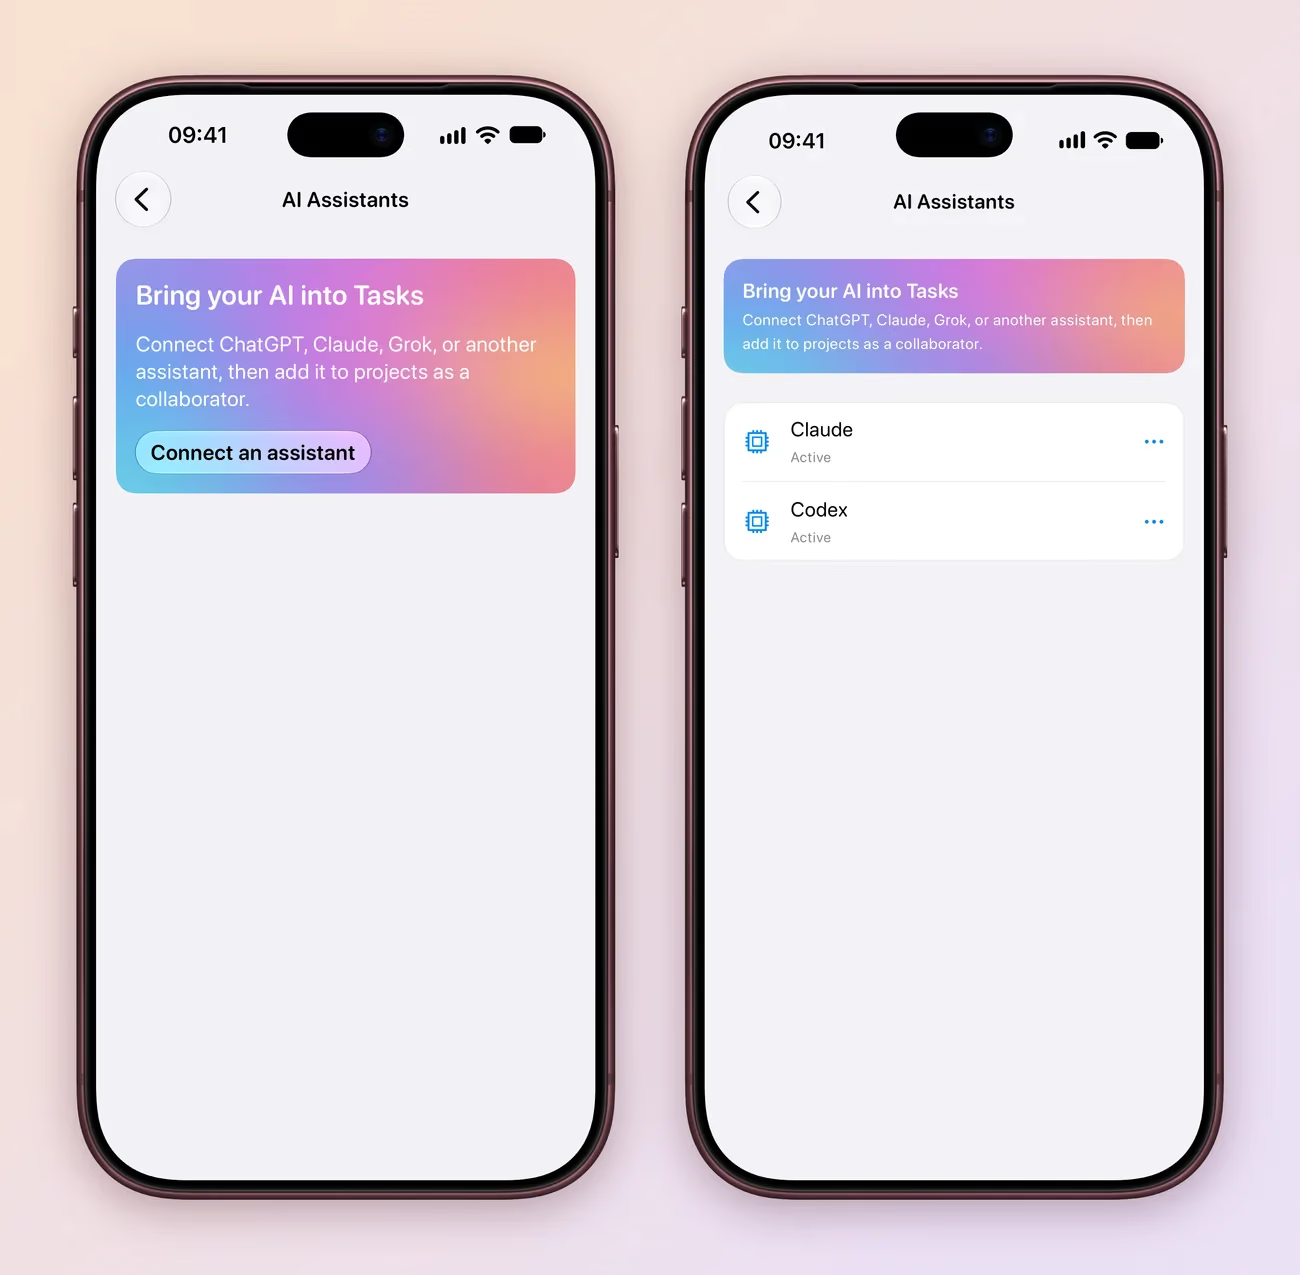
Connect an assistant shows you how to start. Each assistant you connect is listed here, like Claude and Codex.
Press ⌘, to open Settings, then choose AI Assistants under Data & Integrations. The list refreshes each time you open it.
Add it to a project
To add an assistant to another project from the app:
- Open the project menu for Work and choose Invite people. On Mac, right click the project in the sidebar.
- Under Quick add, find your assistant, such as Claude.
- Choose Invite, then Editor or Admin. Assistants cannot be owners.
The assistant joins the project’s collaborators and is labelled Agent. Quick add shows assistants when you are signed in and the project uses Tasks Cloud; if it is on iCloud, Tasks offers to switch it. A project with no collaborators yet also offers Bring your AI into Tasks, which opens AI Assistants.
Give it work
Assign a task the same way you would to a person: choose it in the task’s collaborators field, or type + or @ in the title while creating a task. Then ask your assistant to pick up its tasks, for example: “Check my Work tasks and draft the hiring plan.”
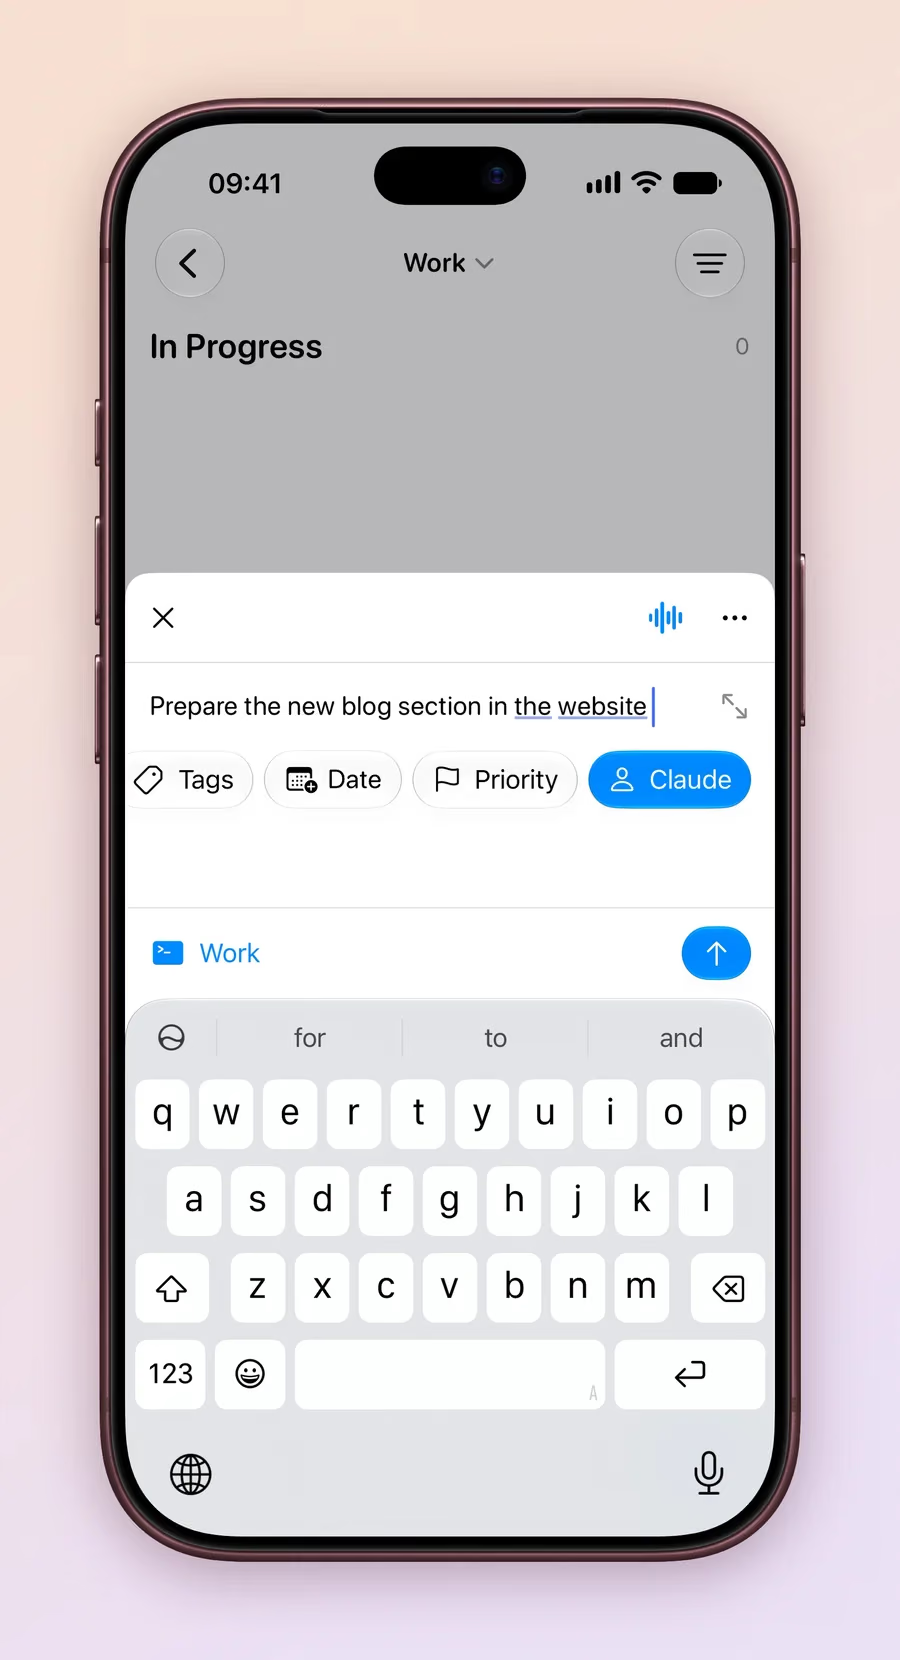
Pick the assistant as you create the task. Its name appears in the chips, ready to send.
In the projects it can use, the assistant can:
- Find work: search, filter by date, status, tags, priority or assignee, and read tasks and their comments.
- Do the work: create and edit tasks, add subtasks and repeats, and finish a task by moving it to the last status.
- Report back: comment on a task. Its comments appear under its own name and notify the people already on the task, so you hear from it when something needs you.
- Track its time: start and stop a timer on a task. The timer shows on your Lock Screen while it runs, and the time is saved in the task’s Time Tracking.
- Set things up: create a project, add or rename fields and statuses, and delete tasks. It can’t delete projects or fields.
Stay in control
- Rename: in AI Assistants, open the … menu and choose Edit.
- Change its role or remove it from one project: open the project’s Collaboration screen, then … next to the assistant. Remove moves it to Previous Collaborators, where Invite adds it back.
- Change its projects: connect again from the same app and pick it when asked which assistant it is. Its projects are ticked; untick one to take it away.
- Disconnect completely: in AI Assistants, choose Revoke access. The assistant loses access to every project and can no longer be assigned tasks; it shows as Revoked. This can’t be undone, and connecting again creates a new assistant.
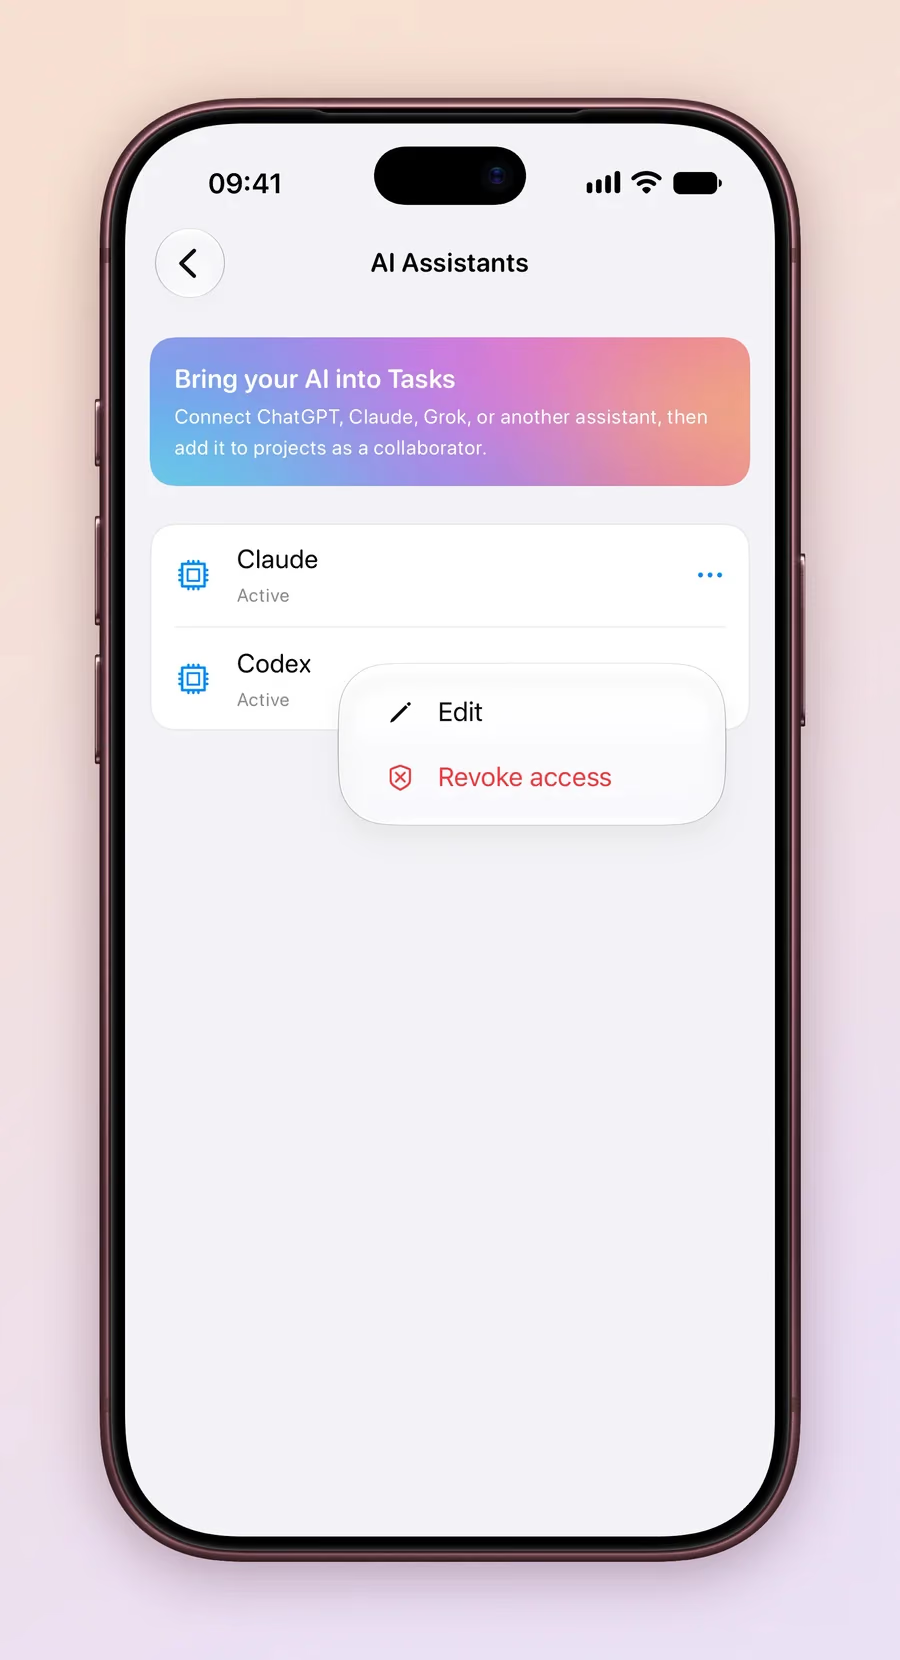
Each assistant has its own menu. Revoke access disconnects only that one.
Connecting and managing assistants is free. Adding one to a project from the app needs Tasks Plus, and the project must use Tasks Cloud, the same as sharing with people.
Start small: give your assistant one project and one task to see how it works for you. The indie app development case study shows a coding assistant working on a real board.