mcpproxy-go
開源本地 MCP 代理伺服器。透過單一端點路由多個 MCP 伺服器,具備 BM25 工具過濾、隔離安全機制、活動記錄及網頁介面。
你可以用 mcpproxy-go 做什麼?
- Federate MCP servers behind a single endpoint — connect your AI tool to
http://localhost:8080/mcp/and access all configured upstream servers through one proxy. - Bypass tool-count limits in Cursor and OpenAI — aggregate hundreds of tools behind a single
retrieve_toolsfunction so agents stay under the 40-tool or 128-function caps. - Quarantine new servers automatically — block unrecognized MCP servers until you manually review and approve them in the web UI or CLI.
- Scan quarantined servers with pluggable security scanners — run Docker-based scanners (Snyk, Semgrep, Trivy) against untrusted servers and review normalized SARIF findings with composite risk scores.
- Audit tool calls and detect sensitive data — inspect the activity log for each request and flag potential secrets or PII passing through the proxy.
- Run the proxy headlessly or with a menu-bar app — use
mcpproxy servefor a system-tray experience on macOS/Windows or deploy the single binary on Linux with a hardenedsystemdunit.
文件

![]()
![]()
![]()


📺 Watch the full walkthrough · 📚 Read the docs · 🌐 mcpproxy.app
The demo above shows the embedded web UI. The MCPProxy core is a single binary for macOS, Linux, and Windows — the web UI ships inside it, with no extra service to run. On macOS, an optional menu‑bar app adds one‑click convenience (start/stop, server health, quarantine, logs).
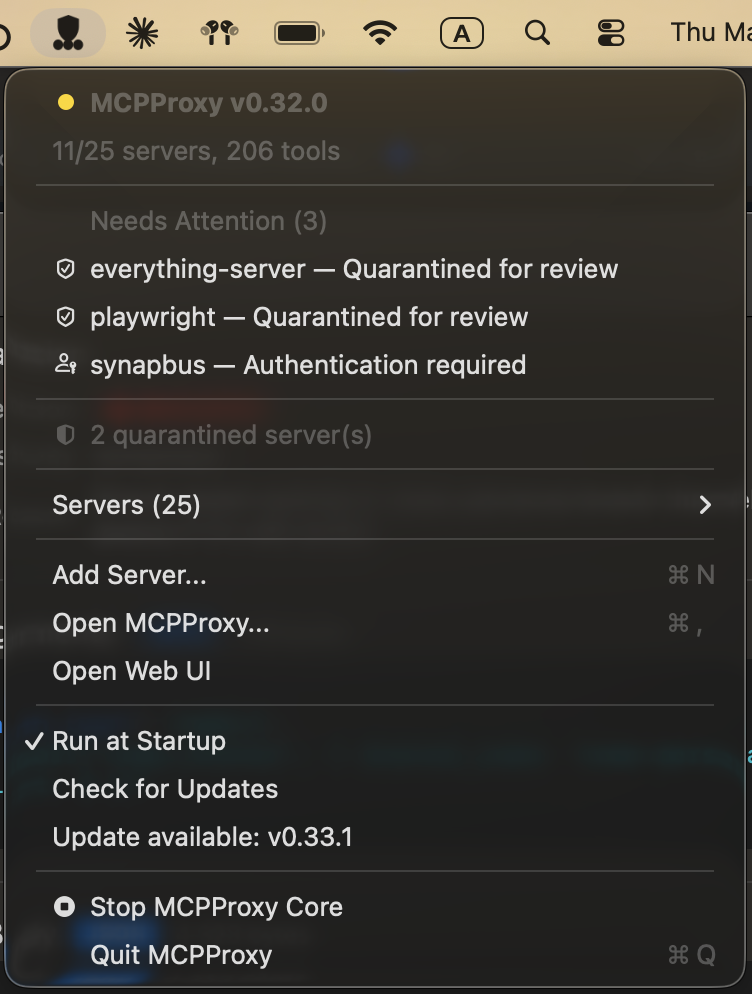
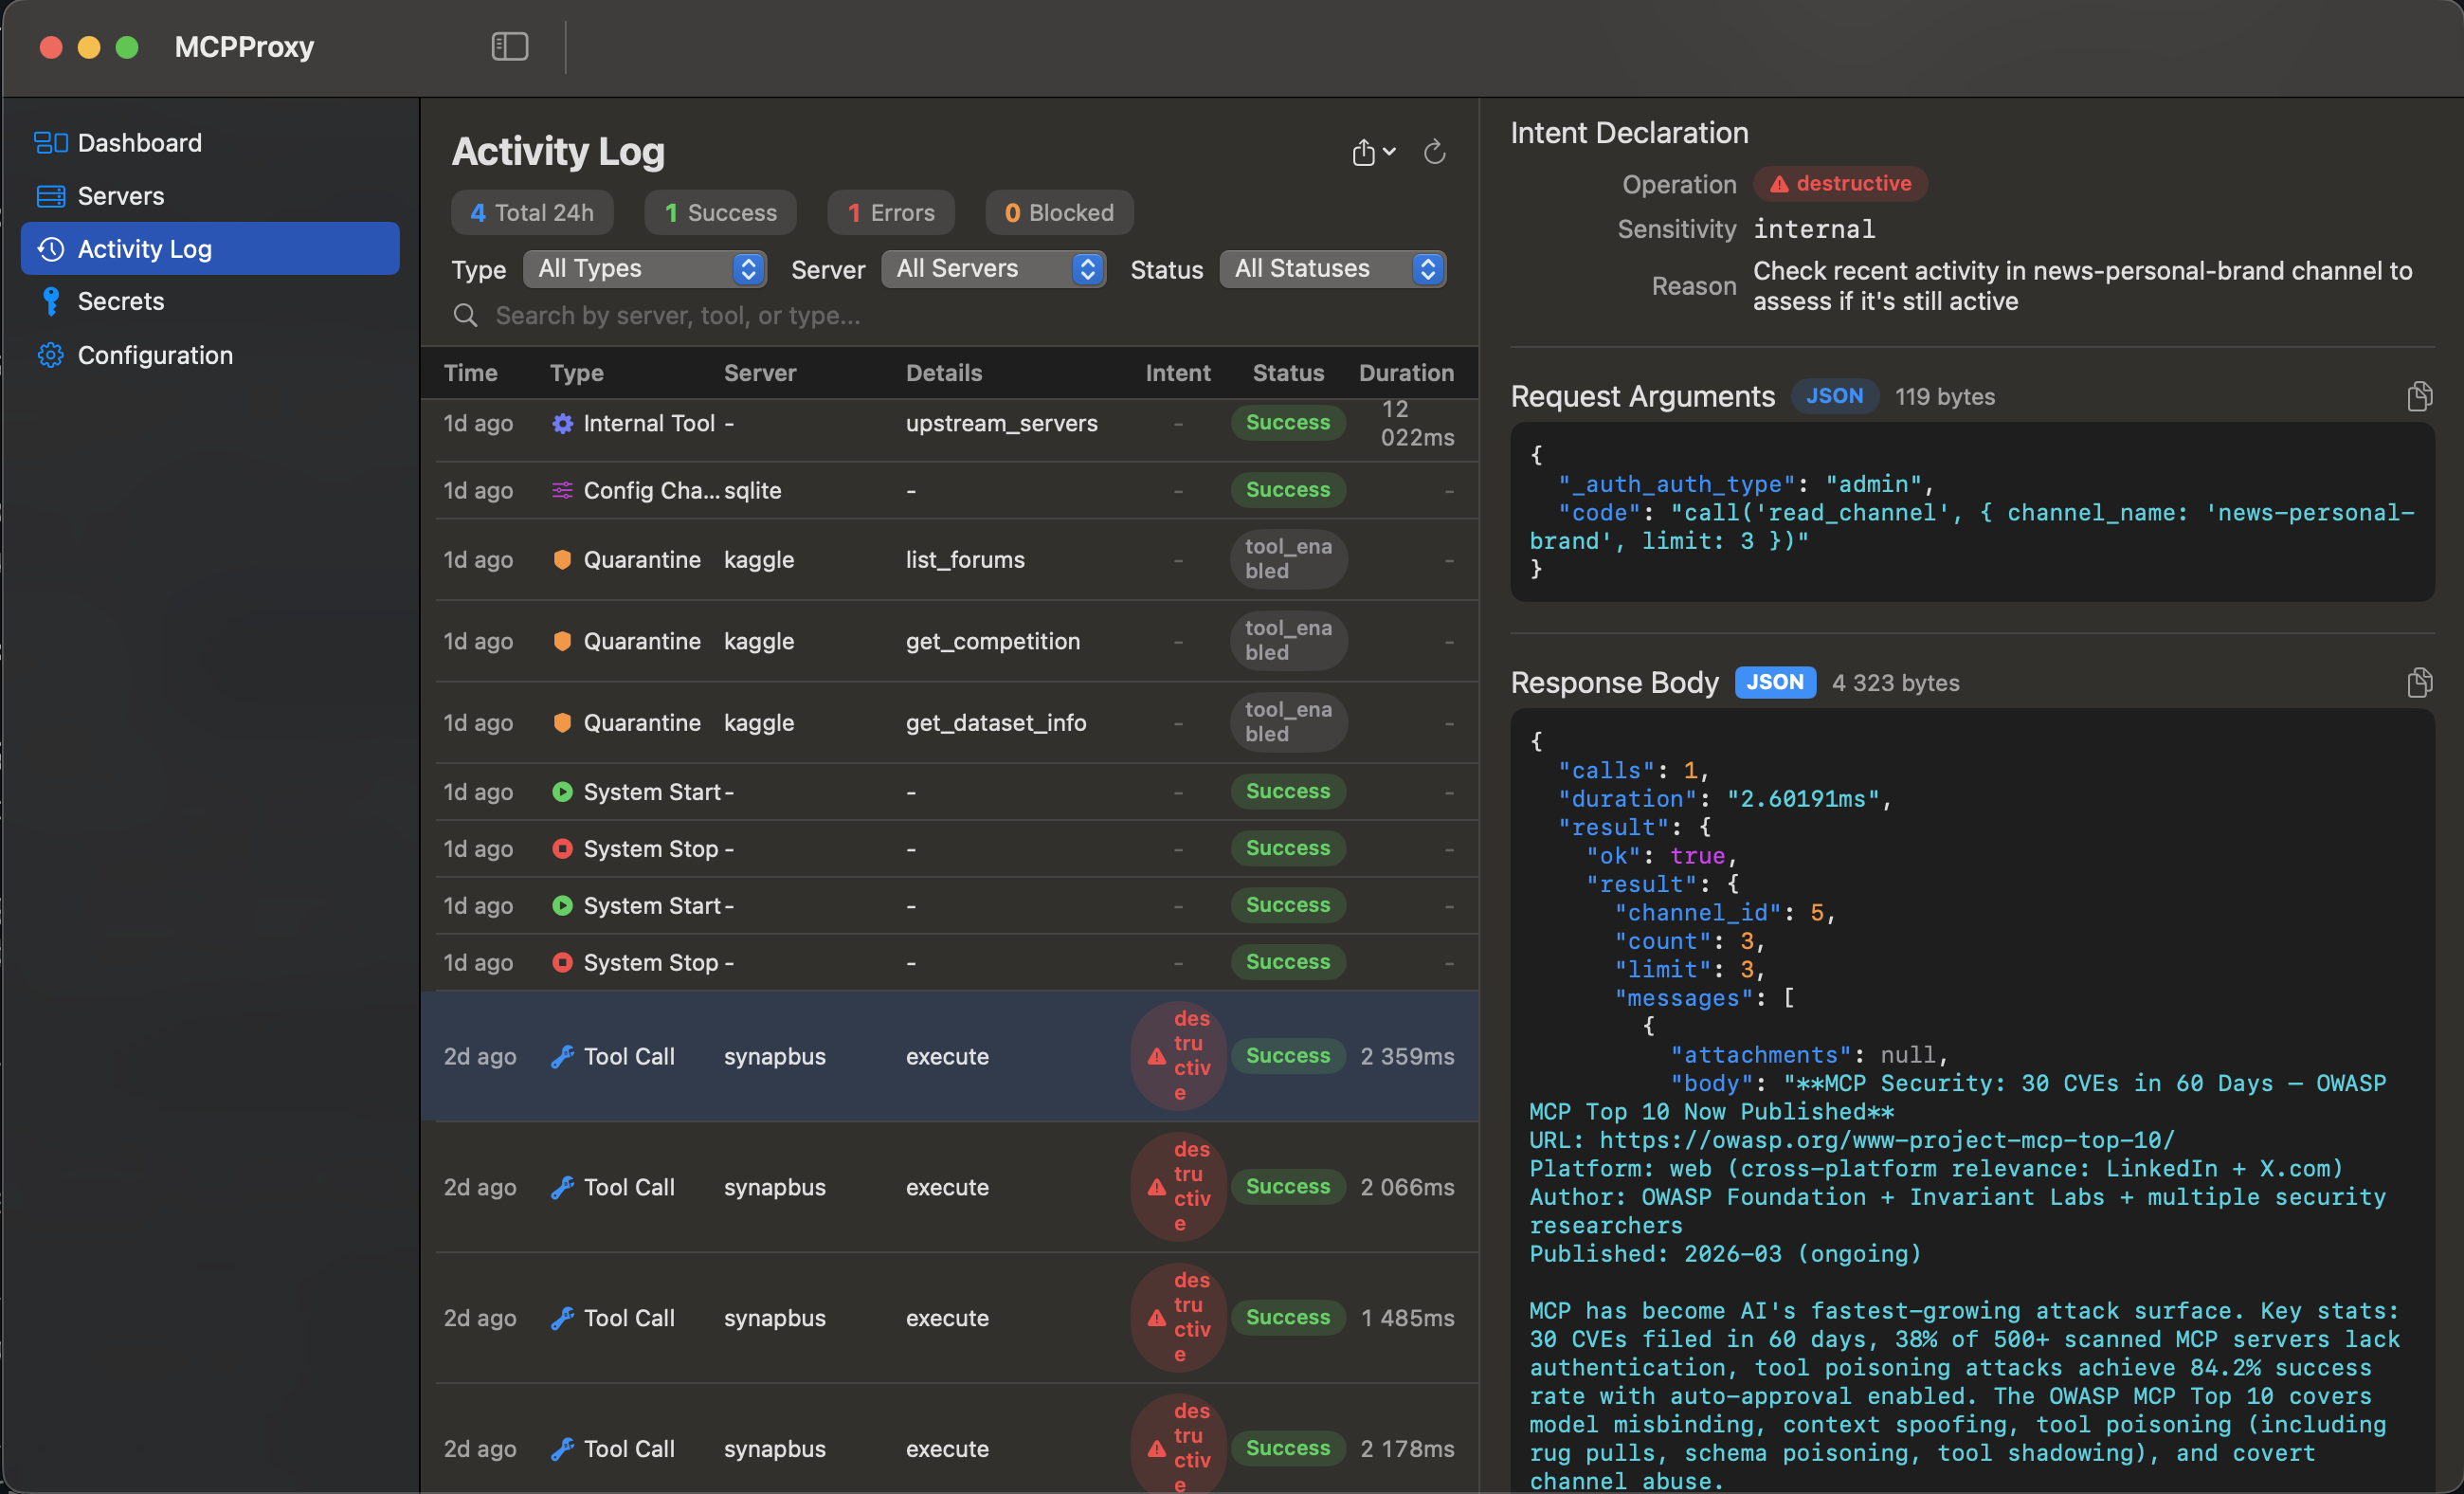
macOS menu‑bar app · Activity log & audit in the macOS app
Why MCPProxy?
- Scale beyond API limits – Federate hundreds of MCP servers while bypassing Cursor's 40-tool limit and OpenAI's 128-function cap.
- Save tokens & accelerate responses – Agents load just one
retrieve_toolsfunction instead of hundreds of schemas. Research shows ~99 % token reduction with 43 % accuracy improvement. - Advanced security protection – Automatic quarantine blocks Tool Poisoning Attacks until you manually approve new servers.
- Pluggable security scanners – Run Snyk, Semgrep, Trivy, Cisco, and other Docker-based scanners against quarantined servers before you approve them; findings are normalized to SARIF with a composite risk score. See Security scanner plugins.
- Works offline & cross-platform – A single core binary for macOS (Intel & Apple Silicon), Windows (x64 & ARM64), and Linux (x64 & ARM64), with the web UI embedded. macOS additionally ships an optional menu-bar app.
Quick Start
1. Install
macOS (Recommended - DMG Installer):
Download the latest DMG installer for your architecture:
- Apple Silicon (M1/M2): Download DMG →
mcpproxy-*-darwin-arm64.dmg - Intel Mac: Download DMG →
mcpproxy-*-darwin-amd64.dmg
Windows (Recommended - Installer):
Download the latest Windows installer for your architecture:
- x64 (64-bit): Download Installer →
mcpproxy-setup-*-amd64.exe - ARM64: Download Installer →
mcpproxy-setup-*-arm64.exe
The installer automatically:
- Installs both
mcpproxy.exe(core server) andmcpproxy-tray.exe(system tray app) to Program Files - Adds MCPProxy to your system PATH for command-line access
- Creates Start Menu shortcuts
- Supports silent installation:
.\mcpproxy-setup.exe /VERYSILENT
Alternative install methods:
macOS (Homebrew):
# macOS — GUI tray app (recommended):
brew install --cask smart-mcp-proxy/mcpproxy/mcpproxy

# macOS / Linux — headless CLI only:
brew install smart-mcp-proxy/mcpproxy/mcpproxy
The cask installs the menu-bar app (bundles the CLI); the formula is the CLI binary only. Both update via brew upgrade.
Linux (Debian/Ubuntu) — apt repository, auto-updates via apt upgrade:
sudo install -m 0755 -d /etc/apt/keyrings
curl -fsSL https://apt.mcpproxy.app/mcpproxy.gpg \
  | sudo tee /etc/apt/keyrings/mcpproxy.gpg > /dev/null
echo "deb [arch=$(dpkg --print-architecture) signed-by=/etc/apt/keyrings/mcpproxy.gpg] https://apt.mcpproxy.app stable main" \
  | sudo tee /etc/apt/sources.list.d/mcpproxy.list > /dev/null
sudo apt update && sudo apt install mcpproxy
Linux (Fedora / RHEL / Rocky / AlmaLinux) — dnf repository, auto-updates via dnf upgrade:
sudo dnf config-manager --add-repo https://rpm.mcpproxy.app/mcpproxy.repo
# Fedora 41+ (dnf5): sudo curl -fsSL https://rpm.mcpproxy.app/mcpproxy.repo -o /etc/yum.repos.d/mcpproxy.repo
sudo dnf install -y mcpproxy
Arch Linux (AUR): mcpproxy-bin
yay -S mcpproxy-bin
# or
git clone https://aur.archlinux.org/mcpproxy-bin.git && cd mcpproxy-bin && makepkg -si
The apt and dnf packages ship a hardened systemd unit and start the service automatically. Repository signing key fingerprint: 3B6F A1AD 5D53 59DA 51F1 8DDC E1B5 9B9B A1CB 8A3B.
For one-off .deb / .rpm downloads (air-gapped installs), grab them from the latest release.
Manual download (all platforms):
Prerelease Builds (Latest Features):
Want to try the newest features? Download prerelease builds from the next branch:
- Go to GitHub Actions
- Click the latest successful "Prerelease" workflow run
- Download from Artifacts:
dmg-darwin-arm64(Apple Silicon Macs)dmg-darwin-amd64(Intel Macs)versioned-linux-amd64,versioned-windows-amd64(other platforms)
Note: Prerelease builds are signed and notarized for macOS but contain cutting-edge features that may be unstable.
- macOS: Intel | Apple Silicon
Anywhere with Go 1.25+:
go install github.com/smart-mcp-proxy/mcpproxy-go/cmd/mcpproxy@latest
2. Run
mcpproxy serve # starts HTTP server on :8080 and shows tray
3. Add your first server
Create or edit ~/.mcpproxy/mcp_config.json:
{
  "listen": "127.0.0.1:8080",
  "mcpServers": [
    { "name": "local-python", "command": "python", "args": ["-m", "my_server"], "protocol": "stdio", "enabled": true },
    { "name": "remote-http", "url": "http://localhost:3001", "protocol": "http", "enabled": true }
  ]
}
See Configuration and Upstream Servers for the full reference.
4. Connect to your IDE/AI tool
📖 Complete Setup Guide - Detailed instructions for Cursor, VS Code, Claude Desktop, and Goose
Add proxy to Cursor
One-click install into Cursor IDE
Manual install
- Open Cursor Settings
- Click "Tools & Integrations"
- Add MCP server
    "MCPProxy": {
      "type": "http",
      "url": "http://localhost:8080/mcp/"
    }
🔐 Optional HTTPS Setup
MCPProxy works with HTTP by default for easy setup. HTTPS is optional and primarily useful for production environments or when stricter security is required.
💡 Note: Most users can stick with HTTP (the default) as it works perfectly with all supported clients including Claude Desktop, Cursor, and VS Code.
Quick HTTPS Setup
1. Enable HTTPS (choose one method):
# Method 1: Environment variable
export MCPPROXY_TLS_ENABLED=true
mcpproxy serve

# Method 2: Config file
# Edit ~/.mcpproxy/mcp_config.json and set "tls.enabled": true
2. Trust the certificate (one-time setup):
mcpproxy trust-cert
3. Use HTTPS URLs:
- MCP endpoint:
https://localhost:8080/mcp - Web UI:
https://localhost:8080/ui/
Claude Desktop Integration
For Claude Desktop, add this to your claude_desktop_config.json:
HTTP (Default - Recommended):
{
  "mcpServers": {
    "mcpproxy": {
      "command": "npx",
      "args": [
        "-y",
        "mcp-remote",
        "http://localhost:8080/mcp"
      ]
    }
  }
}
HTTPS (With Certificate Trust):
{
  "mcpServers": {
    "mcpproxy": {
      "command": "npx",
      "args": [
        "-y",
        "mcp-remote",
        "https://localhost:8080/mcp"
      ],
      "env": {
        "NODE_EXTRA_CA_CERTS": "~/.mcpproxy/certs/ca.pem"
      }
    }
  }
}
Certificate Management
- Automatic generation: Certificates created on first HTTPS startup
- Multi-domain support: Works with
localhost,127.0.0.1,::1 - Trust installation: Use
mcpproxy trust-certto add to system keychain - Certificate location:
~/.mcpproxy/certs/(ca.pem, server.pem, server-key.pem)
Troubleshooting HTTPS
Certificate trust issues:
# Re-trust certificate
mcpproxy trust-cert --force

# Check certificate location
ls ~/.mcpproxy/certs/

# Test HTTPS connection
curl -k https://localhost:8080/api/v1/status
Claude Desktop connection issues:
- Ensure
NODE_EXTRA_CA_CERTSpoints to the correct ca.pem file - Restart Claude Desktop after config changes
- Verify HTTPS is enabled:
mcpproxy serve --log-level=debug
Documentation
Getting Started
Configuration
Features
- Search & Tool Discovery
- Security Quarantine
- Security Scanner Plugins
- Docker Security Isolation
- Secrets & Keyring Integration
- OAuth Authentication
- Code Execution
- Activity Log
- Agent Tokens
- Sensitive Data Detection
CLI Reference
API
Contributing
We welcome issues, feature ideas, and PRs!
Development Setup
make dev-setup                # Install swag, frontend deps, Playwright
brew install prek             # Install pre-commit hook runner (or: uv tool install prek)
prek install                  # Install pre-commit hooks
prek install --hook-type pre-push  # Install pre-push hooks
Pre-commit Hooks
We use prek to catch issues before they reach CI:
| Hook | Stage | What it does |
|---|---|---|
gofmt | pre-commit | Auto-formats staged Go files |
trailing-whitespace | pre-commit | Removes trailing whitespace |
end-of-file-fixer | pre-commit | Ensures files end with newline |
check-merge-conflict | pre-commit | Detects merge conflict markers |
swagger-verify | pre-push | Fails if OpenAPI spec is out of date |
go-build | pre-push | Verifies the project compiles |
Run hooks manually: prek run --all-files
Build & Test
make build          # Build frontend + backend
make swagger        # Regenerate OpenAPI spec
make test           # Unit tests
make test-e2e       # E2E tests
make lint           # Run linters