Configure Memory
Kullanıcının seçtiği proje bağlamını ve tercihlerini yapay zeka araçlarınıza taşıyın. OAuth, içe aktarmalar ve açık kaydetmelerle kalıcı, aranabilir bir bellek profili.
Barındırılan MCP Sunucusu
npx add-mcp 'https://mcp.configure.dev/'Claude Code, Codex, Cursor ve daha fazlasına kurulur
Dokümantasyon
Configure is infrastructure to connect agents, apps, and chats. It provides a Plaid-like experience directly inside AI platforms so users can connect agents they use.
Configure supports ChatGPT, Claude, Gemini, Grok, and other major AI platforms. Any agent that can connect to an MCP server or call an API can use Configure. Users can also connect applications such as Gmail and Google Calendar. Approved agents can use existing app connections without requiring the user to authorize each app again.
Your integration gives users a connection button and a hosted flow. Configure manages identity, permissions, synchronization, and access. Once connected, agents can read approved context, use existing app connections, and contribute updates for other approved agents. The connection continues across conversations. Memory is one form of context exchanged through it.
Context updates can come from API calls, MCP tools, and platform integrations. MCP Events also defines a subscription mechanism for delivering updates to connected agents. See Ongoing connections and MCP events for the delivery model and endpoint requirements. Manual imports add existing context; they are one part of the connection experience.
TIP
To use a coding agent, send Read https://configure.dev/skill.md and add Configure to this project. into your coding agent. See Skills.
How it works
The examples use Remy, Smry's research assistant, and Nova Sandbrook, Configure's synthetic test user. The screenshots show the hosted import and app-connection flow. Users can also connect agents through MCP.
1. The user selects the connection button
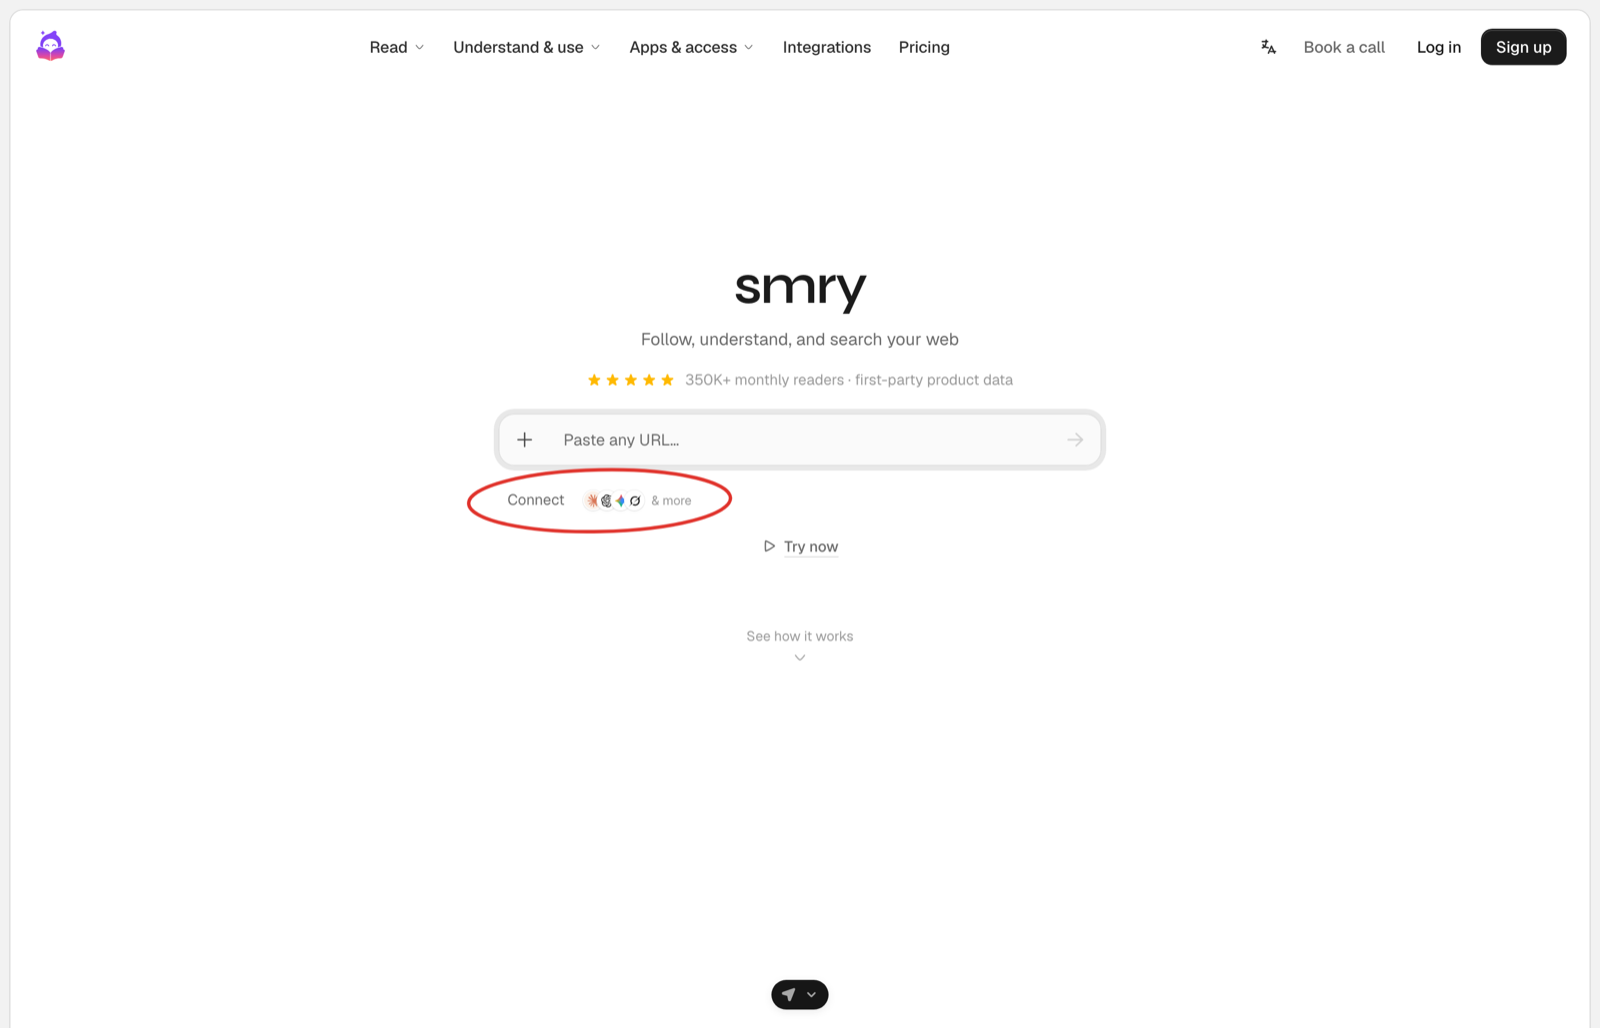
The connection button below the message input opens the Configure hosted flow.
2. The user connects agents and apps
The user approves the agents and app connections they want to use. In the hosted flow shown below, they can add existing context through an assistant export or connect an app, then verify their phone number. Completing this flow approves your agent. An export adds a snapshot; ongoing updates come from the connected agent or its integration.
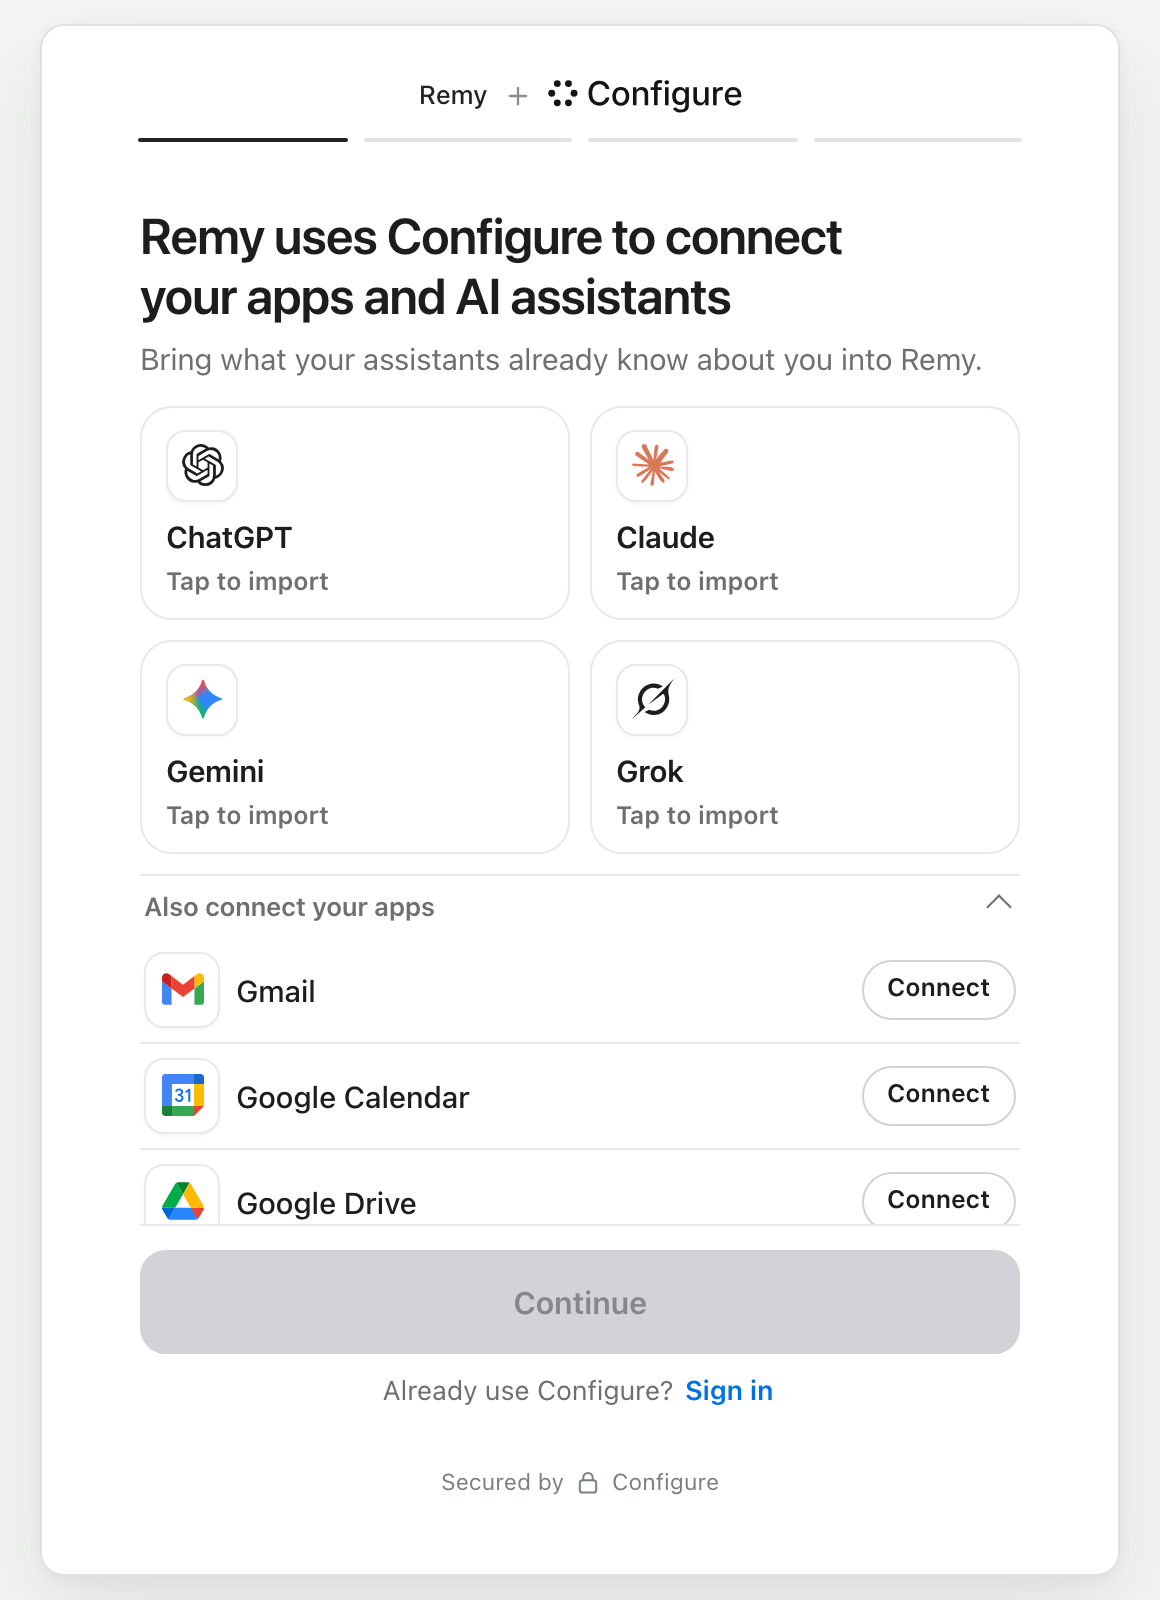
Import context from an assistant or connect an app.
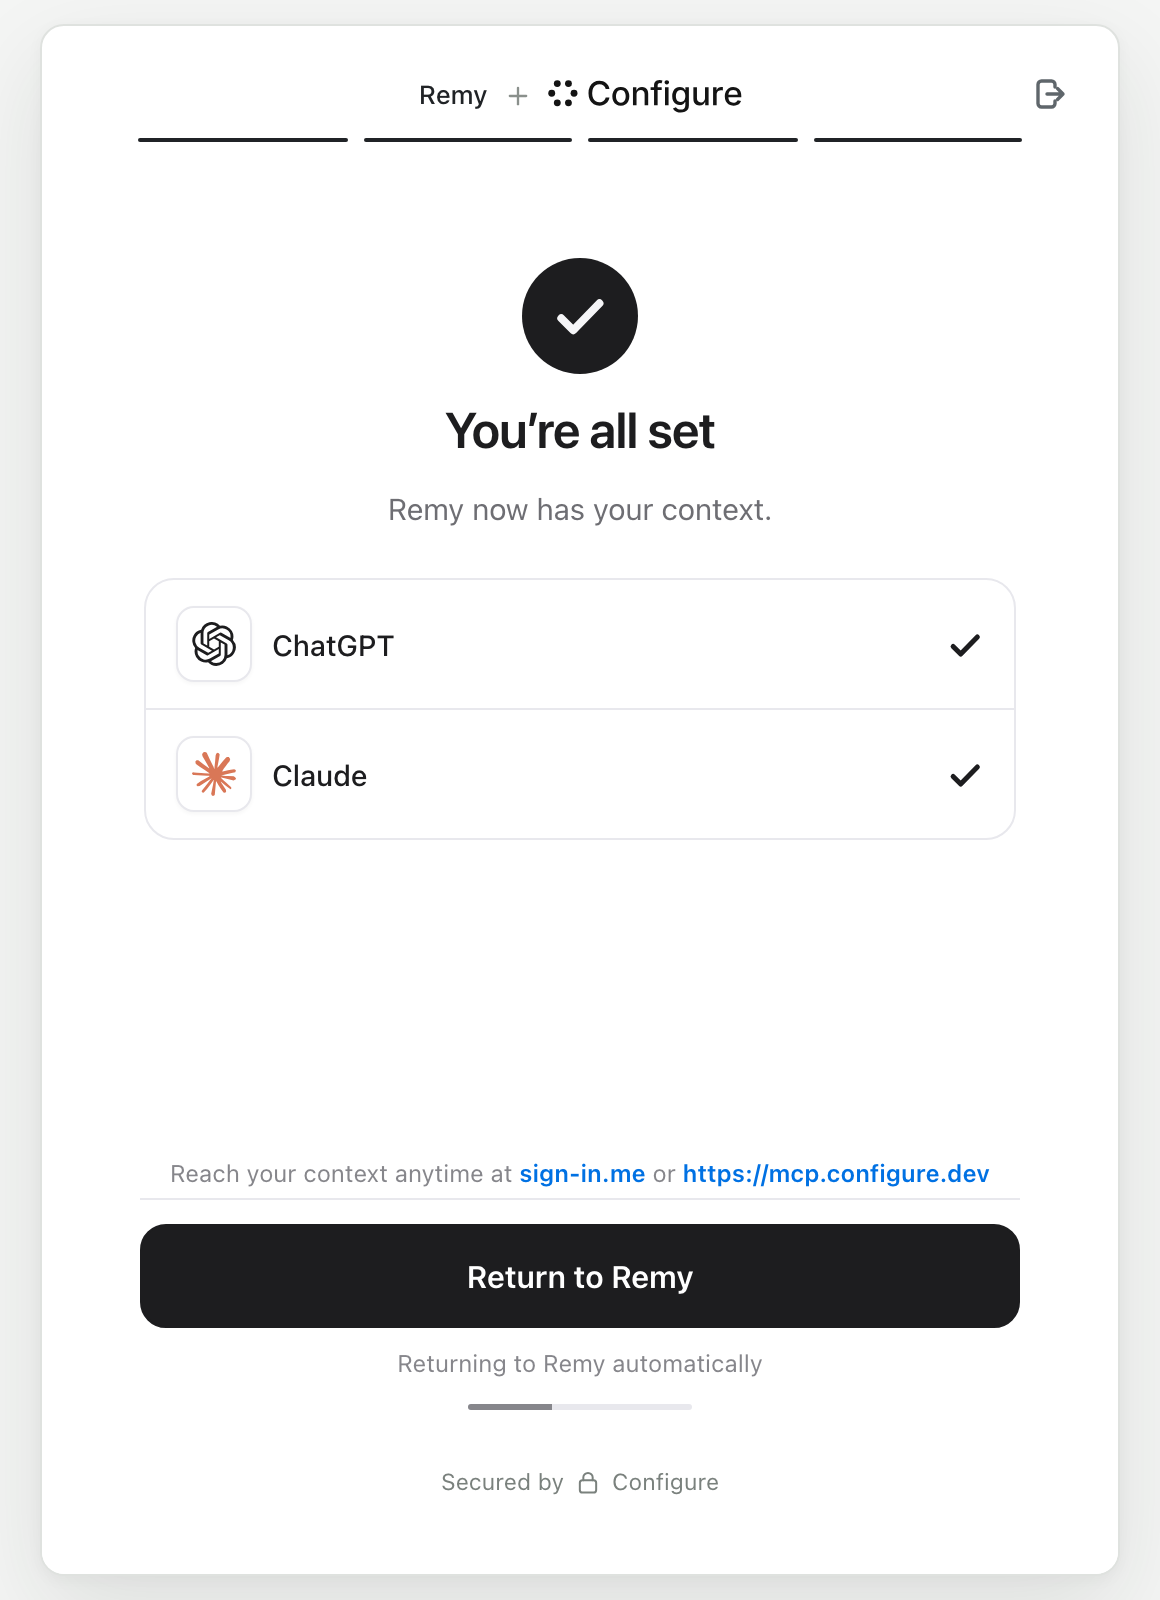
The confirmation screen lists imported context and connected apps. The user can then return to your app.
3. Your agent accesses approved context
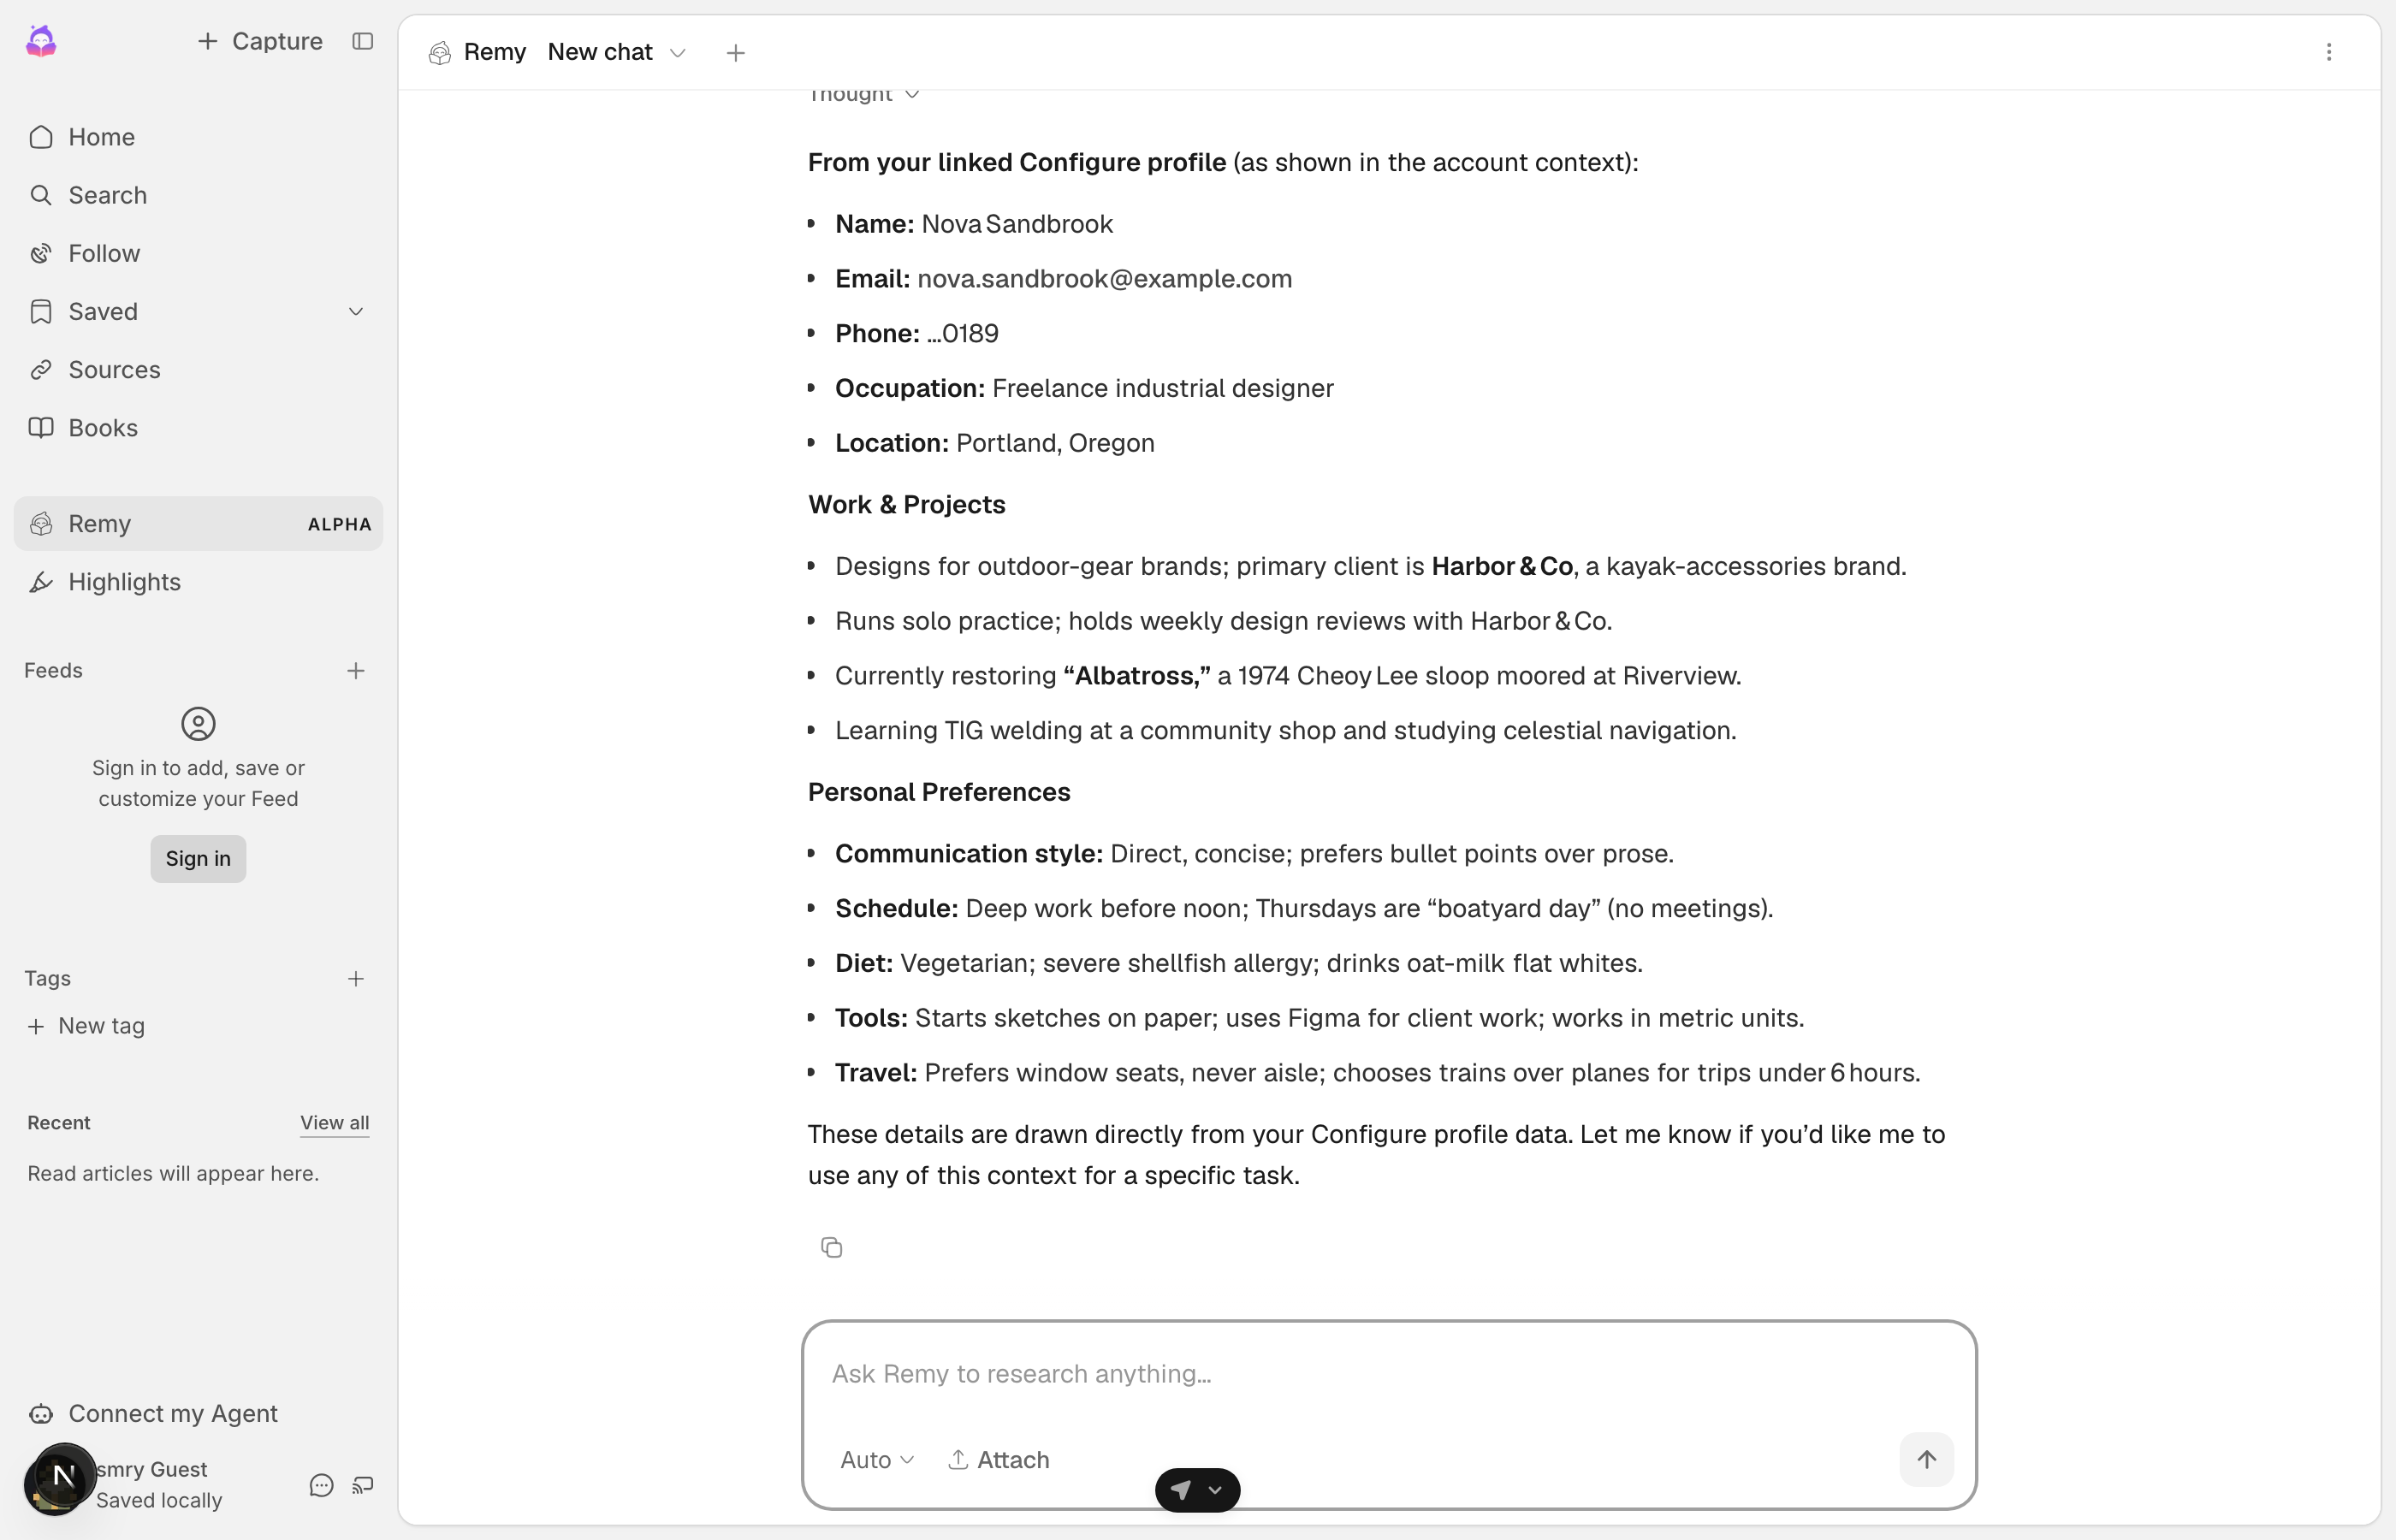
Remy uses Nova's approved Configure profile in their first conversation.
Remy has no previous conversation with Nova. It uses her approved context to answer questions about her work, schedule, preferences, and apps. As connected agents contribute new context, other approved agents can retrieve those updates. Remy's integration refreshes the context it caches and commits new conversation messages.
Try it yourself. The link opens the user-facing hosted flow.
The code
Your server manages profile reads and conversation commits. Follow the Quickstart to add these calls to your app.
import { Configure } from "configure";
const configure = new Configure({ apiKey: process.env.CONFIGURE_API_KEY, agent: process.env.CONFIGURE_AGENT });
const profile = configure.profile({ externalId: user.id });   // one handle per user, keyed by your id

const { connect_url } = await profile.connect({ returnUrl });  // 1. the chip's route redirects the user here
const read = await profile.read({ sections: ["identity", "preferences", "summary"] });   // 3. read.profile.format() goes in the system prompt
await profile.commit({ messages: turnMessages });              // 3. save each turn to the profile
const session = await profile.mcpSession();                    // 3. optional: the Configure tools for the model
Choose your path
For coding agents
If you are an AI agent adding Configure for a developer, follow the Quickstart from top to bottom. It covers the connection button, the redirect to the connect_url from profile.connect(), and the callback route. Add .md to any page URL for plain markdown, and read /llms.txt for the full index. From the server, inject the profile on the first turn of each session, refresh it once a day, and commit every turn. Then give the model the configure_* tools over MCP. Use profile.connect() to create connection URLs. Do not construct these URLs manually.