IBM Instana MCP Server
公式IBM Instana MCPサーバーは、IBM Instana可観測性プラットフォームとのシームレスな連携を可能にし、開発ワークフロー内でリアルタイムの可観測性データに直接アクセスできるようにします。
IBM Instana MCPで何ができますか?
- インフラストラクチャスナップショットの取得 —
get_infra_snapshotを使用して、特定のホスト、プロセス、またはコンテナのスナップショットを要求します。 - アプリケーションまたはサービスのメトリクスの分析 —
get_app_metricsまたはget_service_metricsを使用して、呼び出し、エラー、またはレイテンシの時系列メトリクスを要求します。 - アクティブなアラートとインシデントの一覧表示 —
get_alertsおよびget_incidentsを介して、現在のアラート、インシデント、またはグローバルスマートアラートを取得します。 - Kubernetesイベントの検査 —
get_k8s_eventsを使用して、クラスターまたは名前空間の最近のKubernetesイベントをプルします。 - ウェブサイト監視データのクエリ —
get_website_metricsを通じて、ウェブサイトのパフォーマンスメトリクスまたはビーコン結果を取得します。
ドキュメント
目次
- IBM Instana MCP Server
IBM Instana MCP Server
📚 クイックリンク
- ツールと例 - 実際の例を含む包括的なツールドキュメント
- プライバシーポリシー - データの取り扱いとプライバシー情報
- Dockerデプロイメントガイド - 包括的なDockerデプロイメント、マルチアーキテクチャビルド、本番環境セットアップ
Instana MCPサーバーは、Instanaオブザーバビリティプラットフォームとのシームレスな対話を可能にし、開発ワークフロー内でリアルタイムのオブザーバビリティデータに直接アクセスできるようにします。
これは、クライアント(AIエージェントやカスタムツールなど)とInstana REST APIの間のブリッジとして機能し、ユーザークエリをInstana APIリクエストに変換し、レスポンスを構造化された、容易に利用可能な形式にフォーマットします。
サーバーは、さまざまなMCPクライアントとの最大限の互換性のために、Streamable HTTPとStdioの両方のトランスポートモードをサポートしています。詳細については、MCP Transport Modes specificationを参照してください。
アーキテクチャ概要
graph LR
    subgraph "Application Host Process"
        MH[MCP Host]
        MSI[Instana MCP Server]
        MST[ProductA MCP Server]
        MSC[ProductB MCP Server]

        MH <--> MSI
        MH <--> MSC
        MH <--> MST
    end

    subgraph "Remote Service"
        II[Instana Instance]
        TI[ProductA Instance]
        CI[ProductB Instance]

        MSI <--> II
        MST <--> TI
        MSC <--> CI
    end

    subgraph "LLM"
        L[LLM]
        MH <--> L
    end
ワークフロー
簡単な例を考えてみましょう:Instana MCPサーバーに接続されたMCPホスト(Claude Desktop、VS Code、または別のクライアントなど)を使用しています。Instanaアラートに関する情報をリクエストすると、次のプロセスが発生します。
- MCPクライアントがInstana MCPサーバーから利用可能なツールのリストを取得します
- クエリがツールの説明とともにLLMに送信されます
- LLMが利用可能なツールを分析し、Instanaアラートを取得するための適切なツールを選択します
- クライアントがInstana MCPサーバーを通じて選択されたツールを実行します
- 結果(最新のアラート)がLLMに返されます
- LLMが自然言語の応答を生成します
- 応答が表示されます
sequenceDiagram
    participant User
    participant ChatBot as MCP Host
    participant MCPClient as MCP Client
    participant MCPServer as Instana MCP Server
    participant LLM
    participant Instana as Instana Instance

    ChatBot->>MCPClient: Load available tools from MCP Server
    MCPClient->>MCPServer: Request available tool list
    MCPServer->>MCPClient: Return list of available tools
    User->>ChatBot: Ask "Show me the latest alerts from Instana for application robot-shop"
    ChatBot->>MCPClient: Forward query
    MCPClient->>LLM: Send query and tool description
    LLM->>MCPClient: Select appropriate tool(s) for Instana alert query
    MCPClient->>MCPServer: Execute selected tool(s)
    MCPServer->>Instana: Retrieve alerts for application robot-shop
    MCPServer->>MCPClient: Send alerts of Instana result
    MCPClient->>LLM: Forward alerts of Instana
    LLM->>ChatBot: Generate natural language response for Instana alerts
    ChatBot->>User: Show Instana alert response
前提条件
オプション1: PyPIからインストール(推奨)
mcp-instanaを使用する最も簡単な方法は、PyPIから直接インストールすることです。
pip install mcp-instana
インストール後、mcp-instanaコマンドを直接使用してサーバーを実行できます。
オプション2: 開発用インストール
開発やローカルでのカスタマイズのために、プロジェクトをクローンしてローカルでセットアップできます。
uvのインストール
このプロジェクトは、高速なPythonパッケージインストーラーおよびリゾルバーであるuvを使用します。uvをインストールするには、いくつかのオプションがあります。
pipを使用する場合:
pip install uv
Homebrewを使用する場合(macOS):
brew install uv
その他のインストールオプションと詳細な手順については、uv documentationを参照してください。
環境のセットアップ
uvをインストールした後、以下を実行してプロジェクト環境をセットアップします。
uv sync
Streamable HTTPモードのヘッダーベース認証
Streamable HTTPモードを使用する場合、HTTPヘッダーを介してInstanaの資格情報を渡す必要があります。このアプローチは、以下によりセキュリティと柔軟性を向上させます。
- 環境変数への資格情報の保存を回避
- 異なるリクエストに異なる資格情報を使用可能
- 環境変数の変更が制限されている共有環境をサポート
- APIトークンとセッションベースの認証の両方をサポート
サポートされている認証モード:
1. APIトークン認証(直接API呼び出し)
必要なヘッダー:
instana-base-url: InstanaインスタンスのURLinstana-api-token: Instana APIトークン
例:
--header "instana-base-url: https://your-instance.instana.io"
--header "instana-api-token: your-api-token"
2. セッショントークン認証(UI起点の呼び出し)
必要なヘッダー:
instana-base-url: InstanaインスタンスのURLinstana-auth-token: UIバックエンドからのセッション認証トークンinstana-csrf-token: UIバックエンドからのCSRFトークンinstana-cookie-name: (オプション)セッション認証用のCookie名(デフォルト:instanaAuthToken)
例:
--header "instana-base-url: https://your-instance.instana.io"
--header "instana-auth-token: your-session-token"
--header "instana-csrf-token: your-csrf-token"
--header "instana-cookie-name: in-token"
3. JWTトークン認証(IBM Platform統合)
必要なヘッダー:
instana-base-url: InstanaインスタンスのURLinstana-jwt-token: IBM PlatformからのJWTトークンinstana-csrf-token: リクエスト検証用のCSRFトークン
設定例:
{
  "mcpServers": {
    "Instana MCP Server": {
      "command": "npx",
      "args": [
        "mcp-remote",
        "http://0.0.0.0:8080/mcp",
        "--allow-http",
        "--header",
        "instana-base-url: https://your-instana-instance.instana.io",
        "--header",
        "instana-jwt-token: your_jwt_token_here",
        "--header",
        "instana-csrf-token: your_csrf_token_here"
      ]
    }
  }
}
認証の優先順位:
- JWTトークン(CSRFトークンとともに提供された場合) - IBM Platform統合で優先されます
- セッショントークン(auth_tokenとcsrf_tokenの両方が提供された場合)
- APIトークン(提供された場合) - 標準認証
- 環境変数(
INSTANA_API_TOKEN) - フォールバック
認証フロー:
- HTTPヘッダーが各リクエストに存在する必要があります
- サーバーは優先順位に基づいて資格情報を検証します
- 有効な認証がないリクエストは失敗します
この設計により、安全な資格情報の送信が保証され、WebSocket → Coordinator → MCP Serverを介したUI起点の呼び出しを含む複数の認証フローがサポートされます。
使用するトークンがMCPツールを呼び出すために必要な権限を持っていることを確認してください。詳細はこちらを確認してください。
ローカルMCPサーバーの起動
MCPクライアント(Claude Desktop、GitHub Copilot、またはカスタムMCPクライアント)を設定する前に、ローカルMCPサーバーを起動する必要があります。サーバーは、Streamable HTTPとStdioの2つのトランスポートモードをサポートしています。
サーバーコマンドオプション
CLIの使用(PyPIインストール)
PyPIからmcp-instanaをインストールした場合は、mcp-instanaコマンドを使用します。
mcp-instana [OPTIONS]
開発用インストールの使用
ローカル開発の場合は、uv runコマンドを使用します。
uv run src/core/server.py [OPTIONS]
利用可能なオプション:
--transport <mode>: トランスポートモード(選択肢:streamable-http、stdio)--env KEY=VALUE: 環境変数を設定(複数の変数に対して繰り返し可能、例:--env INSTANA_BASE_URL=https://... --env INSTANA_API_TOKEN=...)--debug: 追加のログ記録を含むデバッグモードを有効にする--log-level <level>: ログレベルを設定(選択肢:DEBUG、INFO、WARNING、ERROR、CRITICAL)--tools <categories>: 有効にするツールカテゴリのカンマ区切りリスト(例: infra,app,events,website)。カテゴリを有効にすると、関連するプロンプトも有効になります。例:--tools infraは、infraツールとすべてのinfra関連プロンプトを有効にします。--list-tools: 利用可能なすべてのツールカテゴリをリストして終了--port <port>: MCPサーバーポート(デフォルト: 8080、PORT環境変数で上書き可能)--help: ヘルプメッセージを表示して終了
Streamable HTTPモードでの起動
Streamable HTTPモードはREST APIインターフェースを提供し、ほとんどのユースケースで推奨されます。
CLIの使用(PyPIインストール)
# Start with all tools enabled (default)
mcp-instana --transport streamable-http

# Start with debug logging
mcp-instana --transport streamable-http --debug

# Start with a specific log level
mcp-instana --transport streamable-http --log-level WARNING

# Start with specific tool categories only
mcp-instana --transport streamable-http --tools infra,events

# Combine options (specific log level, custom tools)
mcp-instana --transport streamable-http --log-level DEBUG --tools app,events
開発用インストールの使用
# Start with all tools enabled (default)
uv run src/core/server.py --transport streamable-http

# Start with debug logging
uv run src/core/server.py --transport streamable-http --debug

# Start with a specific log level
uv run src/core/server.py --transport streamable-http --log-level WARNING

# Start with specific tool and prompts categories only
uv run src/core/server.py --transport streamable-http --tools infra,events

# Start with custom port
uv run src/core/server.py --transport streamable-http --port 9000

# Combine options (specific log level, custom tools and prompts)
uv run src/core/server.py --transport streamable-http --log-level DEBUG --tools app,events
Streamable HTTPモードの主な機能:
- 認証にHTTPヘッダーを使用(環境変数は不要)
- リクエストごとに異なる資格情報をサポート
- 共有環境により適している
- MCPサーバーのデフォルトポート: 8080
- MCPエンドポイント:
http://0.0.0.0:8080/mcp/
Stdioモードでの起動
Stdioモードは、通信に標準入出力を使用し、認証に環境変数が必要です。
CLIの使用(PyPIインストール)
# Option 1: Set environment variables first
export INSTANA_BASE_URL="https://your-instana-instance.instana.io"
export INSTANA_API_TOKEN="your_instana_api_token"

# Start the server (stdio is the default if no transport specified)
mcp-instana

# Or explicitly specify stdio mode
mcp-instana --transport stdio

# Option 2: Use --env flag to set environment variables directly
mcp-instana --env INSTANA_BASE_URL=https://your-instana-instance.instana.io --env INSTANA_API_TOKEN=your_instana_api_token

# Or with explicit stdio mode
mcp-instana --transport stdio --env INSTANA_BASE_URL=https://your-instana-instance.instana.io --env INSTANA_API_TOKEN=your_instana_api_token
開発用インストールの使用
# Option 1: Set environment variables first
export INSTANA_BASE_URL="https://your-instana-instance.instana.io"
export INSTANA_API_TOKEN="your_instana_api_token"

# Start the server (stdio is the default if no transport specified)
uv run src/core/server.py

# Or explicitly specify stdio mode
uv run src/core/server.py --transport stdio

# Option 2: Use --env flag to set environment variables directly
uv run src/core/server.py --env INSTANA_BASE_URL=https://your-instana-instance.instana.io --env INSTANA_API_TOKEN=your_instana_api_token

# Or with explicit stdio mode
uv run src/core/server.py --transport stdio --env INSTANA_BASE_URL=https://your-instana-instance.instana.io --env INSTANA_API_TOKEN=your_instana_api_token
Stdioモードの主な機能:
- 認証に環境変数を使用(
exportまたは--envフラグで設定可能) - stdin/stdoutを介した直接通信
- 特定のMCPクライアント設定に必要
--envフラグは、シェル環境を変更せずに資格情報を設定する便利な方法を提供します
ツールカテゴリ
必要なツールとプロンプトのカテゴリのみを有効にすることで、サーバーのパフォーマンスを最適化できます。
CLIの使用(PyPIインストール)
# List all available categories
mcp-instana --list-tools

# Enable specific categories
mcp-instana --transport streamable-http --tools infra,app
mcp-instana --transport streamable-http --tools events
開発用インストールの使用
# List all available categories
uv run src/core/server.py --list-tools

# Enable specific categories
uv run src/core/server.py --transport streamable-http --tools infra,app
uv run src/core/server.py --transport streamable-http --tools events
利用可能なカテゴリ:
infra: インフラストラクチャ監視ツールとプロンプト(リソース、カタログ、トポロジー、分析、メトリクス)app: アプリケーションパフォーマンスツールとプロンプト(リソース、メトリクス、アラート、カタログ、トポロジー、分析、設定、グローバルアラート)events: イベント監視ツールとプロンプト(Kubernetesイベント、エージェント監視)website: Webサイト監視ツールとプロンプト(メトリクス、カタログ、分析、設定)
サーバーステータスの確認
起動したら、サーバーが実行中であることを確認できます。
Streamable HTTPモードの場合:
# Check MCP server
curl http://0.0.0.0:8080/mcp/

# Or with custom port
curl http://0.0.0.0:9000/mcp/
Stdioモードの場合: サーバーが起動し、MCPクライアントからのstdin入力を待ちます。
起動時の一般的な問題
証明書の問題: SSL証明書エラーが発生した場合は、Python環境がシステム証明書にアクセスできることを確認してください。
# macOS - Install certificates for Python
/Applications/Python\ 3.13/Install\ Certificates.command
ポートが既に使用されている場合: ポート8080が既に使用されている場合は、別のポートを指定してください。
uv run src/core/server.py --transport streamable-http --port 9000
依存関係の不足: すべての依存関係がインストールされていることを確認してください。
uv sync
セットアップと使用方法
Bob IDE
Bobは、MCP統合をネイティブにサポートするIBMのAI搭載IDEです。Bobは、組み込みのAI支援とオブザーバビリティツールを備えたシームレスな開発エクスペリエンスを提供します。
Streamable HTTP モード
Streamable HTTP モードは、HTTP 経由の JSON-RPC を使用した MCP 通信のための REST API インターフェースを提供します。
ステップ 1: MCP サーバーを Streamable HTTP モードで起動する
Bob を設定する前に、MCP サーバーを Streamable HTTP モードで起動する必要があります。詳細な手順については、ローカル MCP サーバーの起動 セクションを参照してください。
ステップ 2: Bob を設定する
Bob パネルの右上隅に、MCP サーバーのドロップダウンが表示されます。
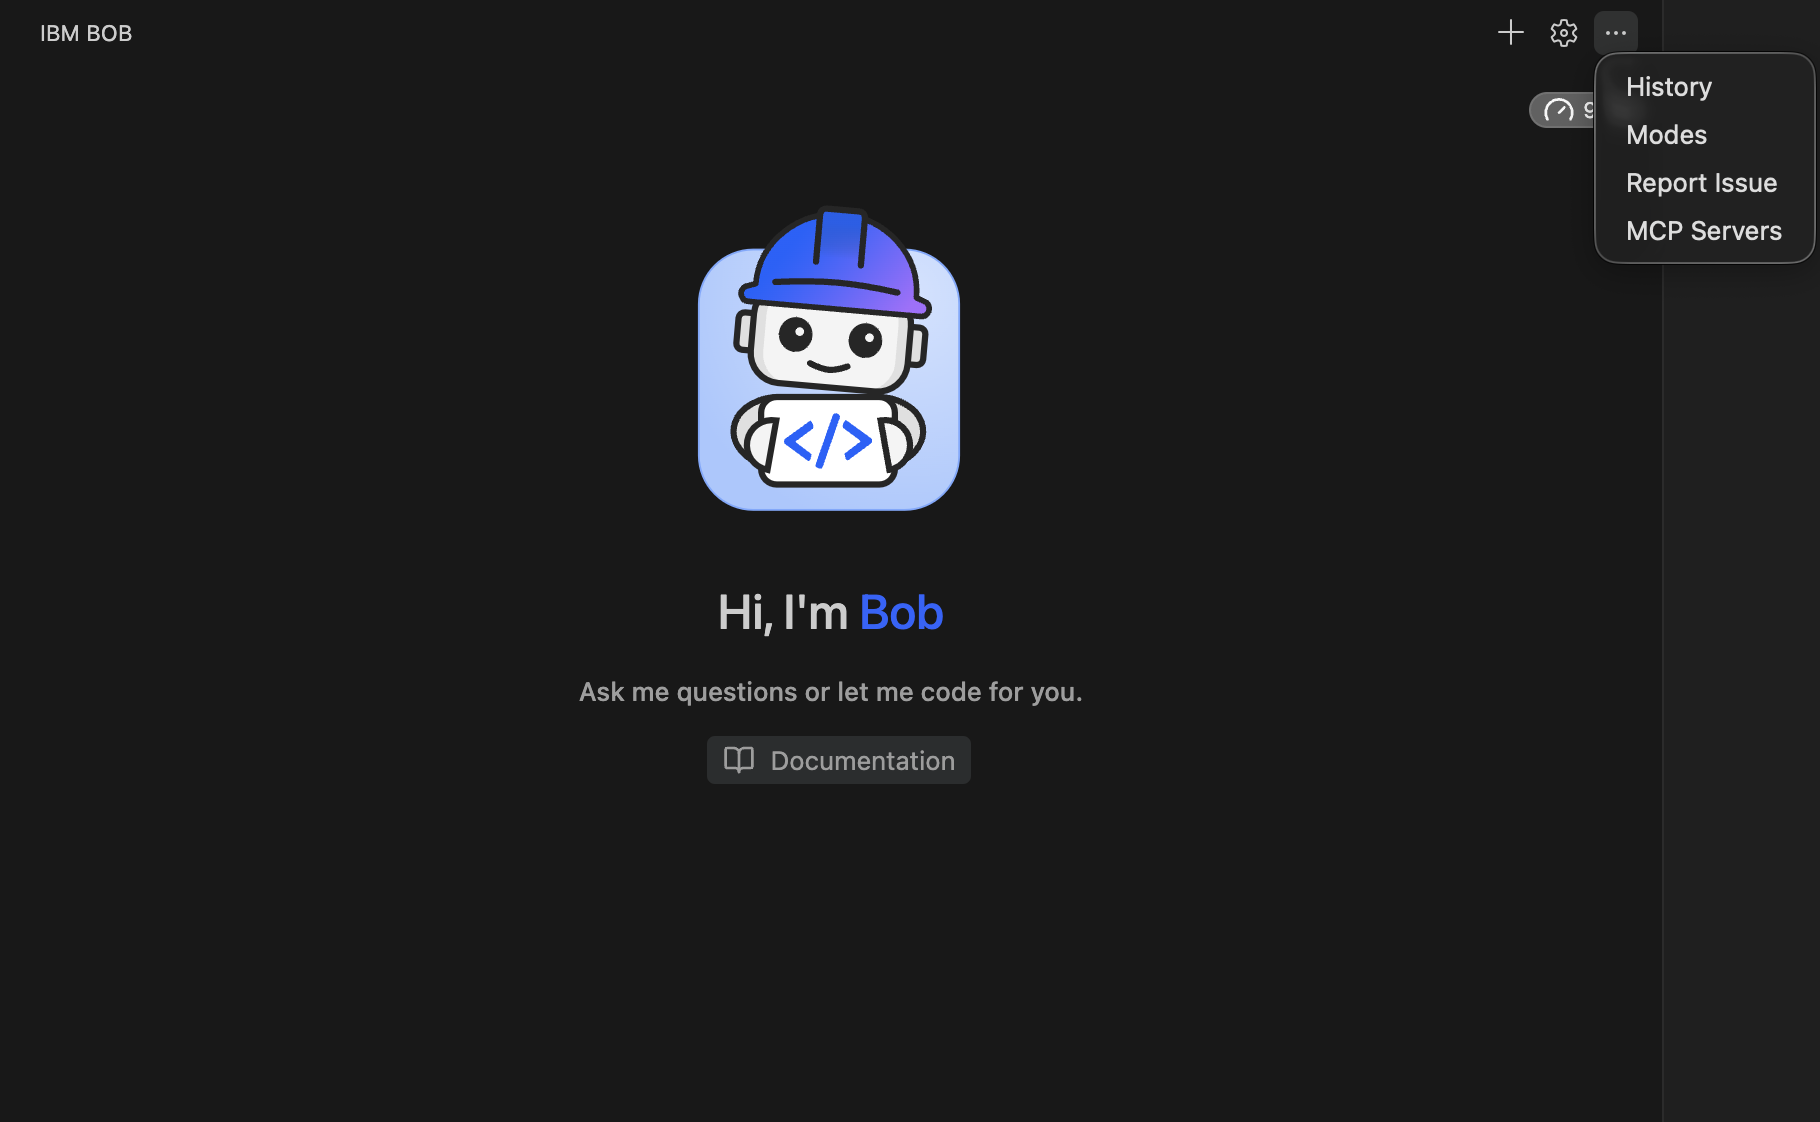
これを選択すると、プロジェクトレベルまたはグローバルレベルで MCP を設定するオプションが表示されます。
MCP 設定スコープ
Bob は 2 つのレベルの MCP 設定をサポートしており、ユースケースに最適なスコープを選択できます。
1. グローバル設定 (ユーザーレベル)
グローバル設定は、現在のユーザーのすべてのプロジェクトに MCP サーバーを適用します。これは、作業するすべてのプロジェクトで同じ MCP サーバーを利用できるようにしたい場合に最適です。
ファイルの場所:
- macOS:
~/Library/Application Support/Bob/bob_config.json - Windows:
%APPDATA%\Bob\bob_config.json - Linux:
~/.config/Bob/bob_config.json
2. プロジェクト設定 (プロジェクトレベル)
プロジェクト設定は、特定のプロジェクトにのみ MCP サーバーを適用します。これは、異なるプロジェクトで異なる MCP サーバー設定が必要な場合や、バージョン管理を通じて MCP 設定をチームと共有したい場合に便利です。
ファイルの場所:
- プロジェクトのルートディレクトリにある
.bob/bob_config.json
グローバル設定とプロジェクト設定の選択:
- すべてのプロジェクトで利用できるようにしたい MCP サーバーには、グローバル設定 を使用します。
- プロジェクト固有の MCP サーバーや、設定をチームと共有するには、プロジェクト設定 を使用します。
- 両方の設定は共存でき、同じサーバー名に対しては、プロジェクトレベルの設定がグローバル設定よりも優先されます。
Bob と MCP 設定の詳細については、次を参照してください: https://bob.ibm.com/docs/ide/configuration/mcp/mcp-in-bob
ローカル設定:
ローカルの Instana MCP サーバーに接続するように Bob を設定します。
{
  "mcpServers": {
    "Instana MCP Server": {
      "command": "npx",
      "args": [
        "mcp-remote", "http://0.0.0.0:8080/mcp/",
        "--allow-http",
        "--header", "instana-base-url: https://your-instana-instance.instana.io",
        "--header", "instana-api-token: your_instana_api_token"
      ]
    }
  }
}
リモート設定:
リモートの Instana MCP サーバー (例: IBM Code Engine にデプロイされたもの) に接続するように Bob を設定します。
{
  "mcpServers": {
    "Instana MCP Server": {
      "command": "npx",
      "args": [
        "mcp-remote", "https://app-instana-750.1zetetanw8ul.us-east.codeengine.appdomain.cloud/mcp/",
        "--allow-http",
        "--header", "instana-base-url: https://your-instana-instance.instana.io",
        "--header", "instana-api-token: your_instana_api_token"
      ]
    }
  }
}
注: npx を使用するには、最初に NVM (Node Version Manager) をインストールし、それを使用して Node.js をインストールすることをお勧めします。 インストール手順は次の場所で入手できます: https://nodejs.org/en/download
ステップ 3: 接続をテストする
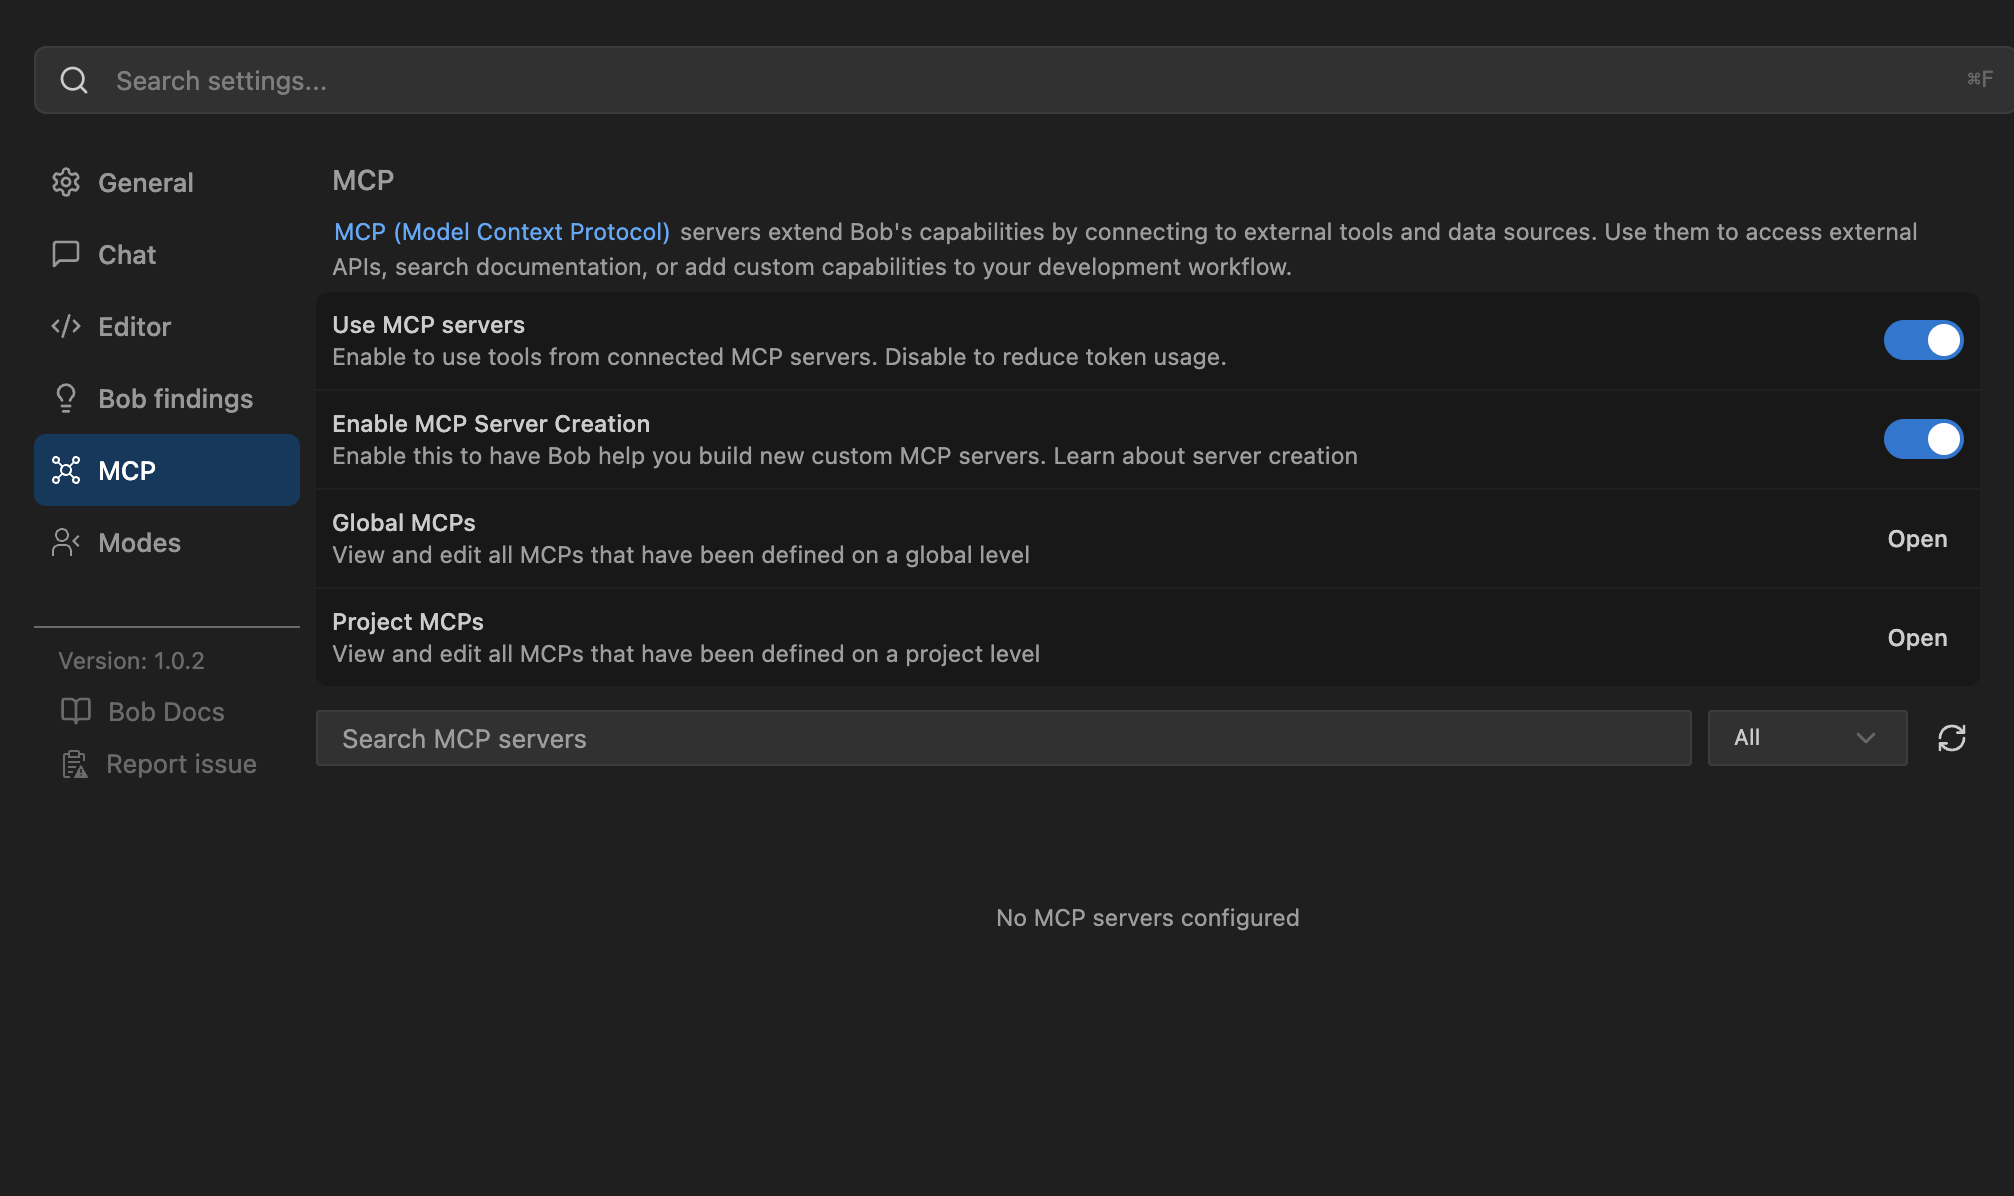
MCP 設定をセットアップすると、新しく設定された MCP サーバーが有効として表示されます。緑色のドットは、サーバーが正常に実行されていることを示します。
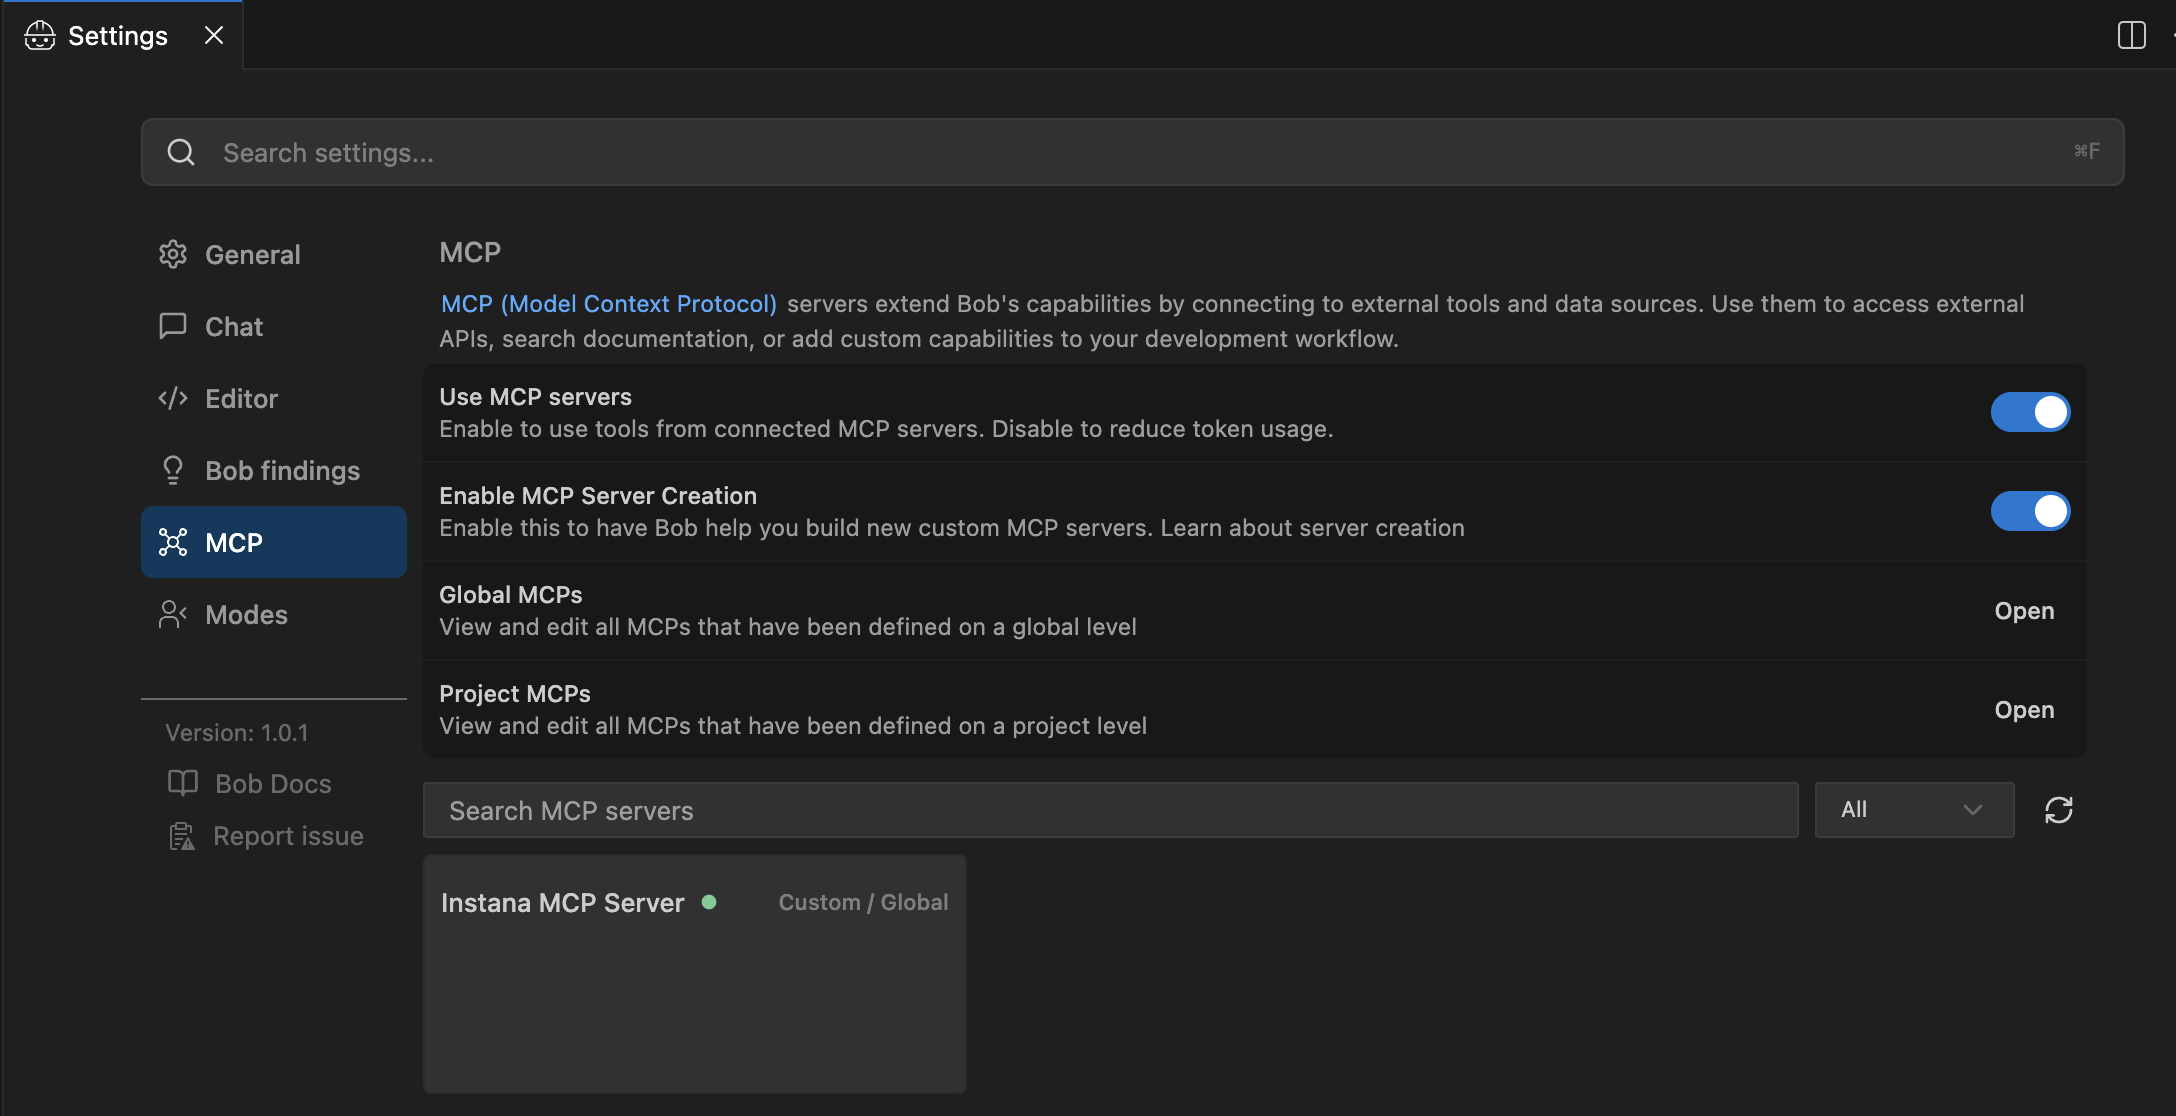
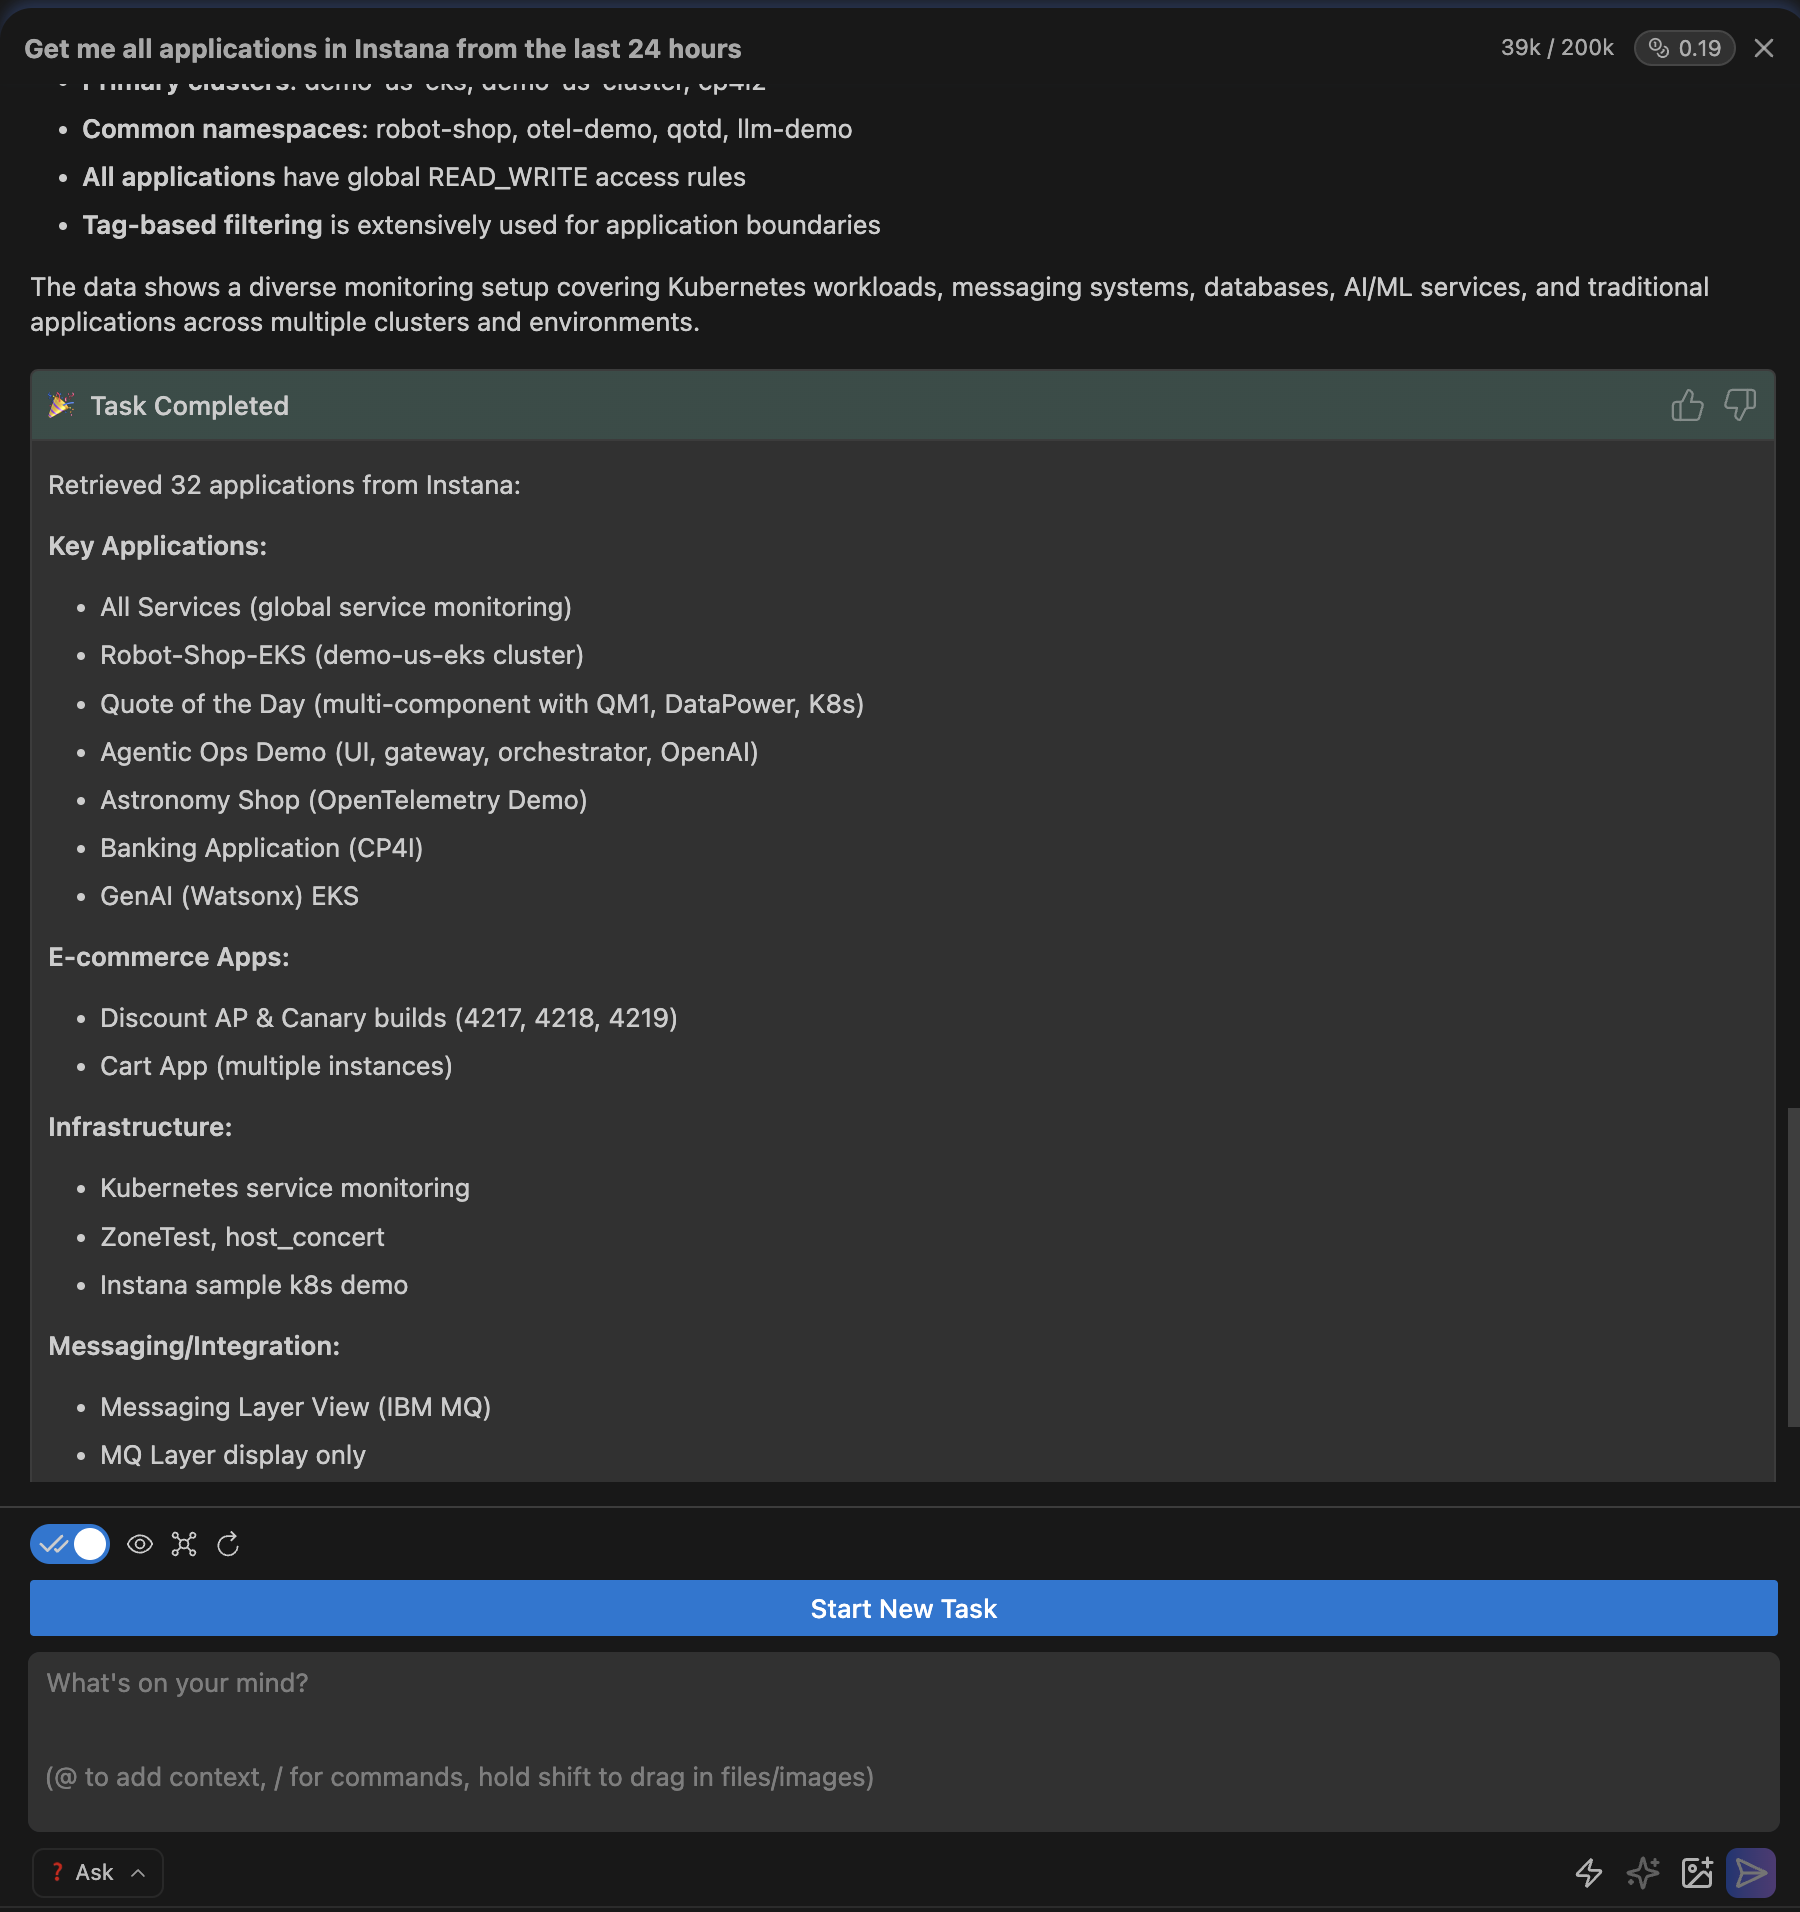
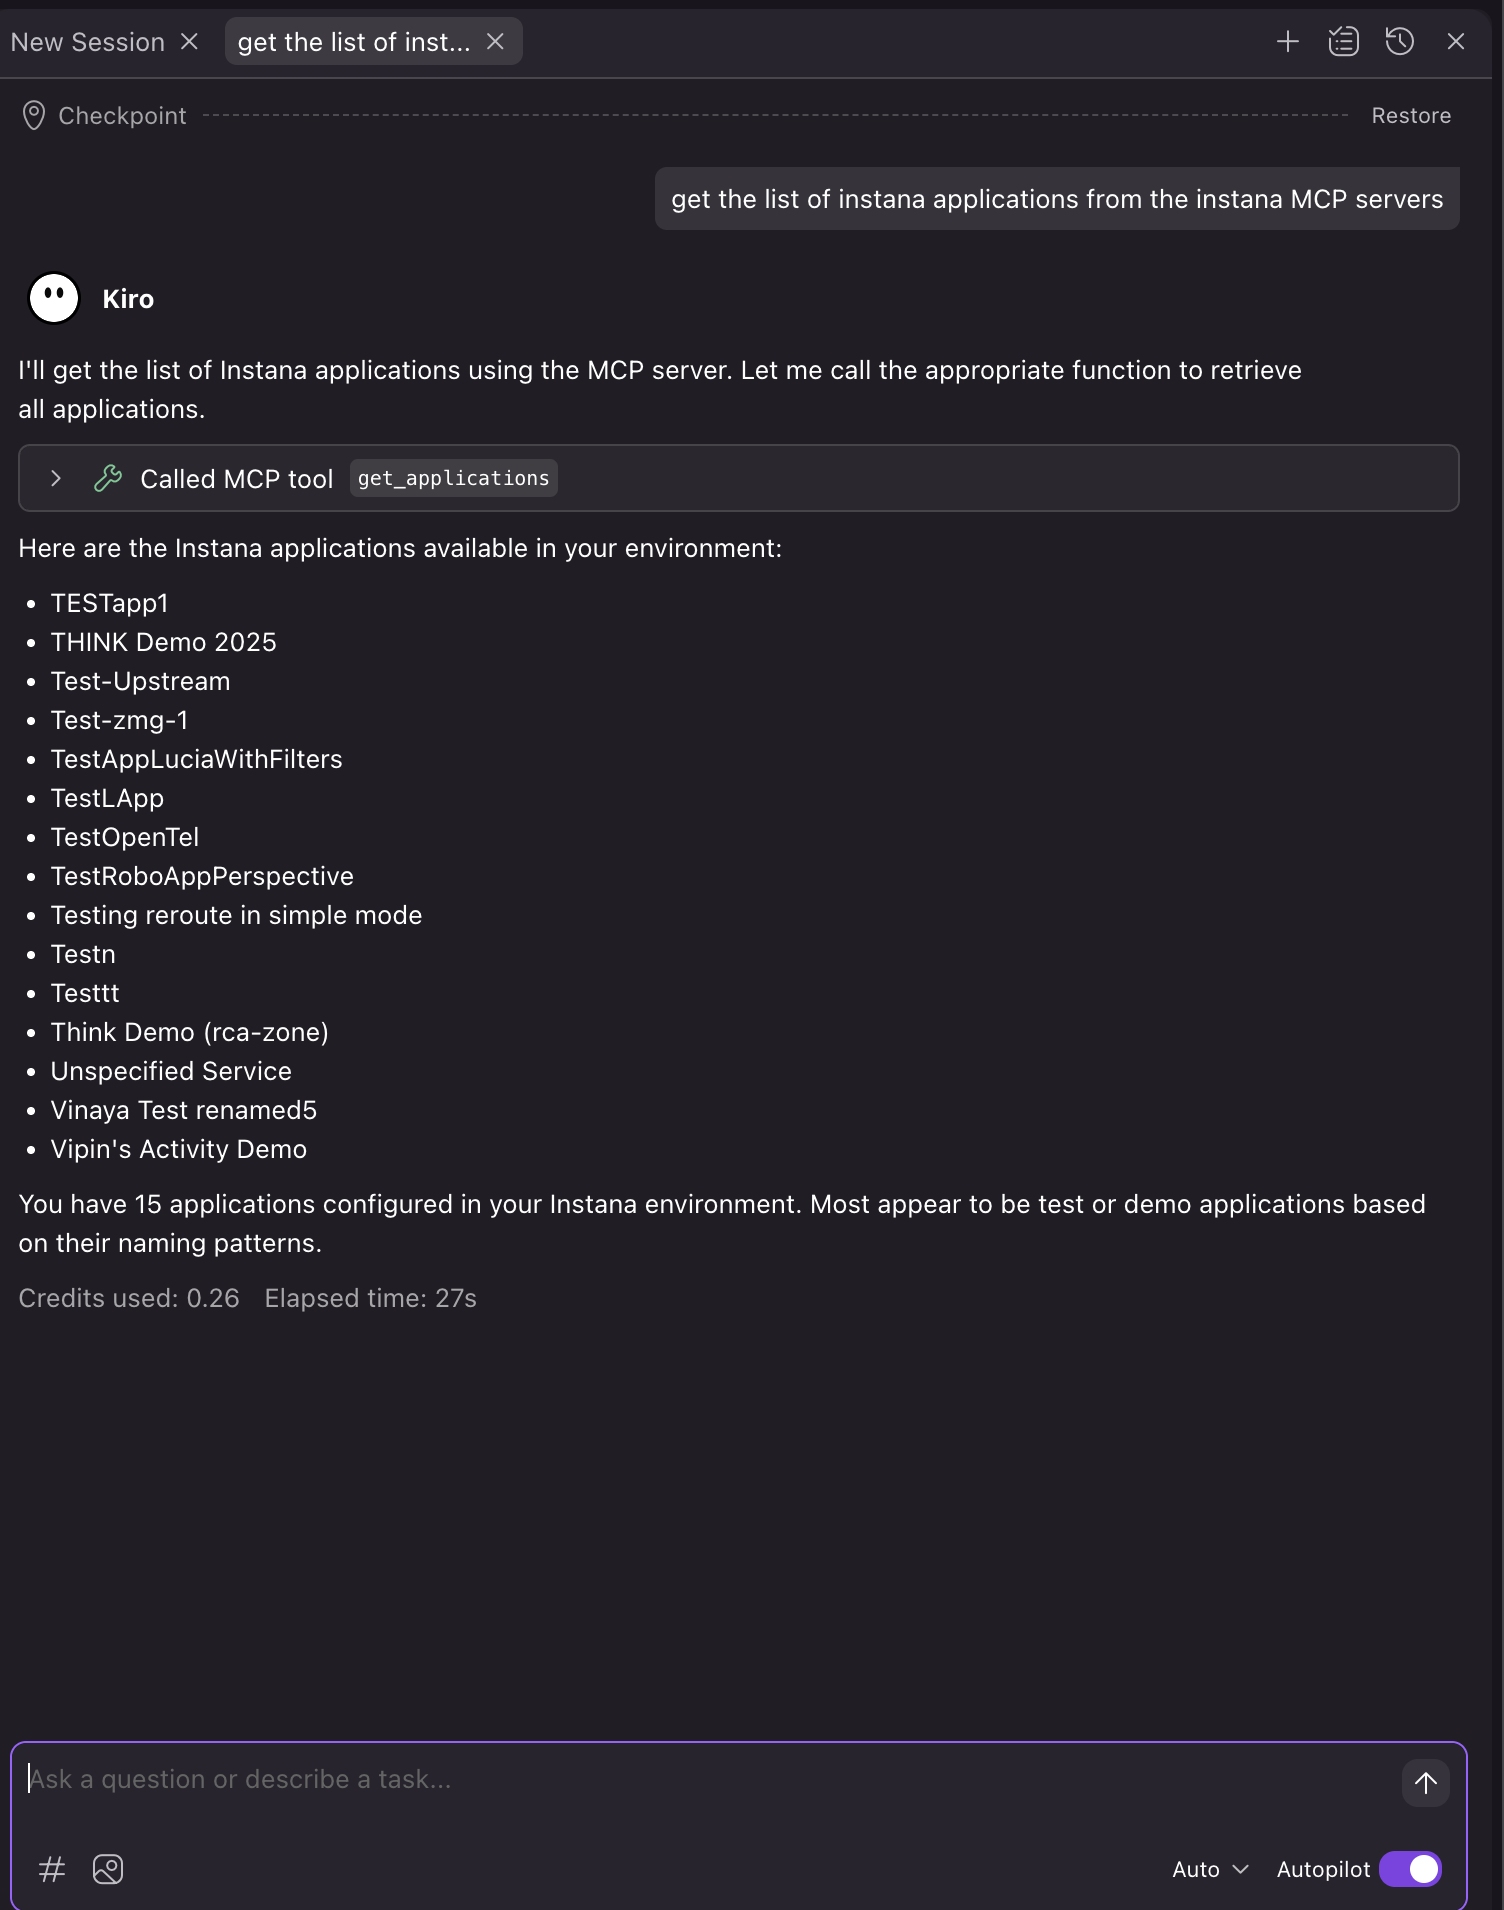
これで、Bob IDE でクエリを実行できます。
get me all applications from Instana in the last 24 hours
Stdio モード
CLI を使用した設定 (PyPI インストール - 推奨):
オプション 1: 設定で環境変数を使用する:
{
  "mcpServers": {
    "Instana MCP Server": {
      "command": "mcp-instana",
      "args": ["--transport", "stdio"],
      "env": {
        "INSTANA_BASE_URL": "https://your-instana-instance.instana.io",
        "INSTANA_API_TOKEN": "your_instana_api_token"
      }
    }
  }
}
オプション 2: --env フラグを使用する (代替方法):
{
  "mcpServers": {
    "Instana MCP Server": {
      "command": "mcp-instana",
      "args": [
        "--transport", "stdio",
        "--env", "INSTANA_BASE_URL=https://your-instana-instance.instana.io",
        "--env", "INSTANA_API_TOKEN=your_instana_api_token"
      ]
    }
  }
}
注: 「コマンドが見つかりません」エラーが発生した場合は、mcp-instana へのフルパスを使用してください。which mcp-instana で見つけて、代わりにそのパスを使用してください。
開発インストールを使用した設定:
オプション 1: 設定で環境変数を使用する:
{
  "mcpServers": {
    "Instana MCP Server": {
      "command": "uv",
      "args": [
        "--directory",
        "<path-to-mcp-instana-folder>",
        "run",
        "src/core/server.py"
      ],
      "env": {
        "INSTANA_BASE_URL": "https://your-instana-instance.instana.io",
        "INSTANA_API_TOKEN": "your_instana_api_token"
      }
    }
  }
}
オプション 2: --env フラグを使用する (代替方法):
{
  "mcpServers": {
    "Instana MCP Server": {
      "command": "uv",
      "args": [
        "--directory",
        "<path-to-mcp-instana-folder>",
        "run",
        "src/core/server.py",
        "--env", "INSTANA_BASE_URL=https://your-instana-instance.instana.io",
        "--env", "INSTANA_API_TOKEN=your_instana_api_token"
      ]
    }
  }
}
Claude Desktop
Claude Desktop は、MCP 統合のために Streamable HTTP モードと Stdio モードの両方をサポートしています。
設定ファイルを編集して Claude Desktop を設定します。
ファイルの場所:
- macOS:
~/Library/Application Support/Claude/claude_desktop_config.json - Windows:
%APPDATA%\Claude\claude_desktop_config.json
Streamable HTTP モード
Streamable HTTP モードは、HTTP 経由の JSON-RPC を使用した MCP 通信のための REST API インターフェースを提供します。
ステップ 1: MCP サーバーを Streamable HTTP モードで起動する
Claude Desktop を設定する前に、MCP サーバーを Streamable HTTP モードで起動する必要があります。詳細な手順については、ローカル MCP サーバーの起動 セクションを参照してください。
ステップ 2: Claude Desktop を設定する
ヘッダーを介して Instana 認証情報を渡すように Claude Desktop を設定します。
{
  "mcpServers": {
    "Instana MCP Server": {
      "command": "npx",
      "args": [
        "mcp-remote", "http://0.0.0.0:8080/mcp/",
        "--allow-http",
        "--header", "instana-base-url: https://your-instana-instance.instana.io",
        "--header", "instana-api-token: your_instana_api_token"
      ]
    }
  }
}
注: npx を使用するには、最初に NVM (Node Version Manager) をインストールし、それを使用して Node.js をインストールすることをお勧めします。 インストール手順は次の場所で入手できます: https://nodejs.org/en/download
ステップ 3: 接続をテストする
Claude Desktop を再起動します。以下のように、Claude Desktop インターフェースに Instana MCP Server が表示されるはずです。
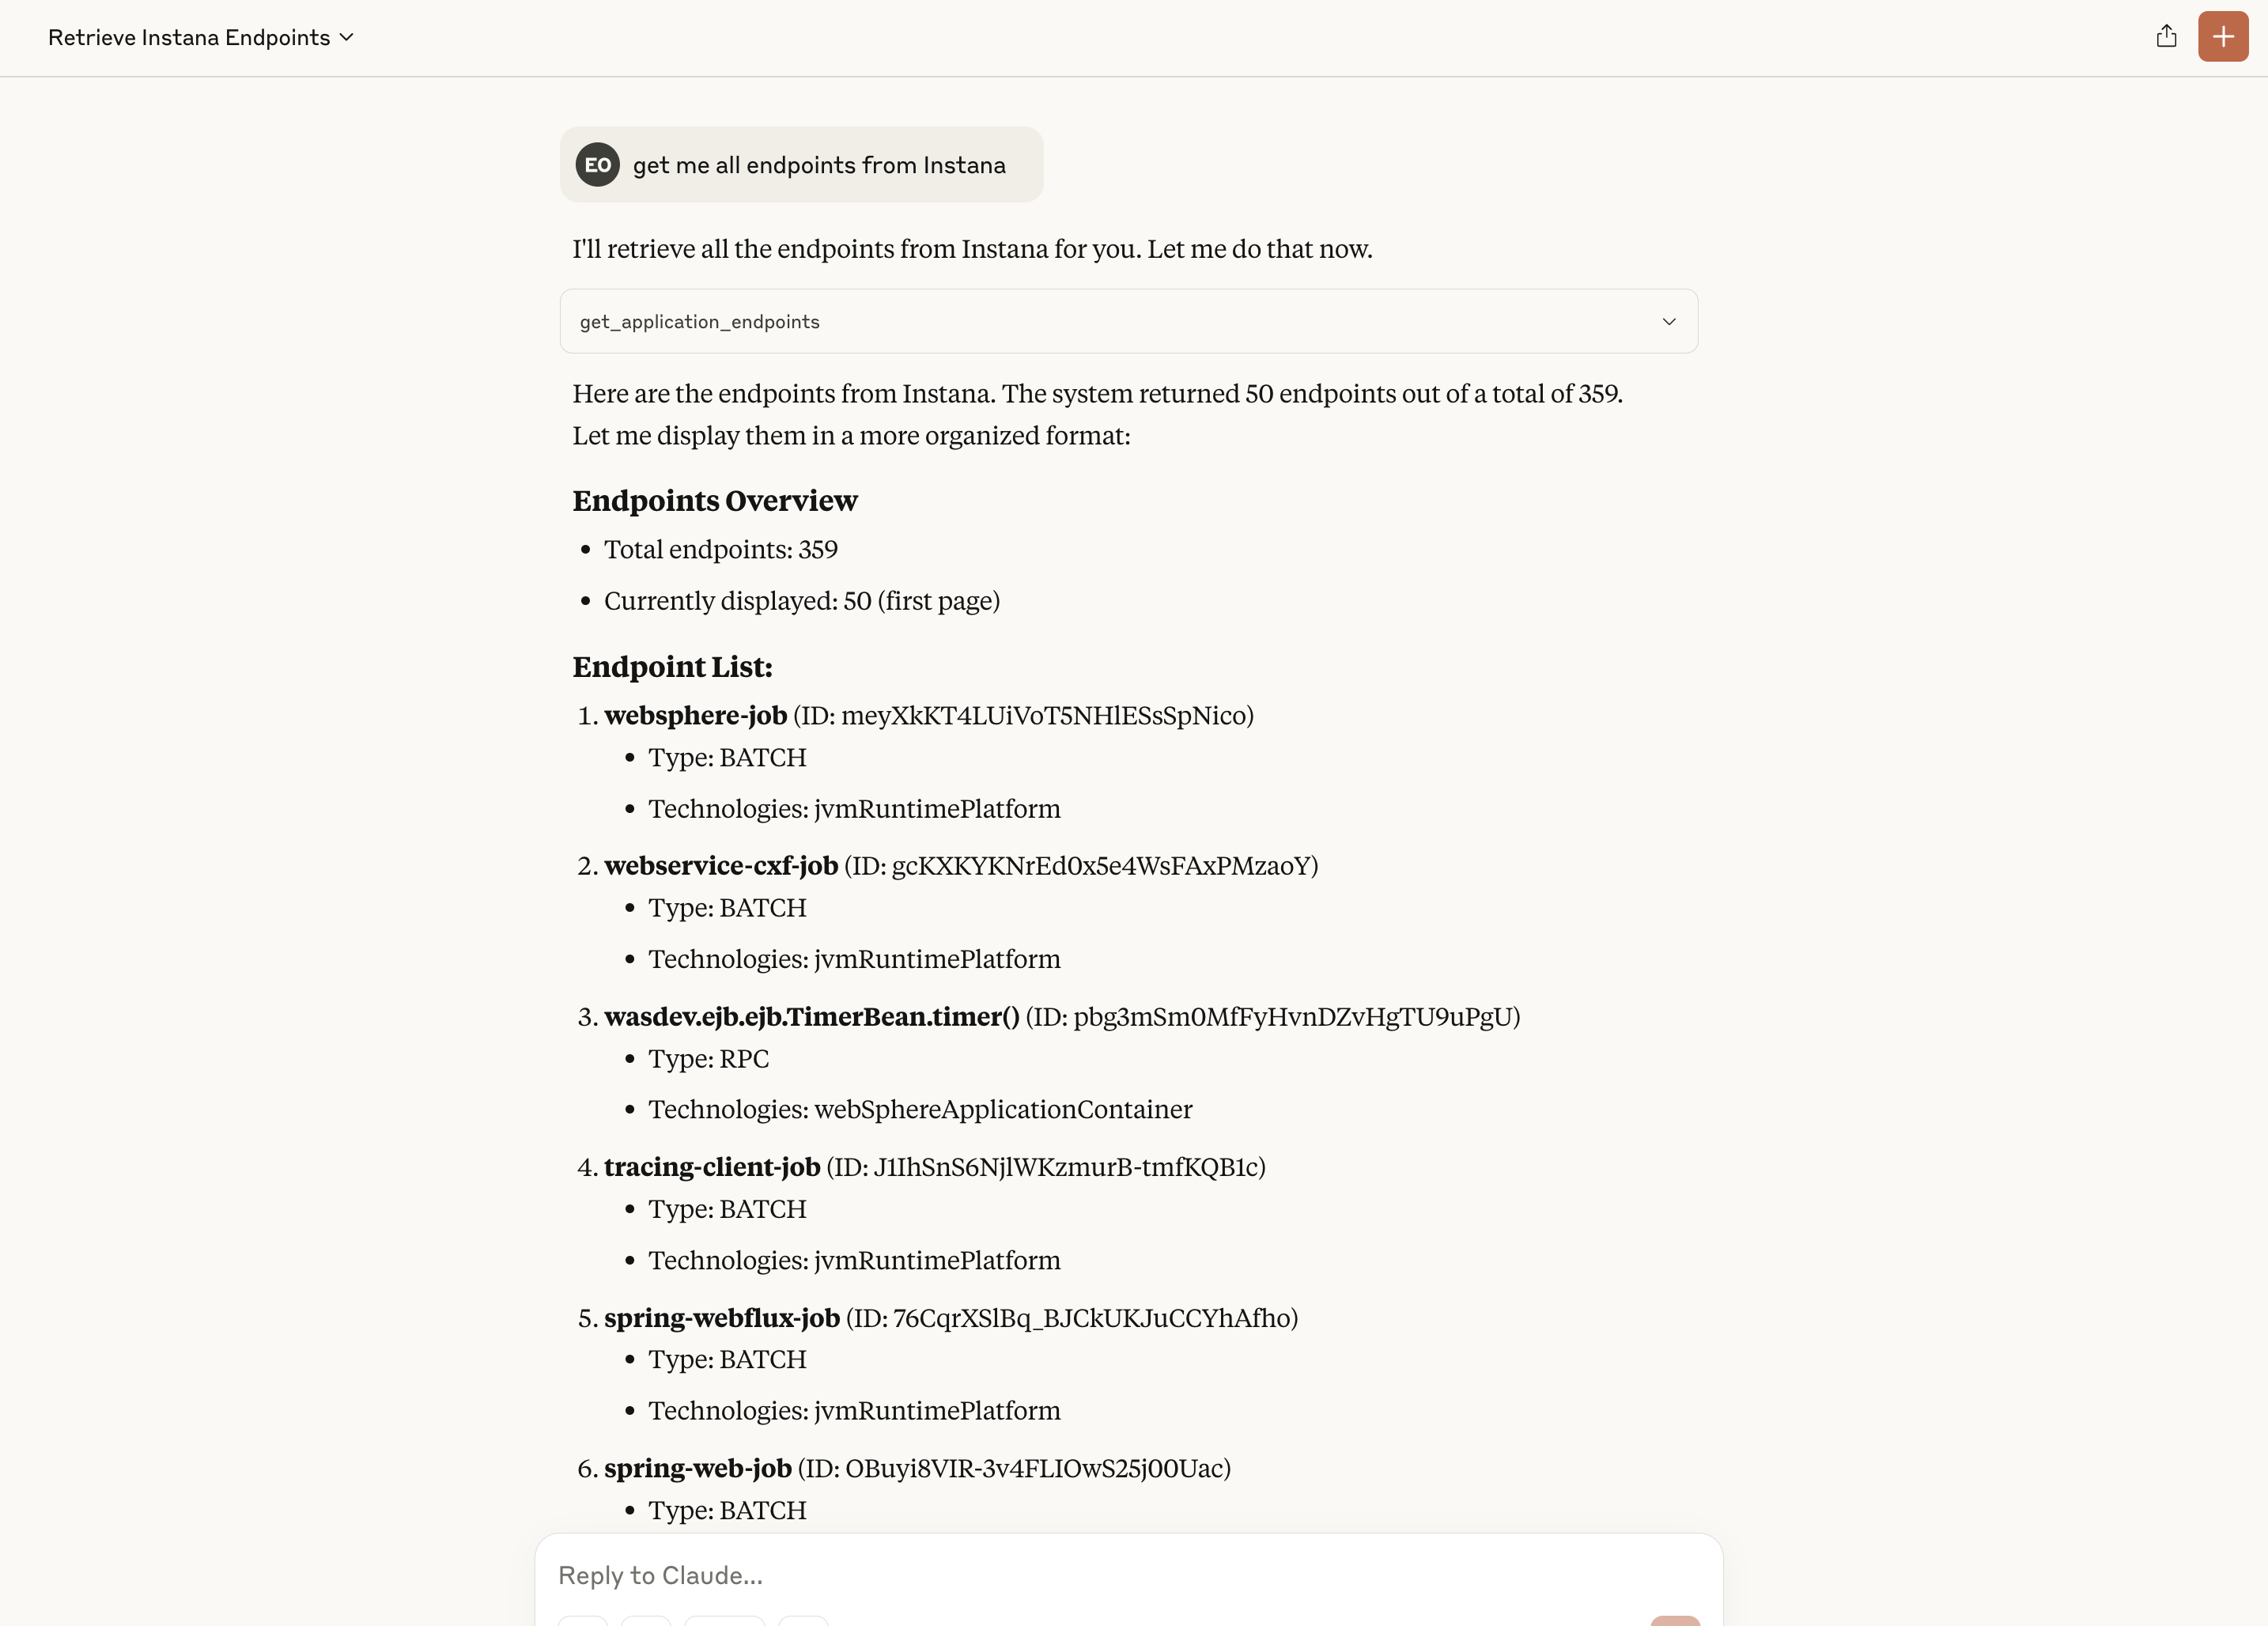
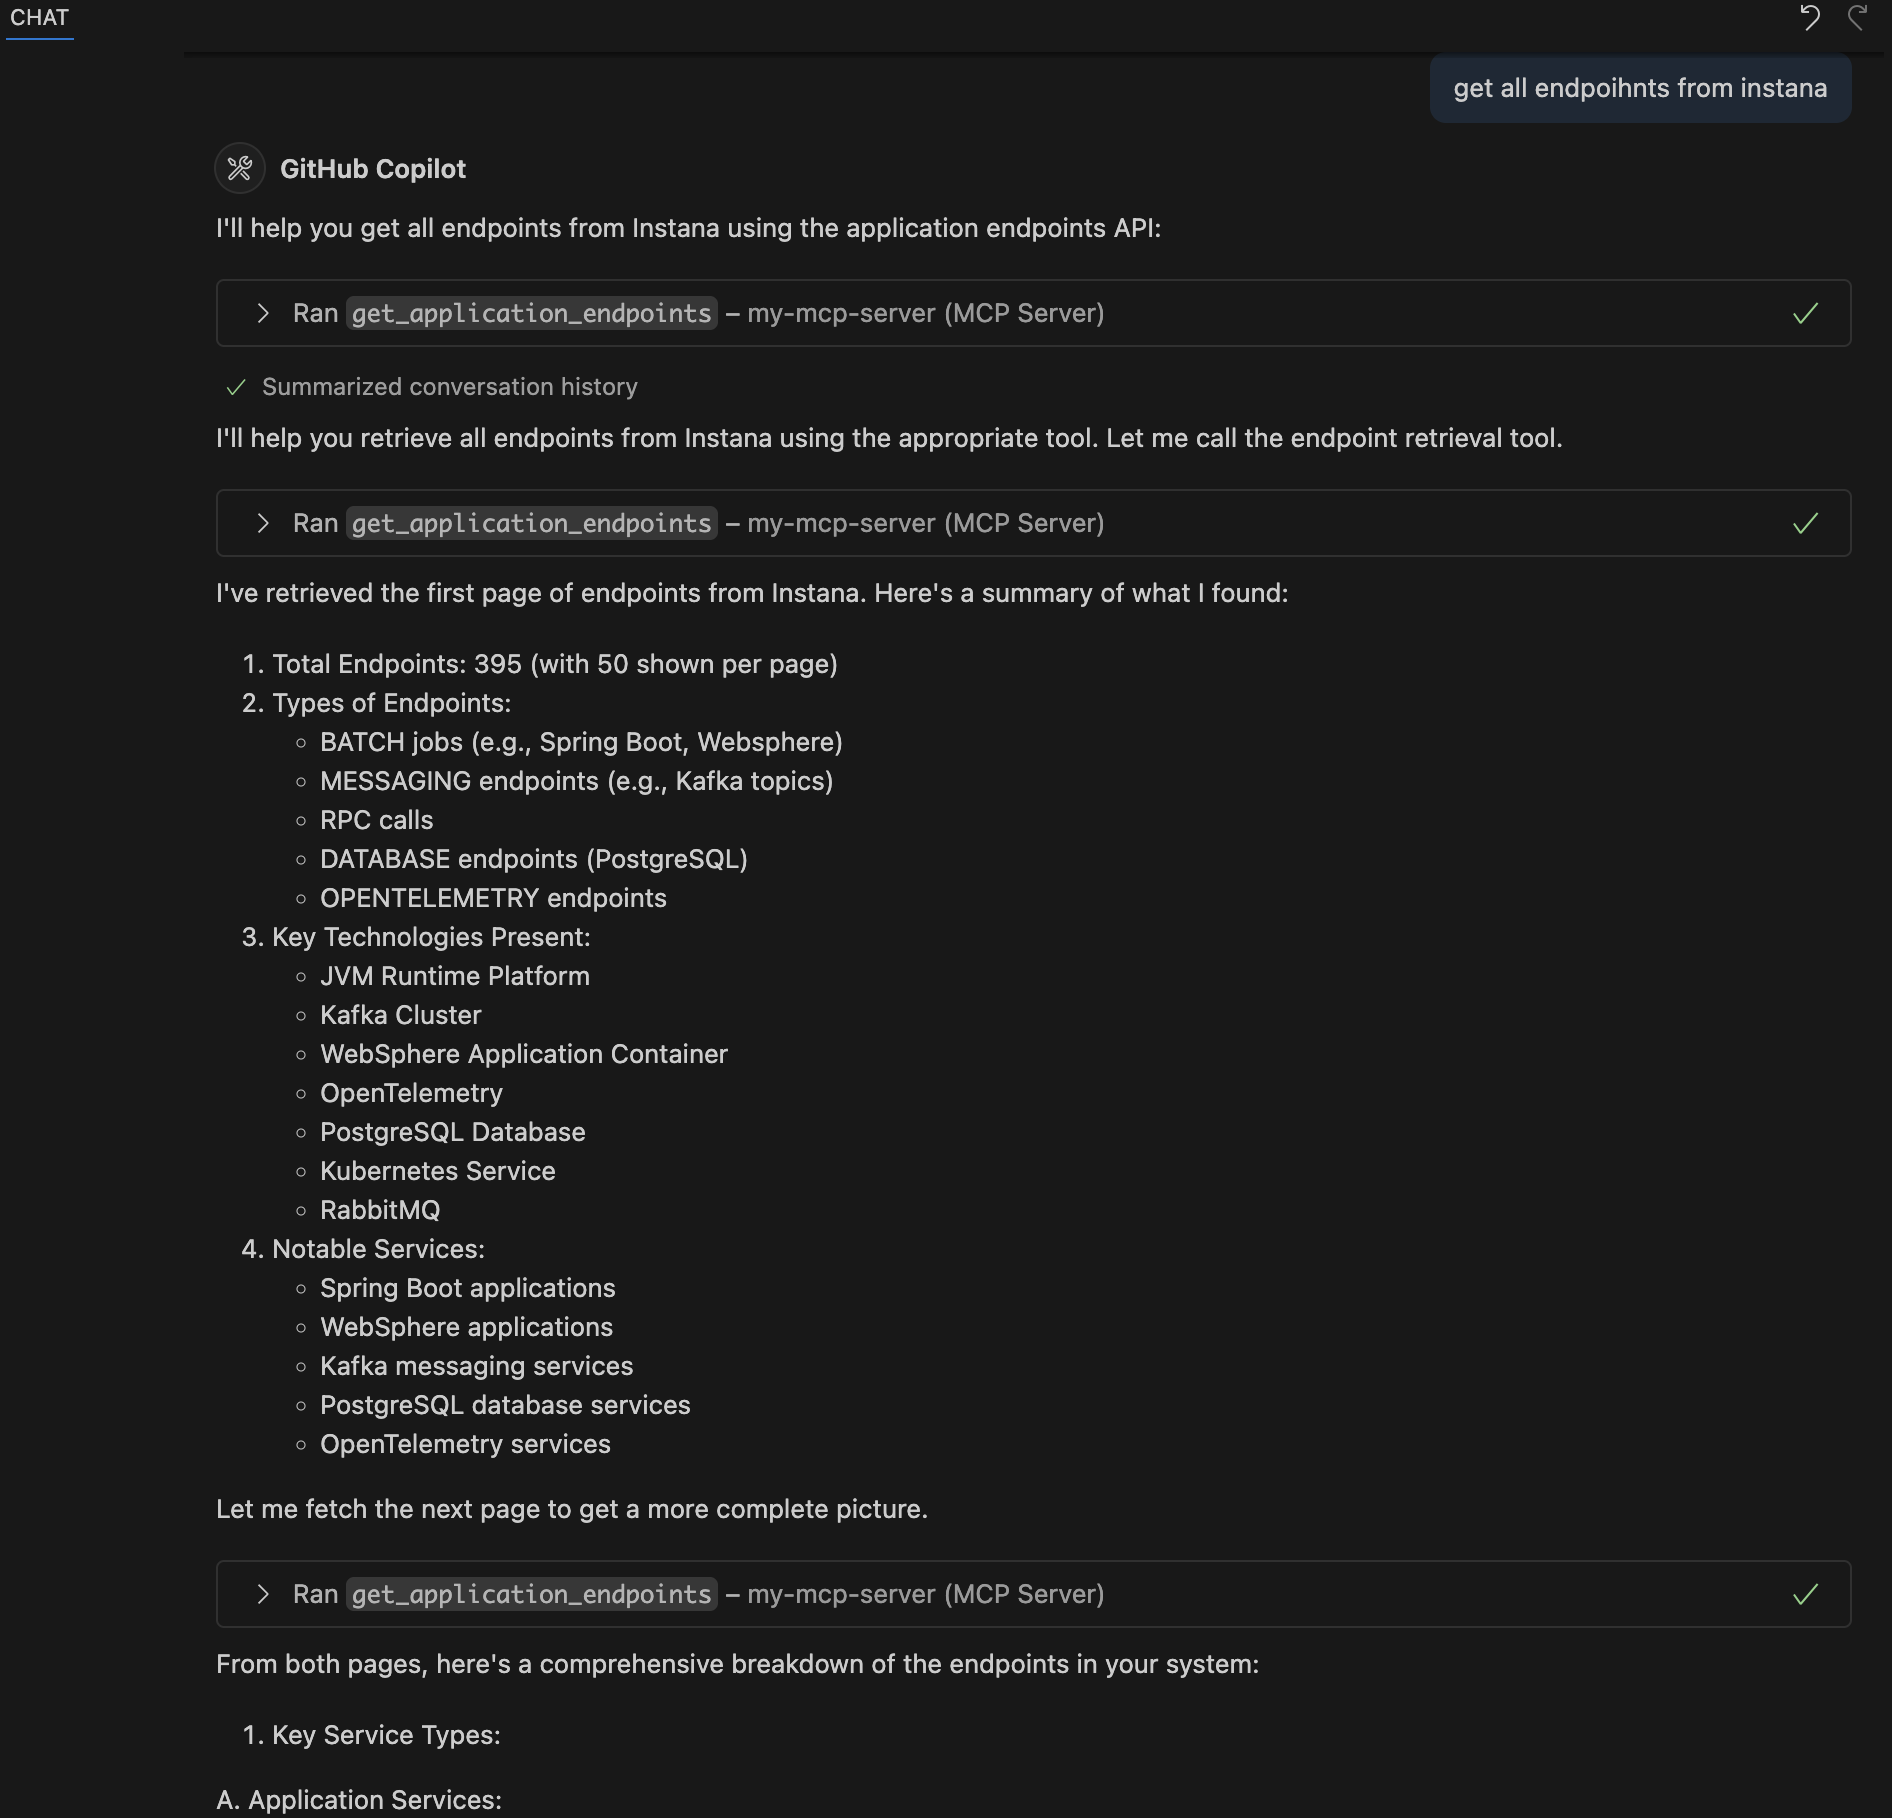
これで、Claude Desktop でクエリを実行できます。
get me all endpoints from Instana
Stdio モード
CLI を使用した設定 (PyPI インストール - 推奨):
オプション 1: 設定で環境変数を使用する:
{
  "mcpServers": {
    "Instana MCP Server": {
      "command": "mcp-instana",
      "args": ["--transport", "stdio"],
      "env": {
        "INSTANA_BASE_URL": "https://your-instana-instance.instana.io",
        "INSTANA_API_TOKEN": "your_instana_api_token"
      }
    }
  }
}
オプション 2: --env フラグを使用する (代替方法):
{
  "mcpServers": {
    "Instana MCP Server": {
      "command": "mcp-instana",
      "args": [
        "--transport", "stdio",
        "--env", "INSTANA_BASE_URL=https://your-instana-instance.instana.io",
        "--env", "INSTANA_API_TOKEN=your_instana_api_token"
      ]
    }
  }
}
注: 「コマンドが見つかりません」エラーが発生した場合は、mcp-instana へのフルパスを使用してください。which mcp-instana で見つけて、代わりにそのパスを使用してください。
開発インストールを使用した設定:
オプション 1: 設定で環境変数を使用する:
{
  "mcpServers": {
    "Instana MCP Server": {
      "command": "uv",
      "args": [
        "--directory",
        "<path-to-mcp-instana-folder>",
        "run",
        "src/core/server.py"
      ],
      "env": {
        "INSTANA_BASE_URL": "https://your-instana-instance.instana.io",
        "INSTANA_API_TOKEN": "your_instana_api_token"
      }
    }
  }
}
オプション 2: --env フラグを使用する (代替方法):
{
  "mcpServers": {
    "Instana MCP Server": {
      "command": "uv",
      "args": [
        "--directory",
        "<path-to-mcp-instana-folder>",
        "run",
        "src/core/server.py",
        "--env", "INSTANA_BASE_URL=https://your-instana-instance.instana.io",
        "--env", "INSTANA_API_TOKEN=your_instana_api_token"
      ]
    }
  }
}
Kiro セットアップ
Kiro はエージェンティック IDE であり、VS Code や他の IDE にダウンロードできる拡張機能ではありません。
ステップ 1: お使いのオペレーティングシステム用の Kiro を https://kiro.dev/. からダウンロードしてインストールします。**
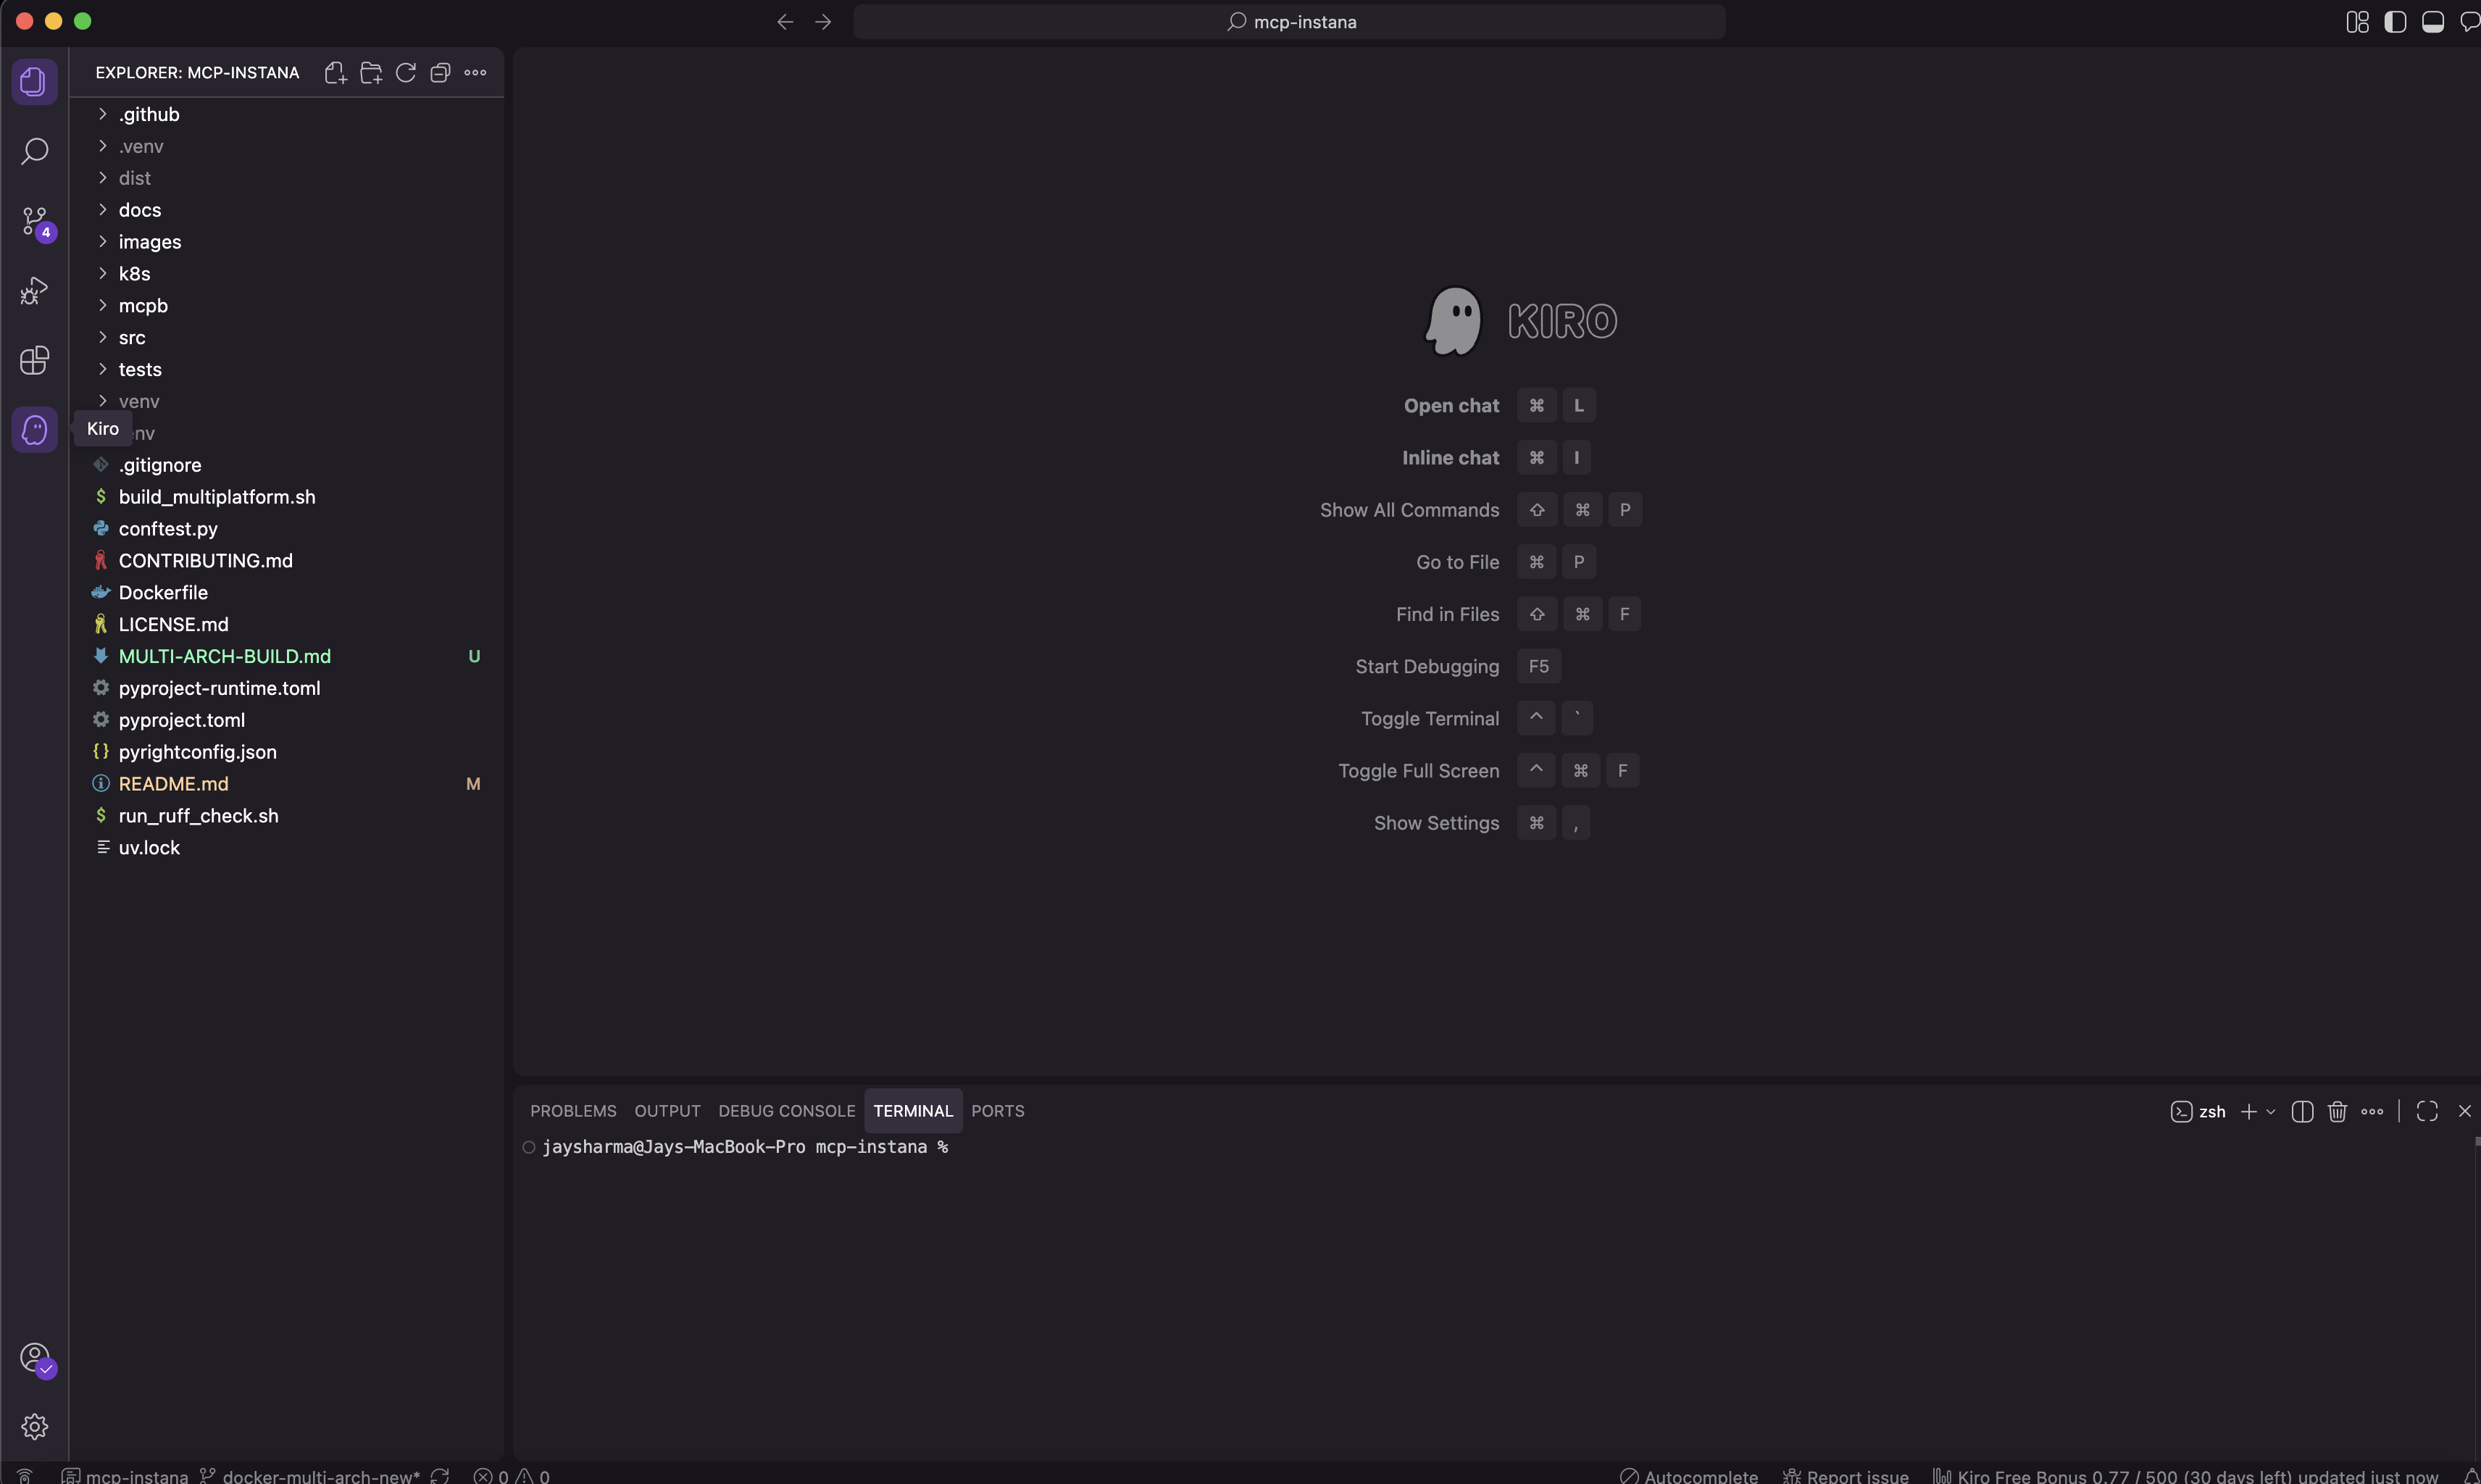
ステップ 2: インストール後、Kiro を起動し、IDE で任意のプロジェクトを開きます。
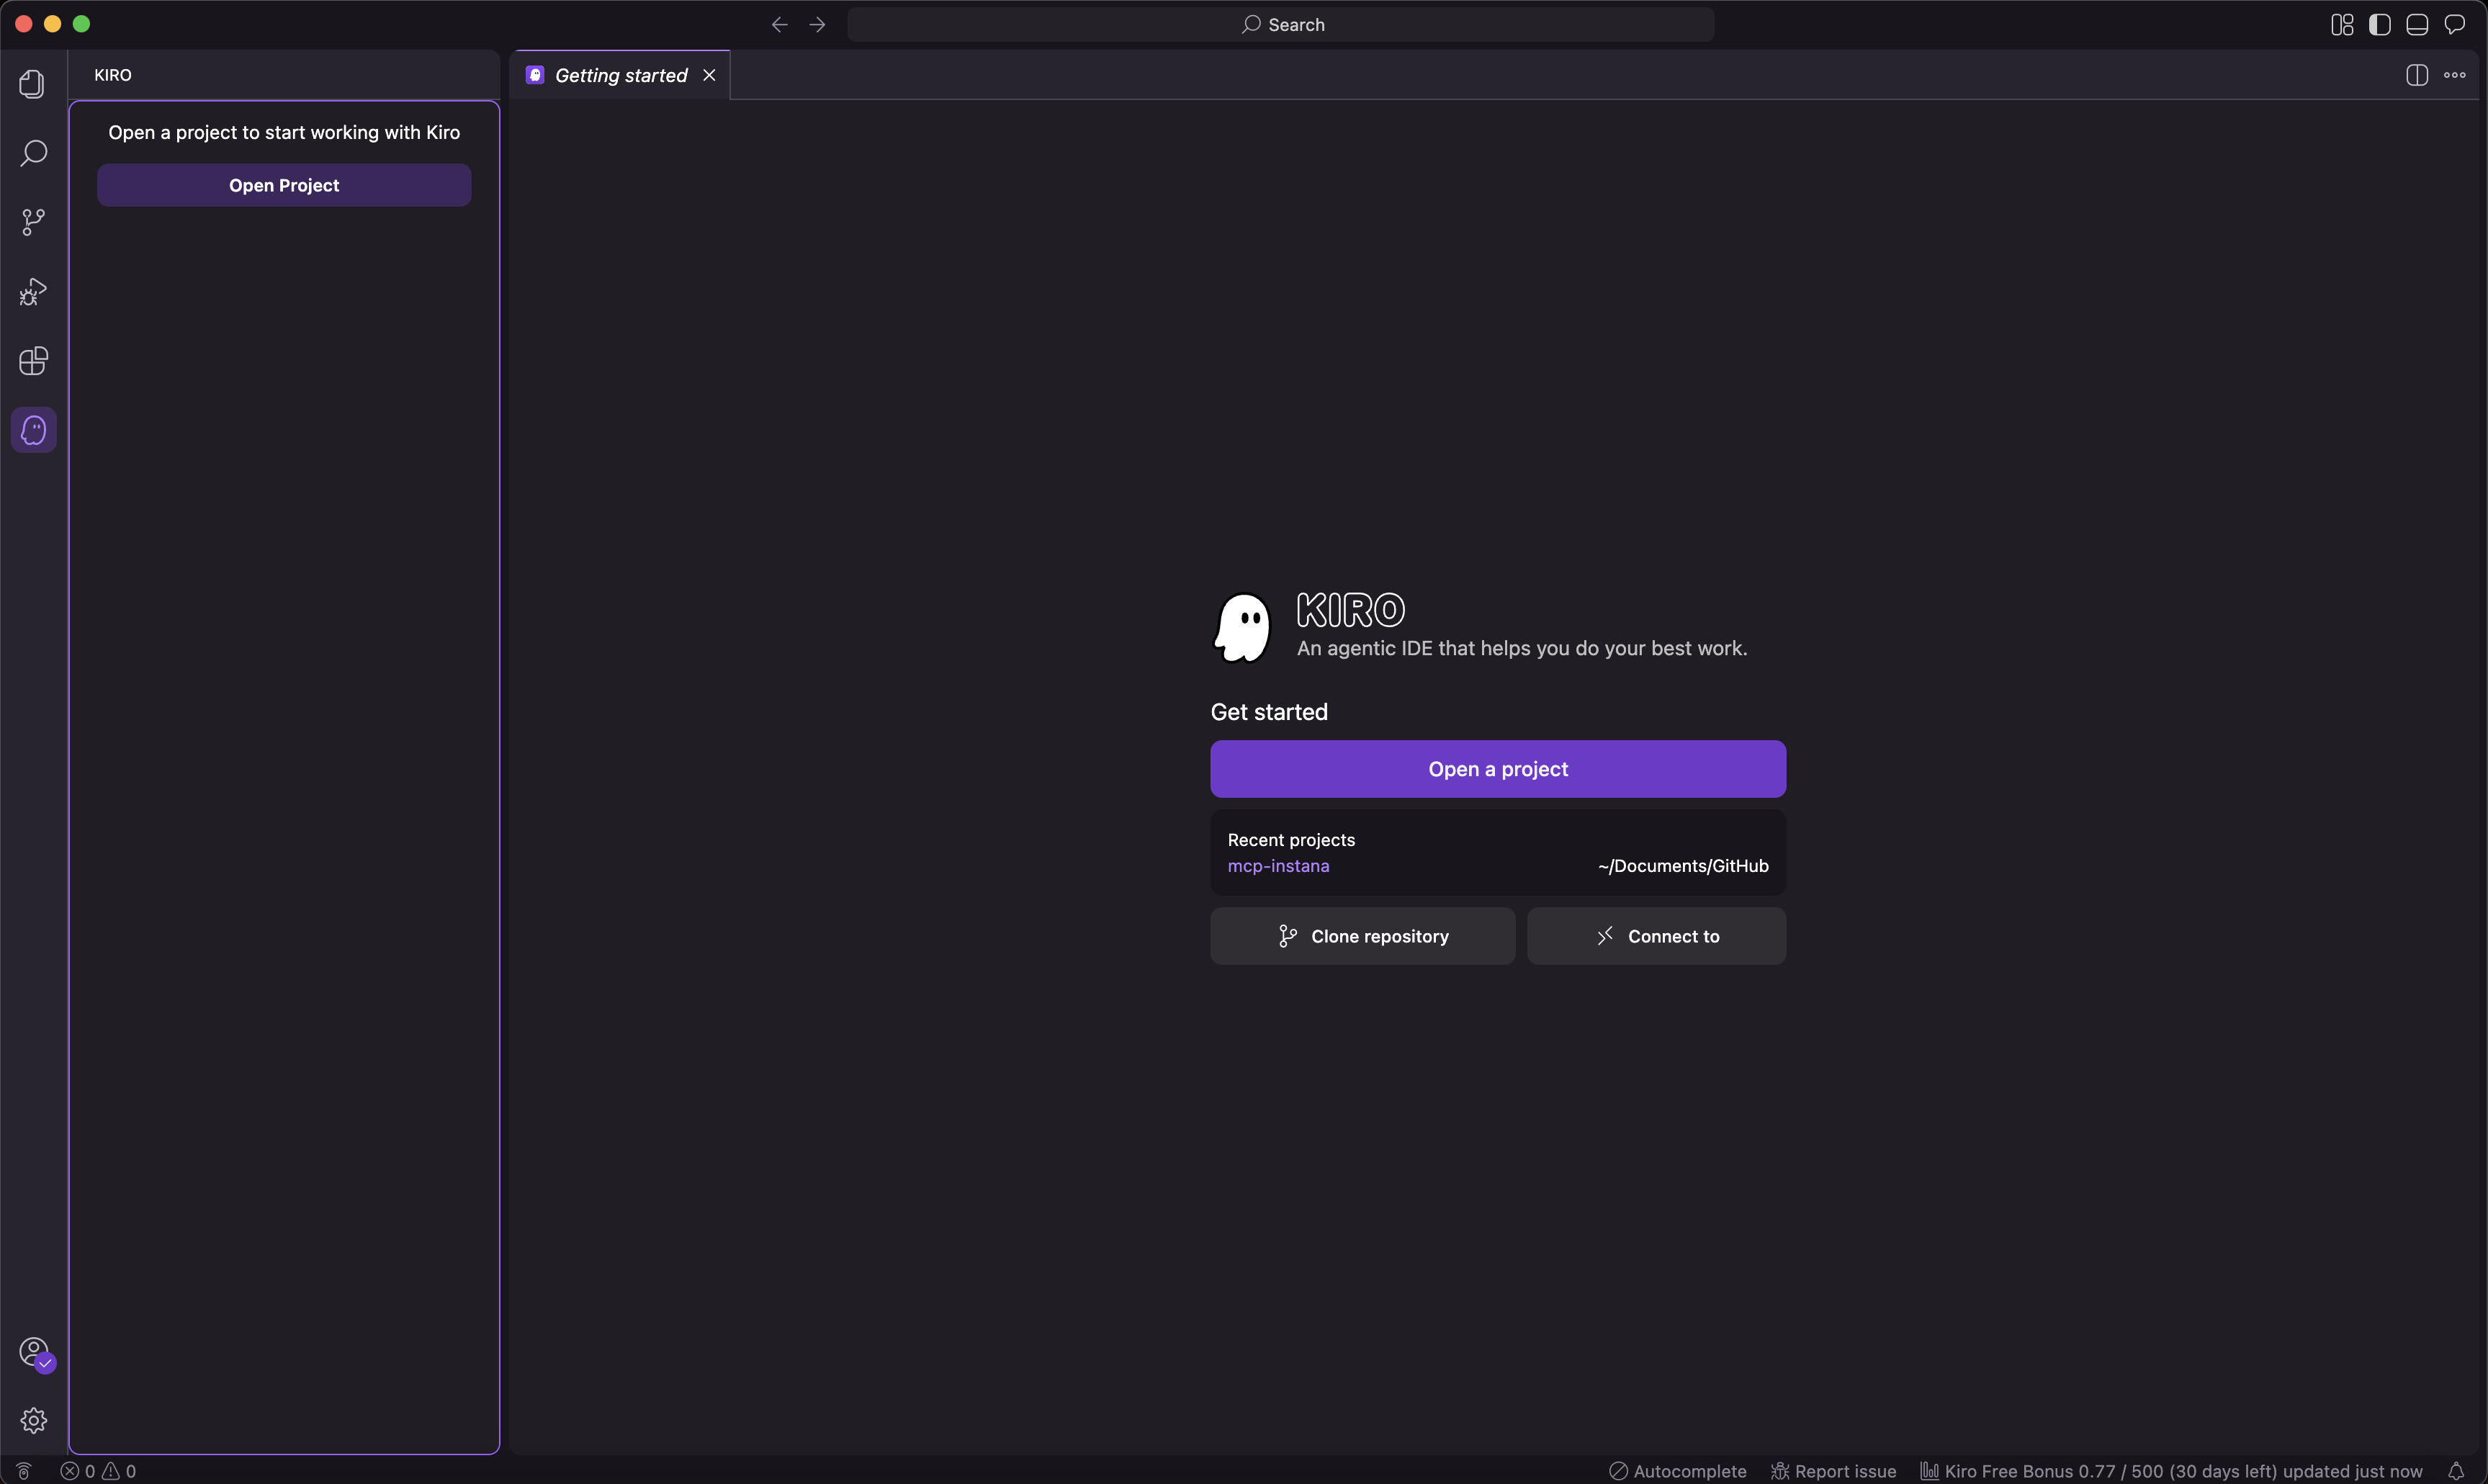
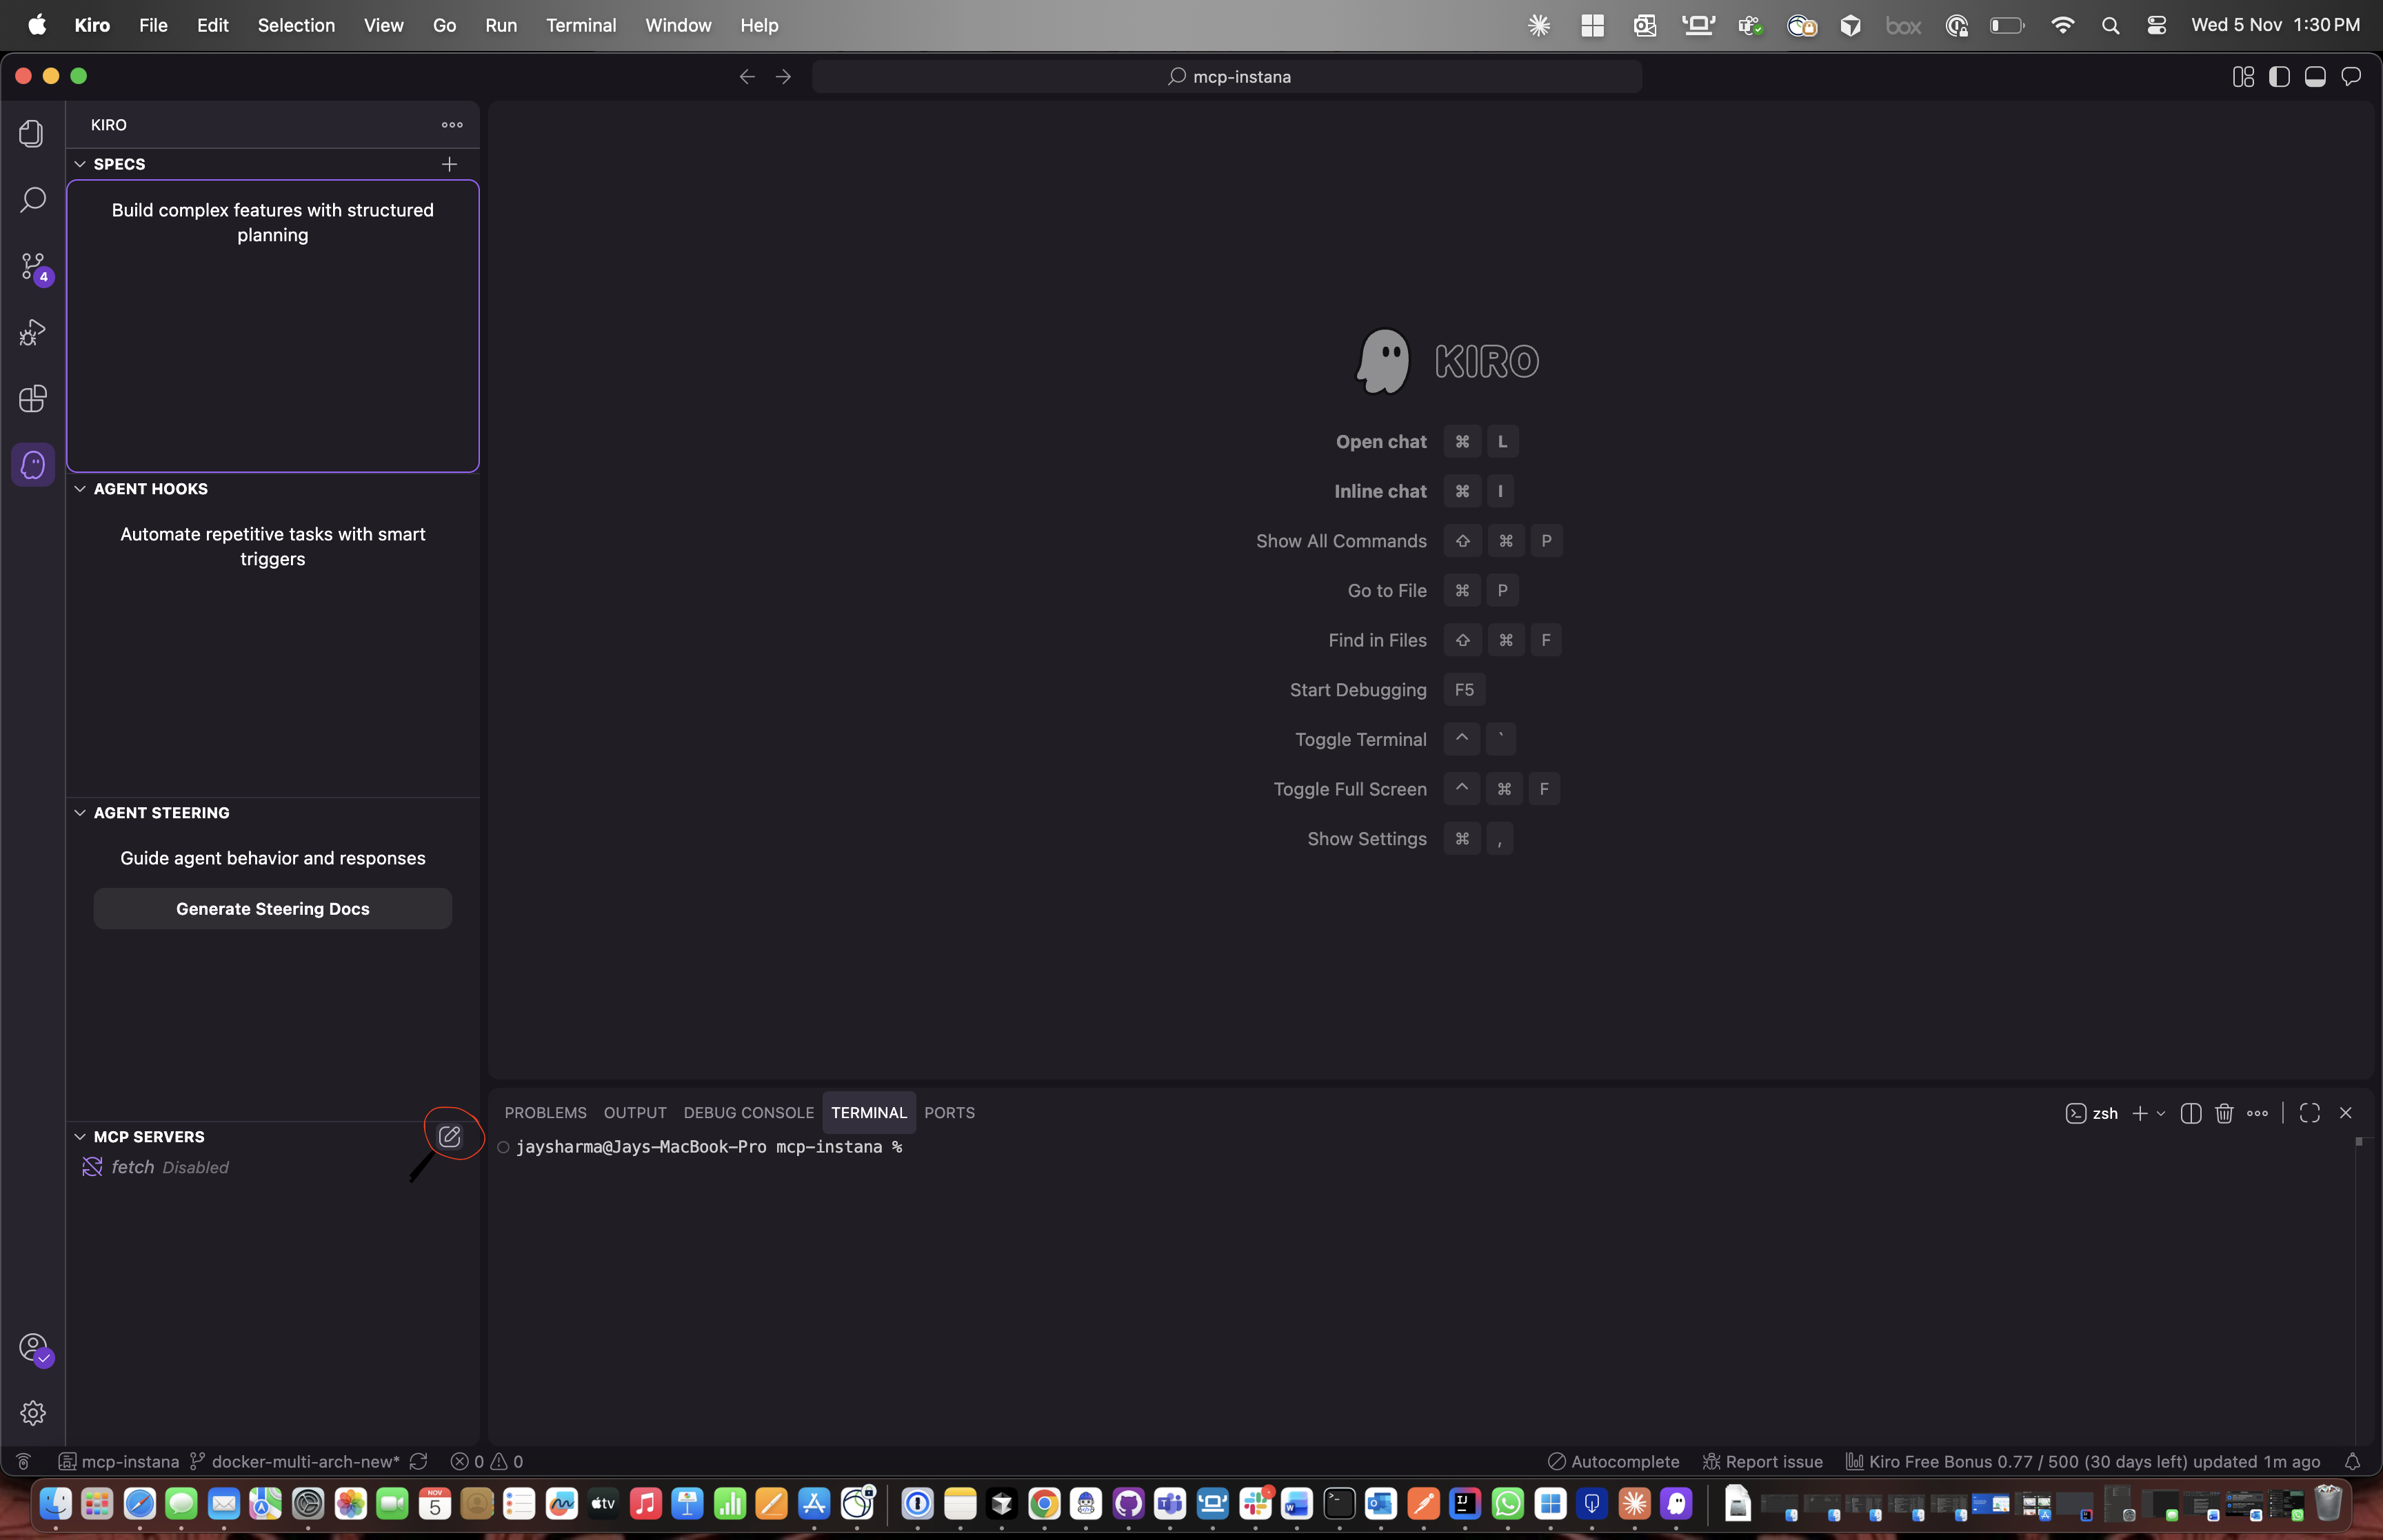
ステップ 3: 左側のサイドバーにある Kiro (Ghost) アイコンをクリックして、Kiro の機能にアクセスします。
ステップ 4: MCP Servers セクションの右上隅にある [Edit Config] アイコンを選択します。
ステップ 5: MCP サーバー設定ファイル (mcp.json) を開き、優先するトランスポートモードに基づいて設定します。
Streamable HTTP モード (Kiro に推奨)
{
  "mcpServers": {
    "Instana MCP Server": {
      "command": "npx",
      "args": [
        "mcp-remote", "http://0.0.0.0:8080/mcp/",
        "--allow-http",
        "--header", "instana-base-url: https://your-instana-instance.instana.io",
        "--header", "instana-api-token: your_instana_api_token"
      ]
    }
  }
}
注: この設定を使用する前に、MCP サーバーを streamable-http モードで起動してください。
mcp-instana --transport streamable-http
Stdio モード
オプション 1: 設定で環境変数を使用する:
{
  "mcpServers": {
    "Instana MCP Server": {
      "command": "mcp-instana",
      "args": ["--transport", "stdio"],
      "env": {
        "INSTANA_BASE_URL": "https://your-instana-instance.instana.io",
        "INSTANA_API_TOKEN": "your_instana_api_token"
      }
    }
  }
}
オプション 2: --env フラグを使用する (代替方法):
{
  "mcpServers": {
    "Instana MCP Server": {
      "command": "mcp-instana",
      "args": [
        "--transport", "stdio",
        "--env", "INSTANA_BASE_URL=https://your-instana-instance.instana.io",
        "--env", "INSTANA_API_TOKEN=your_instana_api_token"
      ]
    }
  }
}
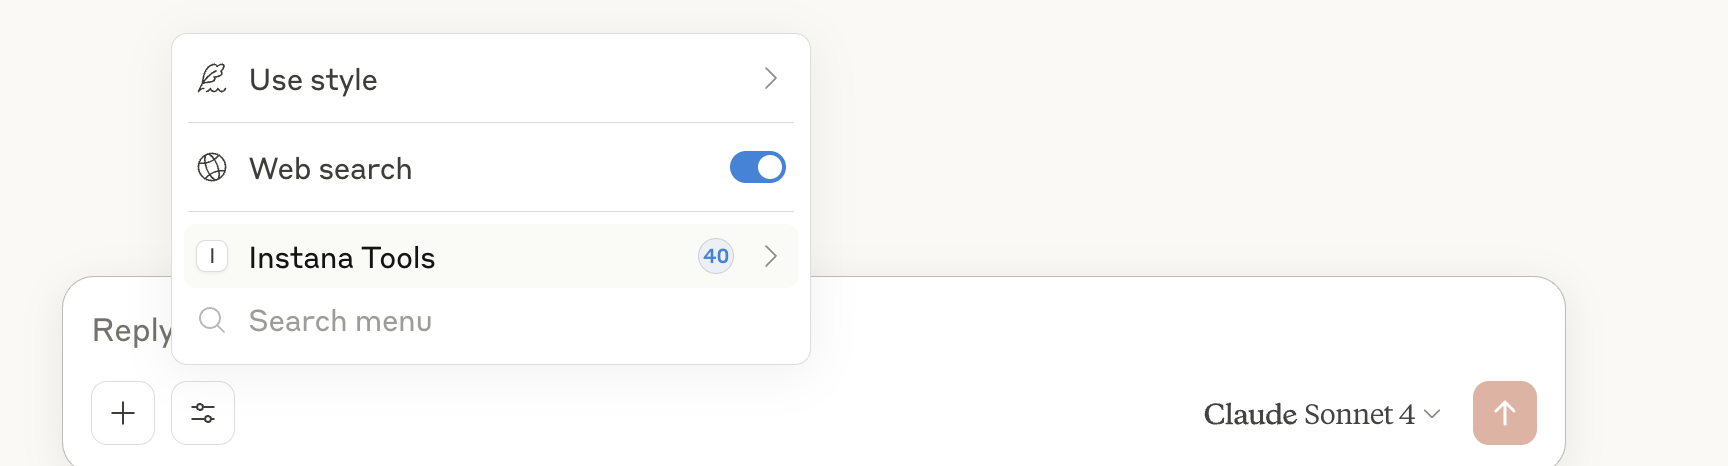
ステップ 6: ファイルを保存した後、[Enable MCP] ボタンをクリックすると、MCP サーバーとその利用可能なツールが Kiro の左下セクションに表示されます。
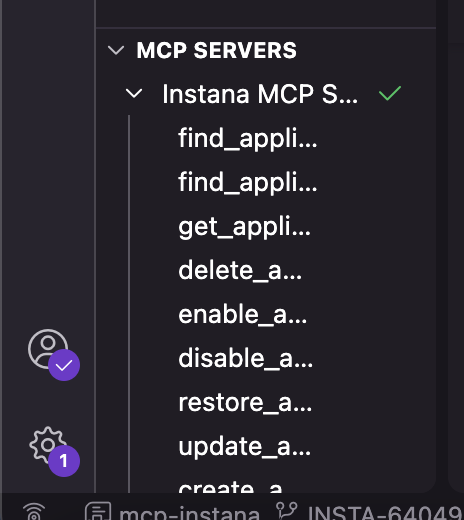
ステップ 7: AI チャットパネルに移動し、MCP サーバーに関連するプロンプトを入力すると、Kiro 内で直接応答を表示できます。
GitHub Copilot
GitHub Copilot は、VS Code 設定を通じて MCP 統合をサポートしています。 GitHub Copilot と VS Code の統合については、この セットアップガイド を参照してください。
Streamable HTTP モード
ステップ 1: MCP サーバーを Streamable HTTP モードで起動する
VS Code を設定する前に、MCP サーバーを Streamable HTTP モードで起動する必要があります。詳細な手順については、ローカル MCP サーバーの起動 セクションを参照してください。
ステップ 2: VS Code を設定する
詳細な設定については、VS Code で MCP サーバーを使用する を参照してください。
次の設定で .vscode/mcp.json を直接作成または更新できます。
{
  "servers": {
    "Instana MCP Server": {
      "command": "npx",
      "args": [
        "mcp-remote", "http://0.0.0.0:8080/mcp/",
        "--allow-http",
        "--header", "instana-base-url: https://your-instana-instance.instana.io",
        "--header", "instana-api-token: your_instana_api_token"
      ],
      "env": {
        "PATH": "/usr/local/bin:/bin:/usr/bin",
        "SHELL": "/bin/sh"
      }
    }
  }
}
注: 次の値を実際の設定に置き換えてください。
instana-base-url: Instana インスタンスの URLinstana-api-token: Instana API トークンcommand: システムの Node.js インストールに合わせて npx パスを更新します (例:/path/to/your/node/bin/npx)- 環境変数: システムに応じて PATH やその他の環境変数を調整してください
Stdio モード
ステップ 1: VS Code MCP 設定を作成する
CLI を使用する場合 (PyPI インストール - 推奨):
プロジェクトルートに .vscode/mcp.json を作成します。
オプション 1: 設定で環境変数を使用する:
{
  "servers": {
    "Instana MCP Server": {
      "command": "mcp-instana",
      "args": ["--transport", "stdio"],
      "env": {
        "INSTANA_BASE_URL": "https://your-instana-instance.instana.io",
        "INSTANA_API_TOKEN": "your_instana_api_token"
      }
    }
  }
}
オプション 2: --env フラグを使用する (代替方法):
{
  "servers": {
    "Instana MCP Server": {
      "command": "mcp-instana",
      "args": [
        "--transport", "stdio",
        "--env", "INSTANA_BASE_URL=https://your-instana-instance.instana.io",
        "--env", "INSTANA_API_TOKEN=your_instana_api_token"
      ]
    }
  }
}
開発インストールを使用する場合:
プロジェクトルートに .vscode/mcp.json を作成します。
オプション 1: 設定で環境変数を使用する:
{
  "servers": {
    "Instana MCP Server": {
      "command": "uv",
      "args": [
        "--directory",
        "/absolute/path/to/your/project/mcp-instana",
        "run",
        "src/core/server.py"
      ],
      "env": {
        "INSTANA_BASE_URL": "https://your-instana-instance.instana.io",
        "INSTANA_API_TOKEN": "your_instana_api_token"
      }
    }
  }
}
オプション 2: --env フラグを使用する (代替方法):
{
  "servers": {
    "Instana MCP Server": {
      "command": "uv",
      "args": [
        "--directory",
        "/absolute/path/to/your/project/mcp-instana",
        "run",
        "src/core/server.py",
        "--env", "INSTANA_BASE_URL=https://your-instana-instance.instana.io",
        "--env", "INSTANA_API_TOKEN=your_instana_api_token"
      ]
    }
  }
}
注: 次の値を実際の設定に置き換えてください。
- CLI インストールの場合:
mcp-instanaが PATH に含まれていることを確認してください - 開発インストールの場合:
command: システムの uv インストールに合わせて uv パスを更新します (例:/path/to/your/uv/bin/uvまたは/usr/local/bin/uv)--directory: mcp-instana プロジェクトディレクトリへの絶対パスで更新します
INSTANA_BASE_URL: Instana インスタンスの URLINSTANA_API_TOKEN: Instana API トークン
ステップ 2: VS Code でサーバーを管理する
.vscode/mcp.jsonを開く - 上部にサーバー管理コントロールが表示されますInstana MCP Serverの横にあるStartをクリックしてサーバーを起動します- 実行ステータスとツールの数が表示され、サーバーが実行中であることを示します
ステップ 3: 統合をテストする
GitHub Copilot でエージェントモードに切り替え、ツールをリロードします。 GitHub Copilot の応答例を次に示します。
Mistral AI
Mistral AI は、Streamable HTTP モードを通じてのみ MCP 統合をサポートしています。
ステップ 1: MCP サーバーを Streamable HTTP モードで起動する
Instana 認証情報を提供して、MCP サーバーを Streamable HTTP モードで起動します。次のコマンドを実行します。
uv run src/core/server.py --transport streamable-http \
  --api-token "your_instana_api_token" \
  --base-url "https://your-instana-instance.instana.io" \
  --port 8080
ステップ 2: Ngrok でポートフォワーディングを設定する
ローカルサーバーを公開するためにポートフォワーディングを設定します。詳細な手順については、Ngrok セットアップドキュメント に従ってください。
ステップ 3: Mistral AI を設定する
-
左側のサイドバーにある Intelligence タブに移動し、Connectors を選択します
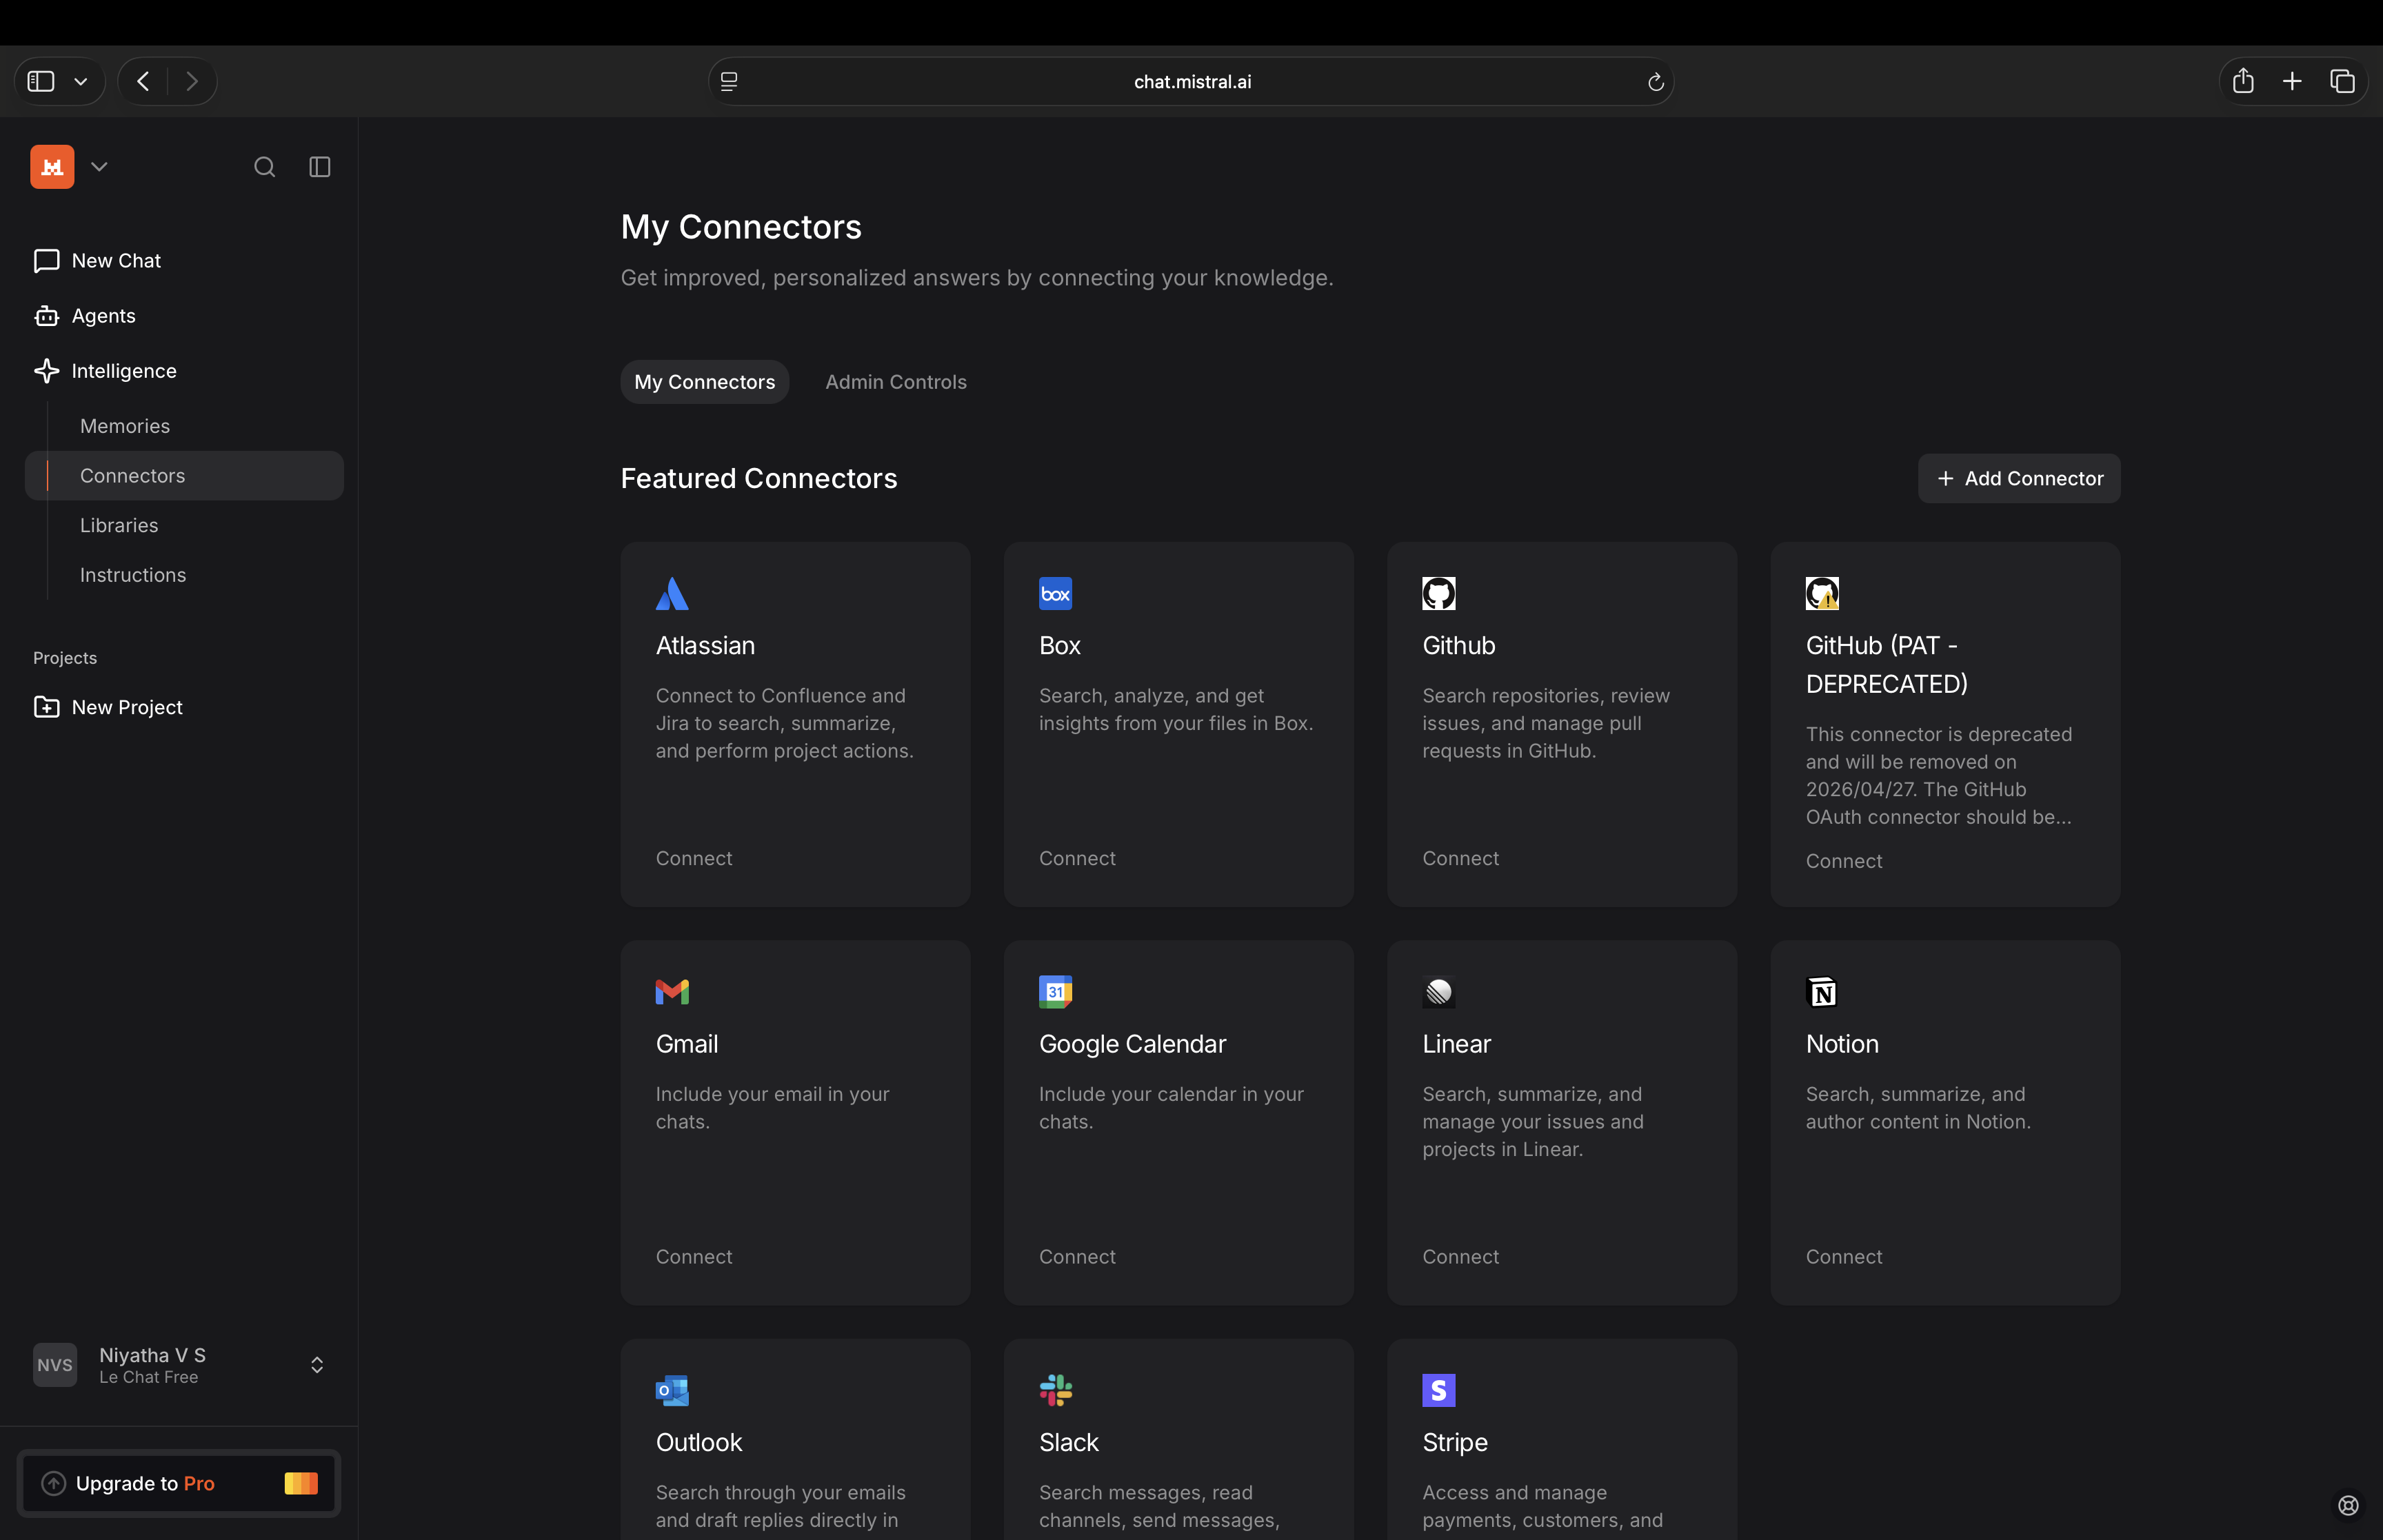
-
Add Connector をクリックします
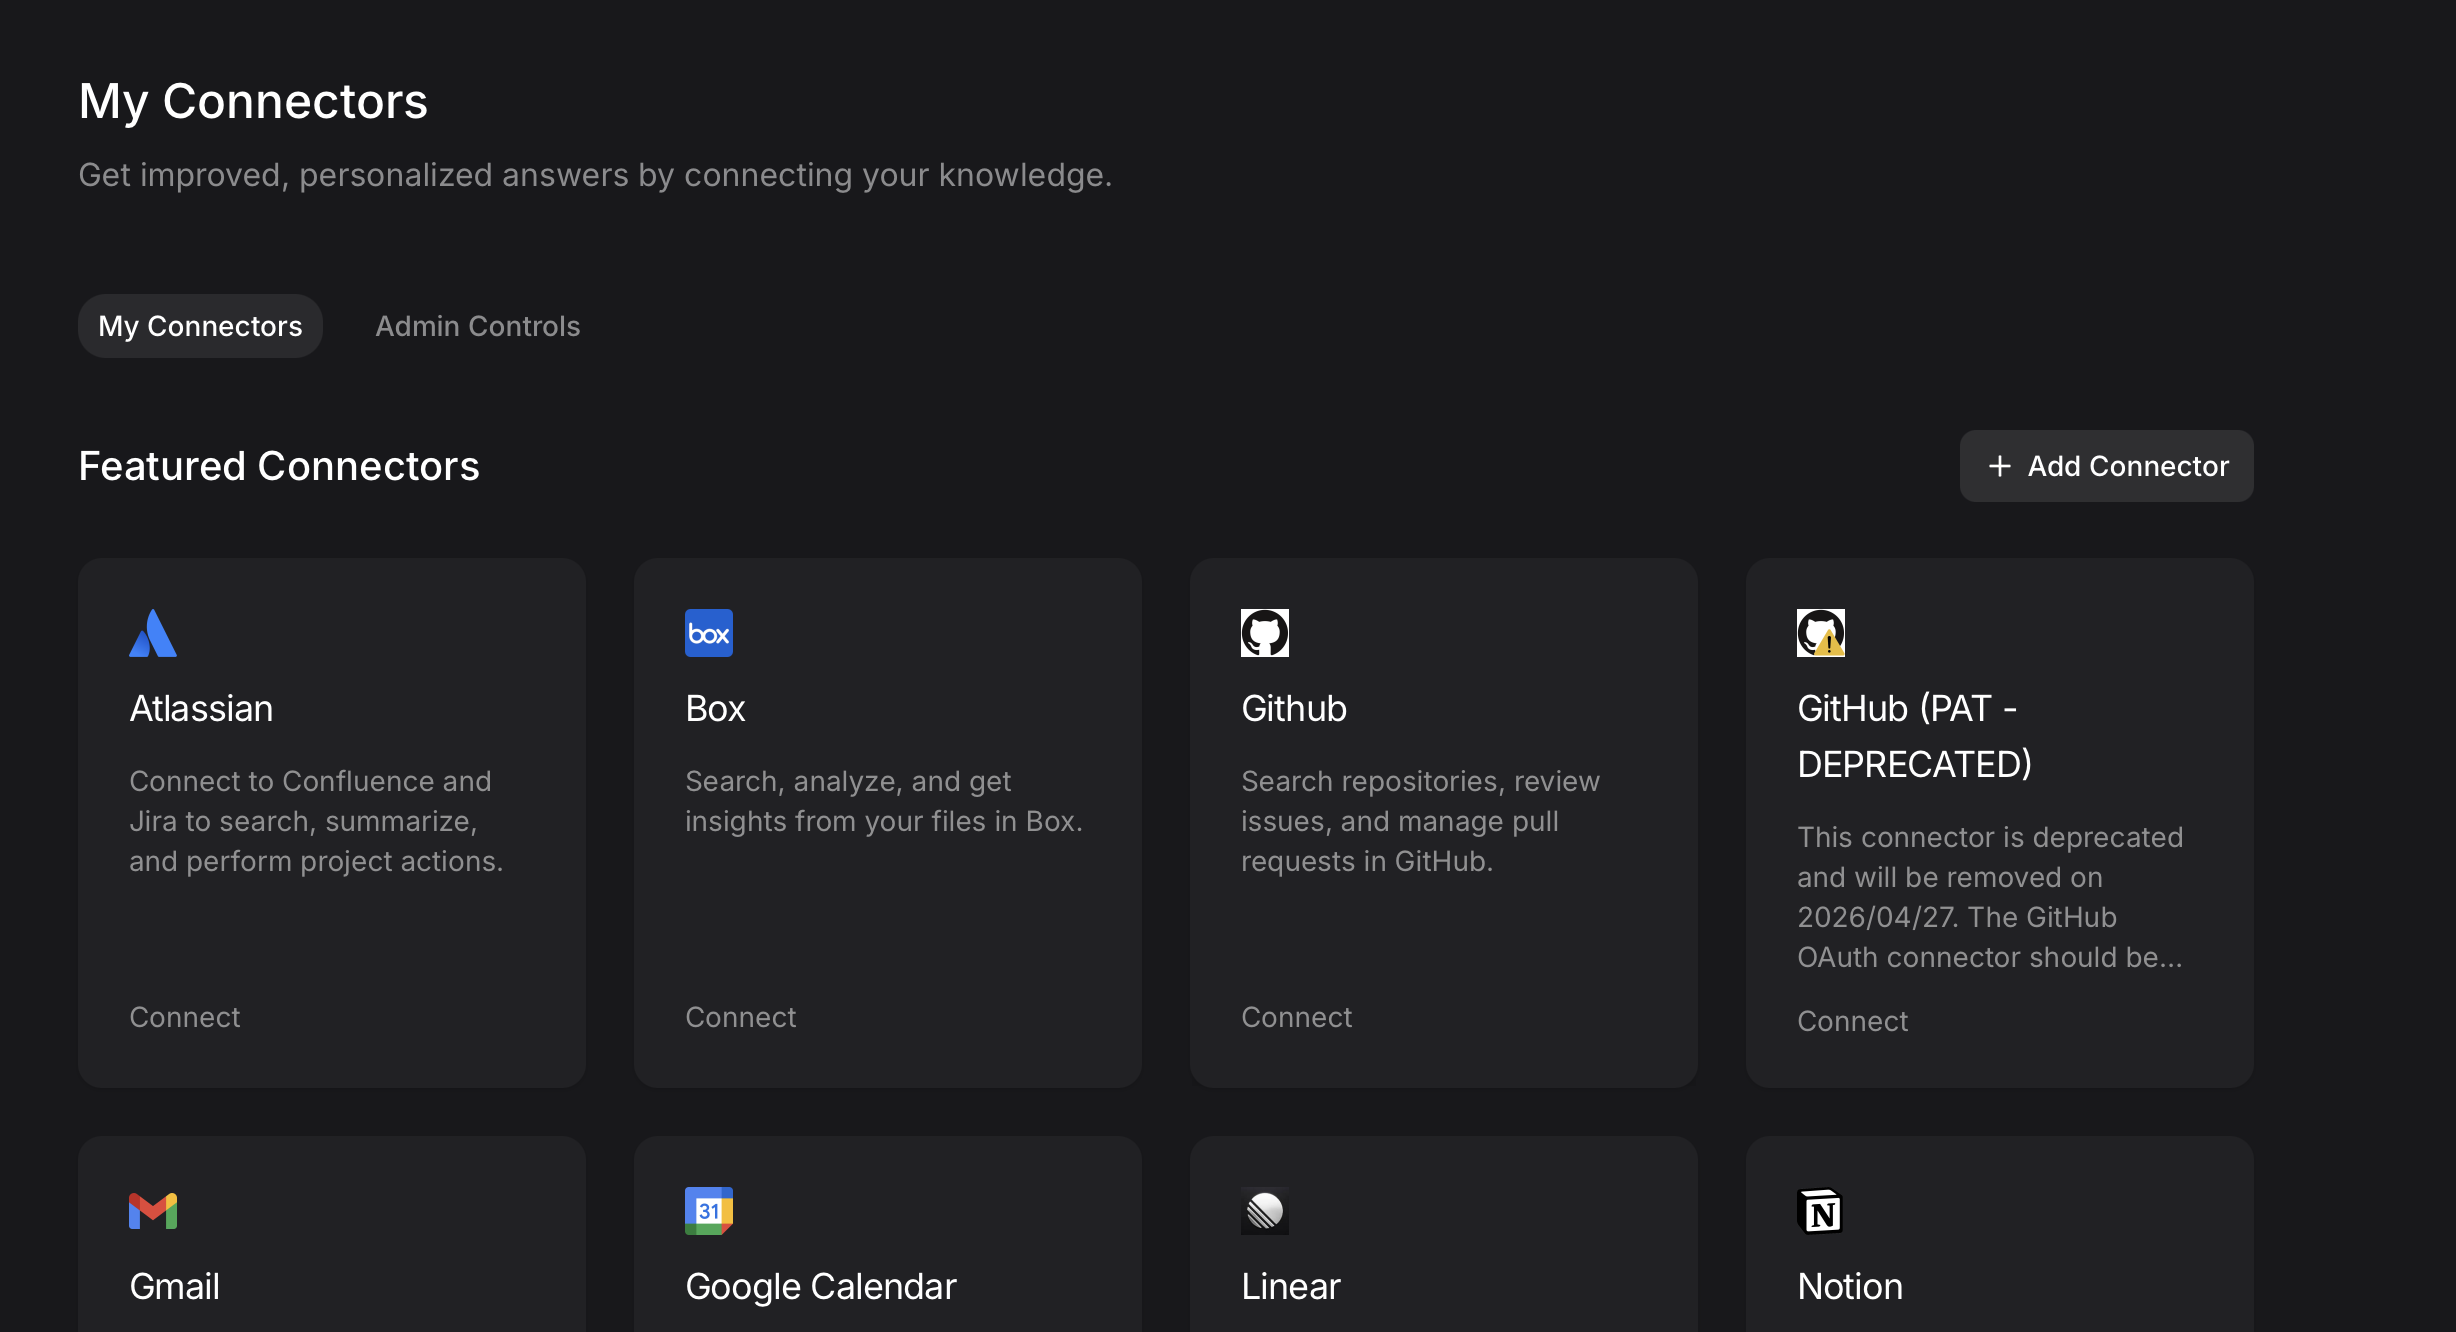
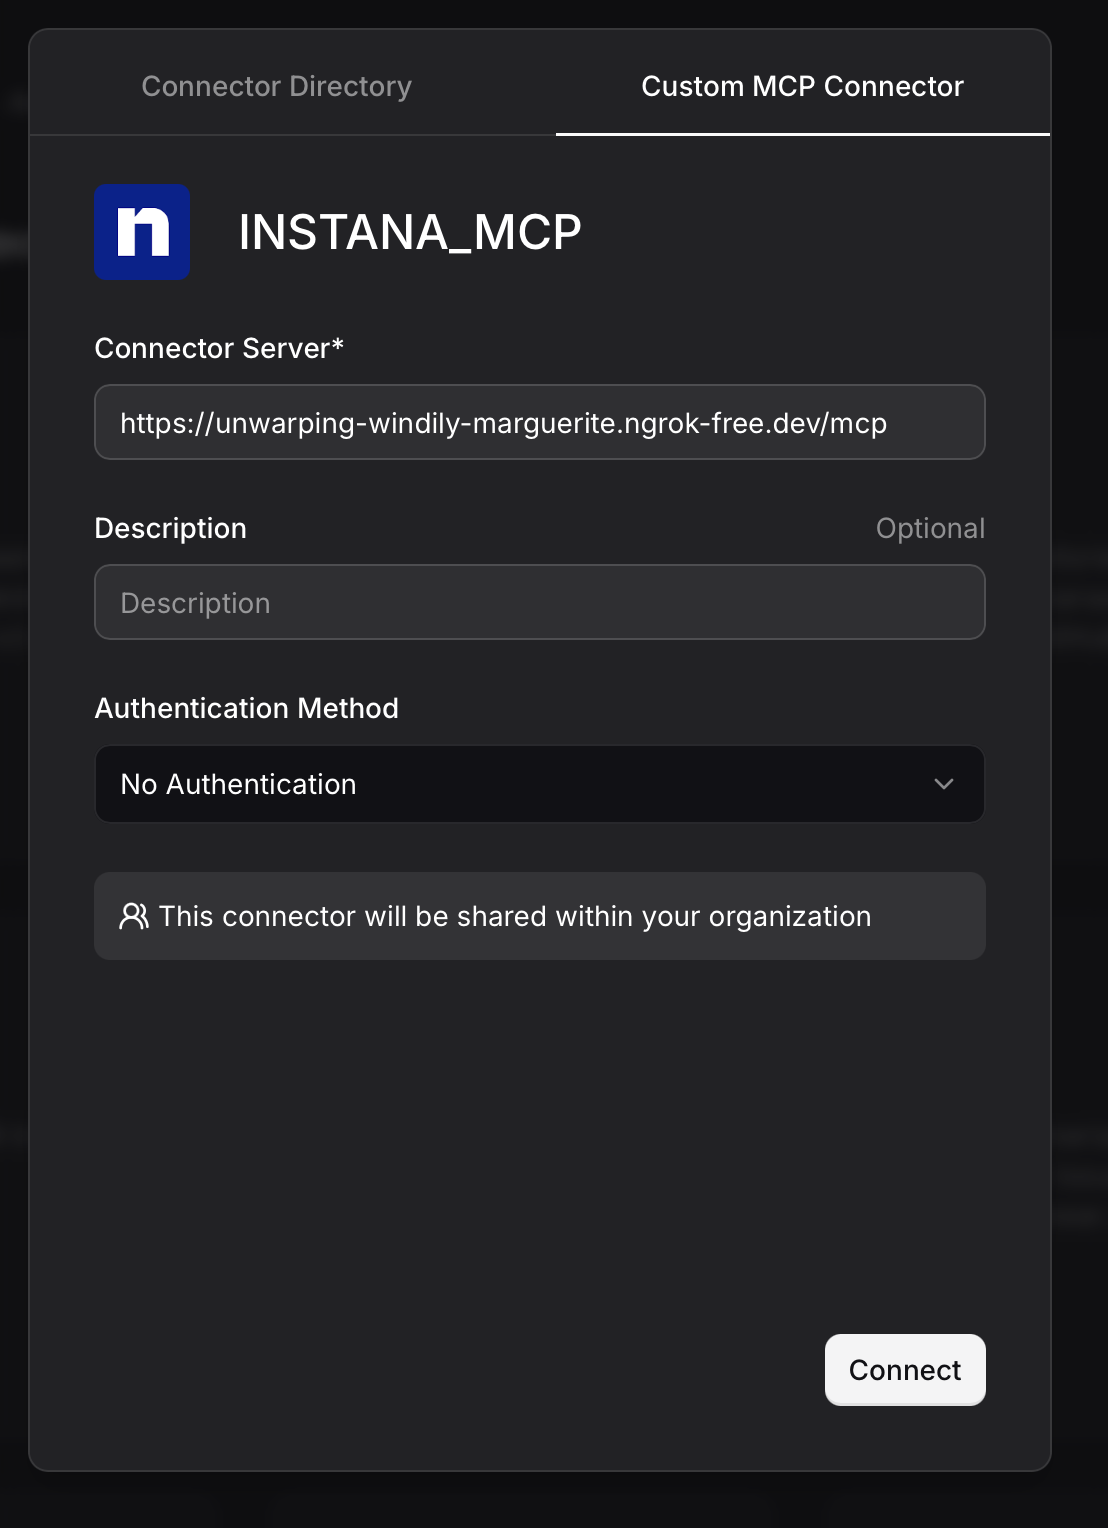
-
コネクタ名と Ngrok で転送された MCP サーバーの URL を入力して、カスタムコネクタを作成します
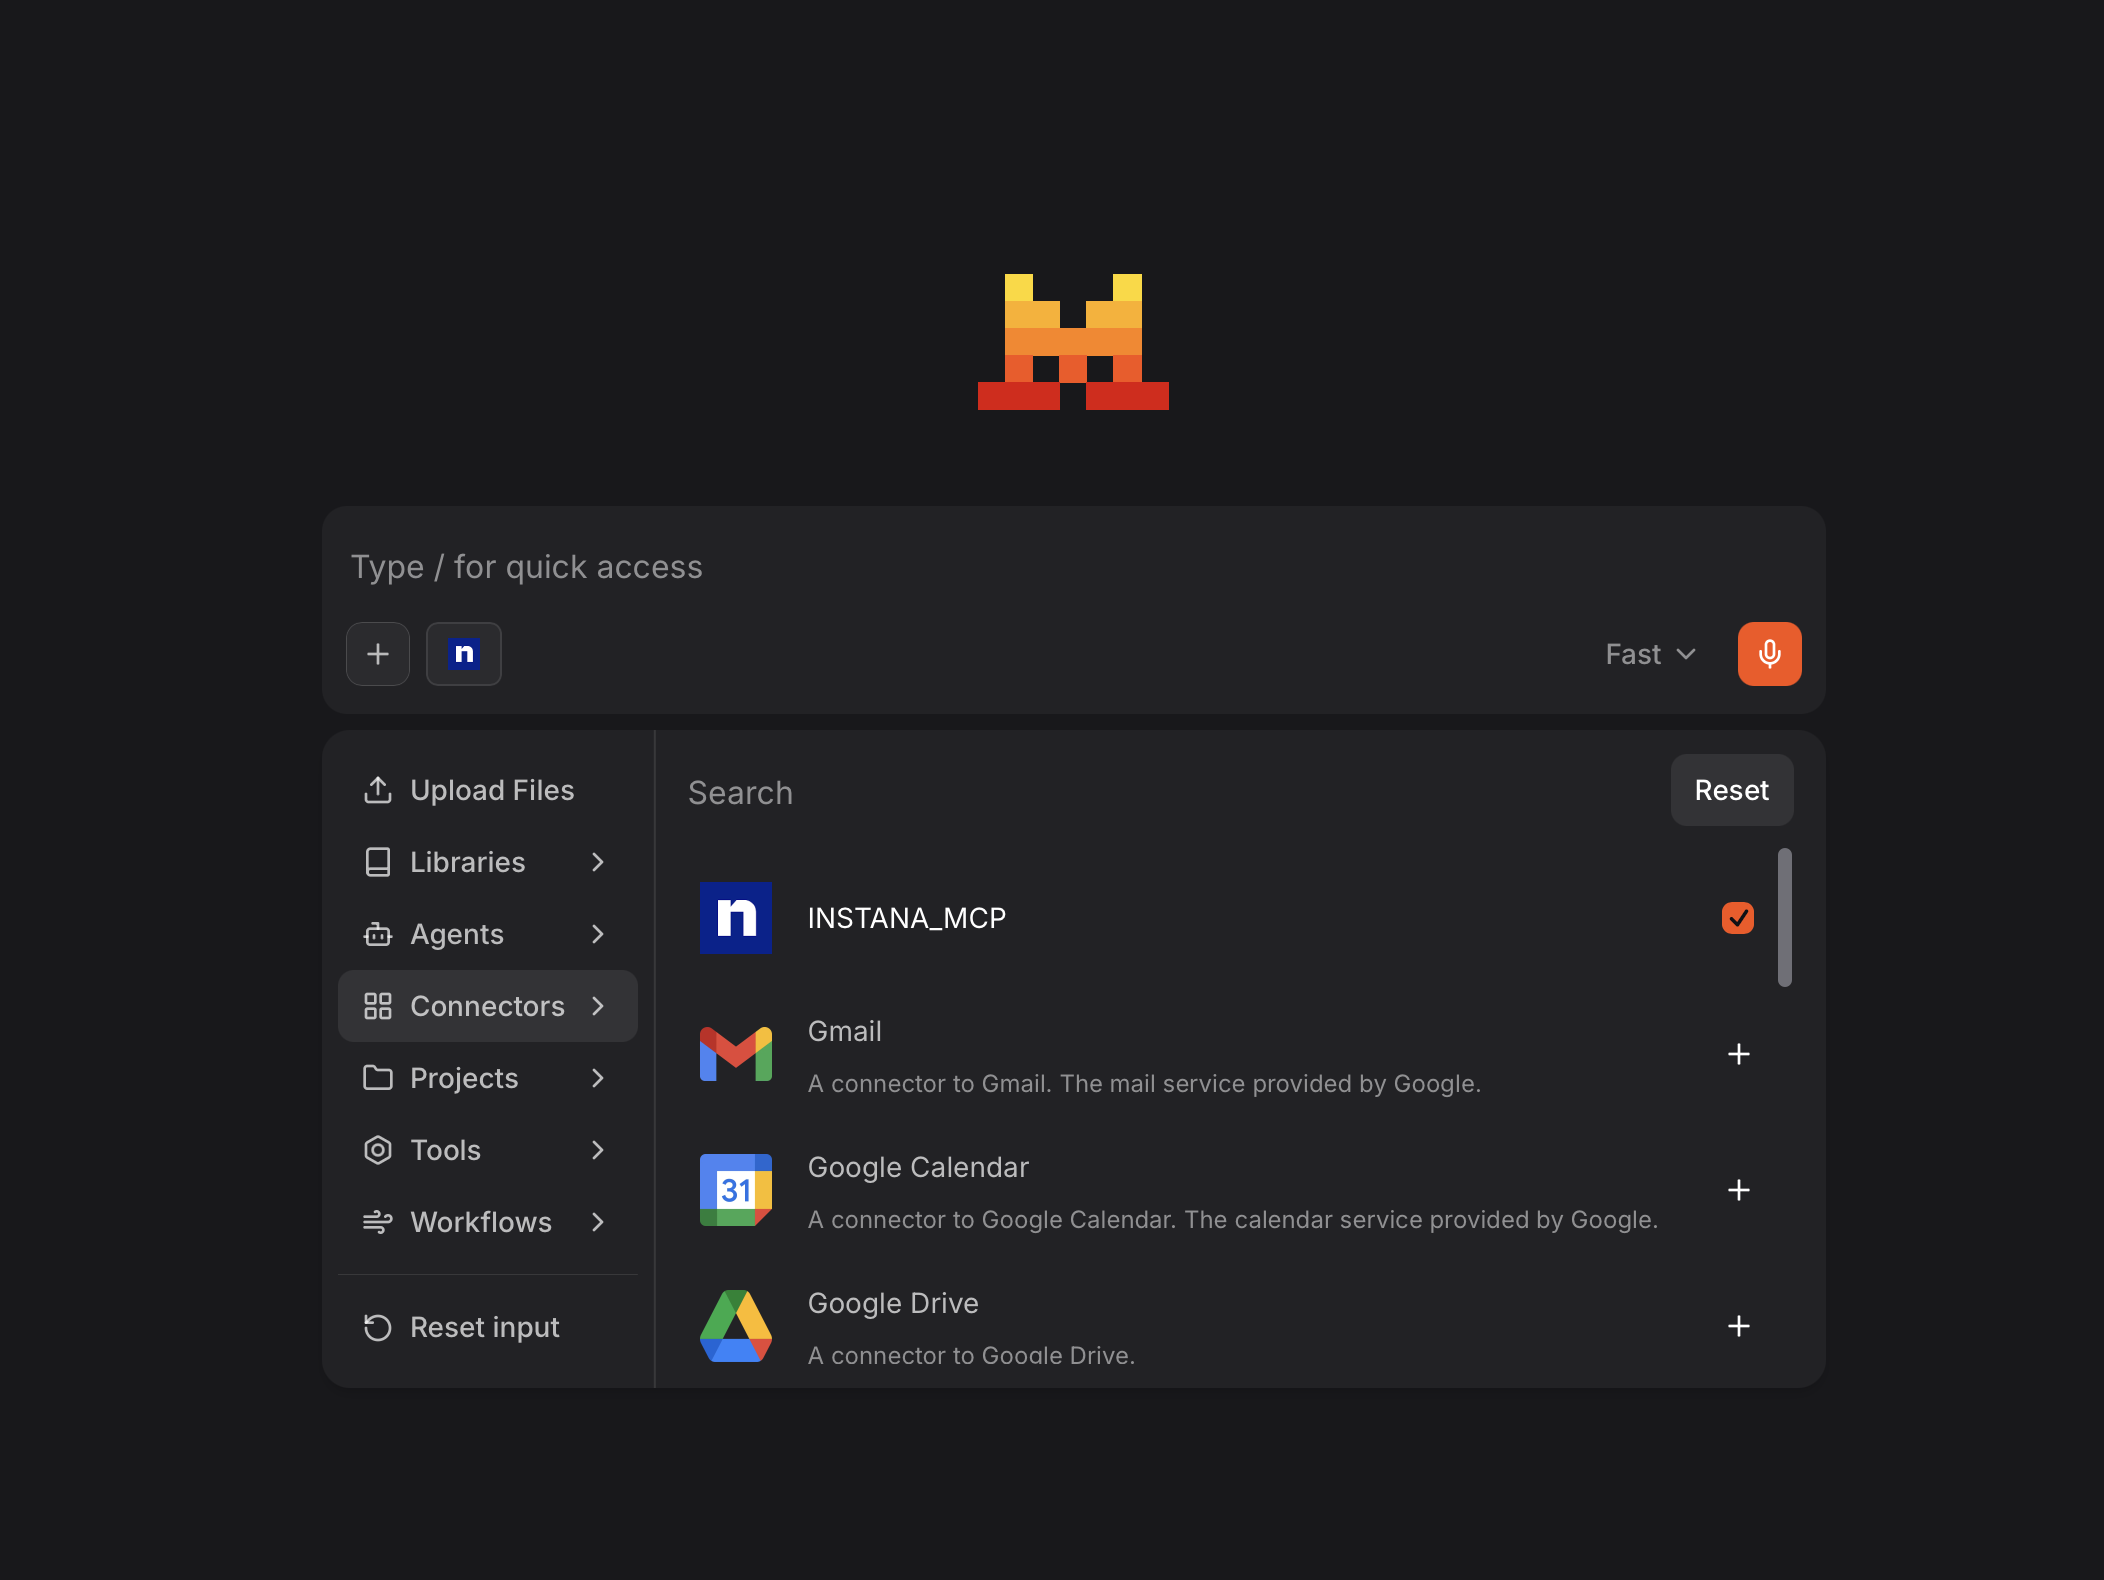
-
新しいチャットセッションを開始し、MCP ツールが有効になっていることを確認します。ここで応答を表示できます
サポートされる機能
- 統合アプリケーション & インフラストラクチャ管理 (
manage_instana_resources)- アプリケーションメトリクス
- 柔軟なフィルタリングによるアプリケーションメトリクスのクエリ
- サービスとエンドポイントの一覧表示
- タグによるグループ化とメトリクスの集計
- アプリケーションアラート設定
- アクティブなアラート設定の検索
- アラート設定バージョンの取得
- アラート設定の作成、更新、削除
- アラート設定の有効化、無効化、復元
- 履歴ベースラインの更新
- グローバルアプリケーションアラート設定
- グローバルアラート設定の管理
- グローバルアラートのバージョン管理
- アプリケーション設定
- アプリケーションパースペクティブの管理
- エンドポイントとサービスの設定
- 手動サービスの管理
- アプリケーションカタログ
- アプリケーションタグカタログの取得
- アプリケーションメトリクスカタログの取得
- アプリケーションメトリクス
- インフラストラクチャ分析 (
analyze_infrastructure)- エンティティ/メトリクスクエリのための2パス抽出
- Instana APIカタログからの全エンティティタイプ(JVM、Kubernetes、Docker、ホスト、データベース、メッセージキューなど)の動的サポート
- お客様のInstana環境で利用可能なプラグインとの自動同期
- 柔軟なメトリクス集計(最大、平均、合計など)
- タグとプロパティによる高度なフィルタリング
- グループ化と並べ替え機能
- 時間範囲クエリ
- 統合イベント管理 (
manage_events)- イベント監視
- IDによるイベント取得 (operation="get_event")
- IDsによるイベント取得 (operation="get_events_by_ids")
- エージェント監視イベントの取得 (operation="get_agent_monitoring_events")
- Kubernetes情報イベントの取得 (operation="get_kubernetes_info_events")
- イベントの取得 (operation="get_events")
- 専用イベントツールへのスマートルーティング
- 統一されたパラメータ検証(時間範囲、max_events)
- 自然言語による時間範囲のサポート("過去24時間"、"過去2日間")
- イベントのフィルタリングと最適化
- イベント監視
- 統合Webサイト管理 (
manage_website_resources)- Webサイト分析 (resource_type="analyze")
- Webサイトビーコングループの取得 - グループ化/集計されたビーコンデータ (operation="get_beacon_groups")
- Webサイトビーコンの取得 - ページネーション付きの個別ビーコンデータ (operation="get_beacons")
- 自動タグ検証とカタログベースの抽出ワークフロー
- レスポンスの要約(ペイロードを70~80%削減)
- 複数のビーコンタイプをサポート: PAGELOAD, PAGECHANGE, RESOURCELOAD, CUSTOM, HTTPREQUEST, ERROR
- Webサイトカタログ (resource_type="catalog")
- Webサイトメトリクスカタログの取得 (operation="get_metrics")
- ビーコンタイプとユースケース別のWebサイトタグカタログの取得 (operation="get_tag_catalog")
- Webサイト設定 (resource_type="configuration")
- 全Webサイトの取得 (operation="get_all")
- IDまたは名前によるWebサイトの取得(自動名前解決付き) (operation="get")
- 詳細設定 - 読み取り専用 (resource_type="advanced_config")
- 地理位置情報設定の取得 (operation="get_geo_config")
- IPマスキング設定の取得 (operation="get_ip_masking")
- 地理マッピングルールの取得 (operation="get_geo_rules")
- Webサイト分析 (resource_type="analyze")
- 統合自動化管理 (
manage_automation)- アクションカタログ (resource_type="catalog")
- 利用可能なすべての自動化アクションの一覧表示 (operation="get_actions")
- 特定のアクションに関する詳細情報の取得 (operation="get_action_details")
- 名前/説明による一致するアクションの検索 (operation="get_action_matches")
- アプリケーションまたはスナップショットIDと時間枠によるアクション一致の取得 (operation="get_action_matches_by_id_and_time_window")
- 利用可能なアクションタイプの取得 (operation="get_action_types")
- 利用可能なアクションタグの取得 (operation="get_action_tags")
- アクション履歴 (resource_type="history")
- フィルタリング付きのアクション実行インスタンスの一覧表示 (operation="list")
- 特定のアクション実行の詳細の取得 (operation="get_details")
- アクションカタログ (resource_type="catalog")
- カスタムダッシュボード (
manage_custom_dashboards)- すべてのカスタムダッシュボードの取得
- IDによる特定のダッシュボードの取得
- 新しいカスタムダッシュボードの作成
- 既存のカスタムダッシュボードの更新
- カスタムダッシュボードの削除
- ダッシュボードの共有可能ユーザーの取得
- ダッシュボードの共有可能APIトークンの取得
利用可能なツール
| ツール | カテゴリ | 説明 |
|---|---|---|
manage_applications | アプリケーション & インフラストラクチャ | アプリケーションメトリクス、アラート設定、設定、カタログを管理する統合ツール |
manage_websites | Webサイト監視 | Webサイト分析、カタログ、設定、詳細設定操作のための統合スマートルーター |
manage_custom_dashboards | カスタムダッシュボード | カスタムダッシュボードのCRUD操作を管理する統合ツール |
analyze_infrastructure | インフラストラクチャ分析 | エンティティ/メトリクス抽出による2パスインフラストラクチャ分析 |
manage_automation | 自動化 | 自動化のための統合スマートルーター: アクションカタログの参照と実行履歴の表示 |
manage_events | イベント | イベント監視のための統合スマートルーター: IDによるイベント取得、IDsによるイベント取得、Kubernetesイベント、エージェント監視イベント、全イベント |
manage_slo | SLO管理 | SLO設定、レポート、アラート、修正ウィンドウのための統合スマートルーター(インテリジェントなタイムゾーン処理付き) |
manage_releases | リリース管理 | リリース追跡のための統合スマートルーター: ページネーションと名前フィルタリングによるリリース一覧表示、リリース詳細の取得、タイムゾーンサポート付きのリリース作成/更新/削除 |
manage_maintenance_windows | メンテナンスウィンドウ | メンテナンスウィンドウのライフサイクル管理のための統合スマートルーター: テンプレートサポートとServiceNow統合によるメンテナンスウィンドウの作成、変更、クローズ、一覧表示 |
manage_mobile_apps | モバイルアプリ監視 | モバイルアプリ監視のための統合スマートルーター: ビーコン、パフォーマンスメトリクス、設定、アラート管理の分析 |
👉 詳細なツールドキュメント、機能、技術リファレンスについては、ツールと例 を参照してください
ツールフィルタリング
MCPサーバーは、パフォーマンスを最適化し、リソース使用量を削減するために、選択的なツール読み込みをサポートしています。特定のユースケースに必要なツールカテゴリのみを有効にできます。
利用可能なツールカテゴリ
-
router: 統合アプリケーションおよびインフラストラクチャ管理manage_instana_resources: アプリケーションメトリクス、アラート設定、設定、カタログのための単一ツール- アプリケーションパースペクティブ、エンドポイント、サービス、手動サービスをサポート
- アプリケーション固有およびグローバルなアラート設定の両方を管理
- アプリケーションタグカタログとメトリクスカタログへのアクセスを提供
-
dashboard: カスタムダッシュボード管理manage_custom_dashboards: カスタムダッシュボードのCRUD操作- ダッシュボードの作成、取得、更新、削除をサポート
- ダッシュボードの共有可能ユーザーとAPIトークンを管理
-
infra: インフラストラクチャ分析ツールanalyze_infrastructure: エンティティ/メトリクス抽出による2パスインフラストラクチャ分析- お客様のInstana環境で利用可能なすべてのエンティティタイプを動的にサポート(APIカタログから自動読み込み)
- JVM、Kubernetes、Docker、ホスト、データベース、メッセージキュー、およびカスタムまたは新しく追加されたエンティティタイプを含む
- 柔軟なメトリクス集計、フィルタリング、グループ化、時間範囲クエリ
-
automation: 自動化アクションツールmanage_automation: 自動化カタログと実行履歴のための統合スマートルーター- アクションカタログ: アクションの参照、詳細の取得、名前/説明による検索、アプリケーションまたはスナップショットIDによるフィルタリング
- アクション履歴: フィルタリング付きの実行インスタンス一覧表示、実行詳細の取得
-
events: イベント監視ツール- イベント: Kubernetesイベント、エージェント監視、システムイベント追跡
-
website: Webサイト監視ツール- Webサイトメトリクス: Webサイトのパフォーマンス測定
- Webサイトカタログ: Webサイトのメタデータと定義
- Webサイト分析: Webサイトのパフォーマンス分析
- Webサイト設定: Webサイト設定管理
-
slo: サービスレベル目標(SLO)管理manage_slo: 包括的なSLO操作のための統合スマートルーター- 設定管理: 時間ベースおよびイベントベースのインジケーターをサポートするSLO設定の作成、読み取り、更新、削除
- レポート生成: SLI値、エラーバジェット、バーンレート、時系列チャートを含む詳細なSLOレポートの生成
- アラート設定: エラーバジェット監視とバーンレート追跡のためのSLOアラート設定の管理
- 修正ウィンドウ: 計画的なダウンタイムをSLO計算から除外するためのメンテナンスウィンドウの作成と管理
- インテリジェントなタイムゾーン処理: 正確な時間コンテキストを確保するための日時入力に対する自動タイムゾーン抽出
- 2パス抽出: 複数の入力を必要とする複雑な操作のためのインタラクティブなパラメータ収集
-
releases: リリース追跡とデプロイメント管理manage_releases: リリース操作のための統合スマートルーター- リリース一覧: 効率的なページネーション(page_number, page_size)と名前ベースのフィルタリングによる全リリースの取得
- リリース詳細: アプリケーション、サービス、スコープを含む特定のリリース情報のIDによる取得
- 作成/更新/削除: リリース管理のための完全なCRUD操作
- インテリジェントなタイムゾーン処理: リリース開始時間の自動タイムゾーン抽出
- 効率的なページネーション: 適切なページベースのナビゲーションによる冗長なデータ取得の回避
- 名前フィルタリング: 名前でリリースを検索するための大文字小文字を区別しない部分文字列マッチング
-
maintenance_window: メンテナンスウィンドウのライフサイクル管理manage_maintenance_windows: メンテナンスウィンドウ操作のための統合スマートルーター- ウィンドウ操作: メンテナンスウィンドウの作成、変更、クローズ、一覧表示(アクティブ、スケジュール済み、すべて、期限切れ)
- 一括操作: 複数のアプリケーションに対するメンテナンスウィンドウの同時作成
- テンプレートサポート: 一般的なシナリオ(デプロイメント、データベース移行、インフラストラクチャアップグレード、緊急、定期)用の事前定義テンプレート
- 繰り返しウィンドウ: RFC 5545 RRULE形式を使用した繰り返しメンテナンスウィンドウのサポート
- ServiceNow統合: ServiceNow変更リクエストとのオプション統合
- 検証: ウィンドウ作成前のパラメータ検証
- 柔軟な期間: 分、時間、日単位での期間指定
-
mobile_app: モバイルアプリケーション監視manage_mobile_apps: モバイルアプリ監視操作のための統合スマートルーター- ビーコン分析: グループ化とフィルタリングを使用してモバイルアプリのビーコンデータをクエリ
- パフォーマンスメトリクス: セッション時間、クラッシュ率、HTTPリクエストのパフォーマンスを追跡
- 地理的分析: 国、都市、地域ごとのユーザー分布を分析
- デバイス分析: 異なるデバイス、プラットフォーム、OSバージョン間でのパフォーマンスを監視
- 構成管理: モバイルアプリの構成、地理位置情報、IPマスキング設定を管理
- アラート管理: モバイルアプリのアラート構成を設定および管理
使用例
CLIの使用(PyPIインストール)
# Enable only router (unified app/infra management) and events tools
mcp-instana --tools router,events --transport streamable-http

# Enable only infrastructure analysis tools
mcp-instana --tools infra --transport streamable-http

# Enable router and infrastructure analysis
mcp-instana --tools router,infra --transport streamable-http

# Enable events and website tools
mcp-instana --tools events,website --transport streamable-http

# Enable dashboard and router tools
mcp-instana --tools dashboard,router --transport streamable-http

# Enable releases and events tools
mcp-instana --tools releases,events --transport streamable-http

# Enable maintenance window and events tools
mcp-instana --tools maintenance_window,events --transport streamable-http

# Enable all tools (default behavior)
mcp-instana --transport streamable-http

# List all available tool categories and their tools
mcp-instana --list-tools
開発インストールの使用
# Enable only router (unified app/infra management) and events tools
uv run src/core/server.py --tools router,events --transport streamable-http

# Enable only infrastructure analysis tools
uv run src/core/server.py --tools infra --transport streamable-http

# Enable router and infrastructure analysis
uv run src/core/server.py --tools router,infra --transport streamable-http

# Enable events and website tools
uv run src/core/server.py --tools events,website --transport streamable-http

# Enable dashboard and router tools
uv run src/core/server.py --tools dashboard,router --transport streamable-http

# Enable releases and events tools
uv run src/core/server.py --tools releases,events --transport streamable-http

# Enable maintenance window and events tools
uv run src/core/server.py --tools maintenance_window,events --transport streamable-http

# Enable all tools (default behavior)
uv run src/core/server.py --transport streamable-http

# List all available tool categories and their tools
uv run src/core/server.py --list-tools
ツールフィルタリングの利点
- パフォーマンス: 起動時間とメモリ使用量の削減
- セキュリティ: 必要なAPIのみに公開を制限
- 明確さ: 特定のユースケース(例:インフラストラクチャ監視のみ)に集中
- リソース効率: CPUとネットワーク使用量の低減
👉 使用例とプロンプトについては、Example Promptsを参照してください
Dockerデプロイメント
MCP Instanaサーバーは、本番環境向けにDockerを使用してデプロイできます。Dockerセットアップは、セキュリティ、パフォーマンス、最小限のリソース使用に最適化されています。
Dockerアーキテクチャ
このプロジェクトは2ファイル依存関係管理戦略を使用しています:
pyproject.toml
- 目的: 開発と本番の両方に対応する統一設定
- 依存関係: オプションの開発依存関係を含むすべての必須依存関係
- 使用法: ローカル開発、テスト、CI/CD、Docker本番ビルド
- 利点: すべての依存関係の単一の信頼できる情報源、メンテナンスの簡素化
Dockerイメージのビルド
前提条件
- Dockerがインストールされ実行中であること
- プロジェクトのソースコードへのアクセス
- マルチアーキテクチャビルド用のDocker BuildKit(最近のDockerバージョンではデフォルトで有効)
ビルドコマンド
# Build the optimized production image
docker build -t mcp-instana:latest .

# Build with a specific tag
docker build -t mcp-instana:<image_tag> .

#### **Run Command**
# Run the container (no credentials needed in the container)
docker run -p 8080:8080 mcp-instana

# Run with custom port
docker run -p 8081:8080 mcp-instana
📖 マルチアーキテクチャビルド、Docker Composeセットアップ、セキュリティのベストプラクティス、本番デプロイメント例を含む包括的なDockerドキュメントについては、DOCKER.mdを参照してください。
トラブルシューティング
Dockerの問題
コンテナが起動しない
# Check container logs
docker logs <container_id>
# Common issues:
# 1. Port already in use
# 2. Invalid container image
# 3. Missing dependencies
# Credentials are passed via HTTP headers from the MCP client
接続の問題
# Test container connectivity
docker exec -it <container_id> curl http://127.0.0.1:8080/health
# Check port mapping
docker port <container_id>
パフォーマンスの問題
# Check container resource usage
docker stats <container_id>
# Monitor container health
docker inspect <container_id> | grep -A 10 Health
一般的な問題
-
GitHub Copilot
- GitHub Copilotで問題が発生した場合は、
mcp.jsonファイルでサーバーを開始/停止/再起動し、一度に1つのサーバーのみを実行するようにしてください。
- GitHub Copilotで問題が発生した場合は、
-
証明書の問題
[SSL: CERTIFICATE_VERIFY_FAILED] certificate verify failed: unable to get local issuer certificateなどの証明書の問題が発生した場合:- SSL検証を使用して
curlまたはwgetでInstana APIエンドポイントに到達できるか確認してください。- それが機能する場合、Python環境が証明書を検証できず、シェルやシステムと同じ証明書にアクセスできない可能性があります。Python環境がシステム証明書を使用するようにしてください(macOS)。これを行うには、Pythonに証明書をインストールします:
//Applications/Python\ 3.13/Install\ Certificates.command
- それが機能する場合、Python環境が証明書を検証できず、シェルやシステムと同じ証明書にアクセスできない可能性があります。Python環境がシステム証明書を使用するようにしてください(macOS)。これを行うには、Pythonに証明書をインストールします:
- SSL検証でエンドポイントに到達できない場合は、検証なしで試してください。それが機能する場合、システムのCA証明書を確認し、最新であることを確認してください。
- SSL検証を使用して