brosh
वेबपेजों के स्क्रॉलिंग स्क्रीनशॉट कैप्चर करने के लिए एक ब्राउज़र स्क्रीनशॉट टूल, जो Playwright का उपयोग करता है, जिसमें बुद्धिमान अनुभाग पहचान और कई आउटपुट प्रारूपों के लिए समर्थन है।
दस्तावेज़
brosh
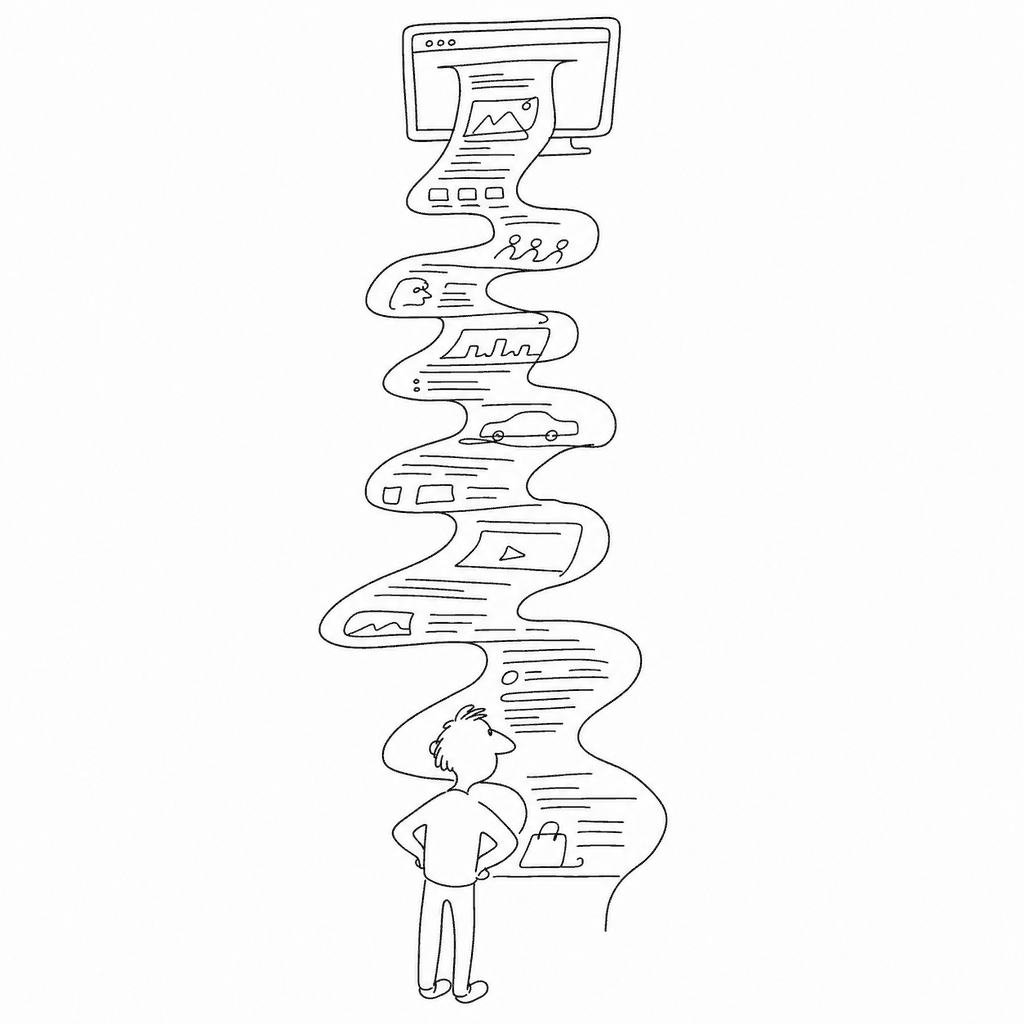
Full-page browser screenshots, from the command line or from your own code, with the pixels, the text, and the HTML all handed back together.
Brosh drives a real browser (Chrome, Edge, or Safari) via Playwright, scrolls through a page, and captures each section as an image — plus the visible text as Markdown and, if you want it, the underlying HTML. Built for AI agents that need to see a page, not just fetch its source.
- Scrolling capture: single shot, frame series, or animated PNG of the whole scroll
- Extracts visible text (Markdown) and optionally minified HTML alongside every screenshot
- CLI, sync/async Python API, and an MCP server for Claude and other AI tools
- Connects to your existing Chrome/Edge session (cookies, logins, extensions included) or launches a fresh one
- Cross-platform: macOS, Windows, Linux
Quick Start
pip install brosh
playwright install
That second command matters: Playwright needs its own browser binaries, and pip install brosh doesn't fetch them. Skip it and every capture fails with a browser-not-found error.
Then:
brosh shot "https://example.com"
Screenshots land in ~/Pictures/brosh by default, named {domain}-{timestamp}-{scroll%}-{section}.png.
Installation
# uv (recommended)
uv tool install brosh

# pip
pip install brosh

# run without installing
uvx brosh shot "https://example.com"
Whichever route you pick, don't forget playwright install afterward.
See Installation for binary releases, pipx, and from-source setups.
CLI Usage
# Basic capture
brosh shot "https://example.com"

# Animated PNG of the whole scroll
brosh shot "https://example.com" --output_format apng

# Custom viewport, JSON output with HTML included
brosh --width 1920 --height 1080 shot "https://example.com" --fetch_html --json > page.json

# Reuse a running browser instance across multiple shots
brosh --app chrome run
brosh --app chrome shot "https://example.com"
brosh --app chrome quit
Global options (--app, --width, --height, --zoom, --output_dir, --subdirs, --verbose, --json) go before the command; command options go after. Full option tables: CLI Reference.
Python API
from brosh import capture_webpage

result = capture_webpage(
    url="https://example.com",
    width=1280,
    height=720,
    output_format="jpg",
    scale=75,
)
for path, metadata in result.items():
    print(path, metadata["text"][:80])
import asyncio
from brosh import capture_webpage_async

async def main():
    result = await capture_webpage_async(
        url="https://docs.python.org/3/",
        fetch_html=True,
        max_frames=3,
    )
    print(list(result))

asyncio.run(main())
Both APIs return a dict mapping saved file paths to metadata (selector, text, optionally html). Details and convenience functions: Python API.
MCP Server Mode
Brosh ships an MCP server so AI tools can request a screenshot mid-conversation.
claude mcp add brosh -- brosh-mcp
Or drop this into your MCP client's config:
{
  "mcpServers": {
    "brosh": {
      "command": "brosh-mcp"
    }
  }
}
Restart your client, then ask it to "use brosh to capture example.com and show me the text." Full setup, including uvx-based configs: MCP Server Mode.
Documentation
Everything else — architecture, full command reference, output/JSON format, troubleshooting — lives at twardoch.github.io/brosh.
License
MIT. See LICENSE.
Built by Adam Twardoch on Playwright, python-fire, and FastMCP.