ClipForge
Videos zuschneiden, mit Wasserzeichen versehen, Audio extrahieren und jedes Video in 9:16-Hochformat konvertieren – über REST-API oder MCP-Tools für Claude, Cursor und andere KI-Agenten.
Dokumentation
ClipForge (budding_retrograde/clipforge) Actor
Trim, watermark, extract audio, and convert video to 9:16 vertical — via REST API or MCP server for Claude, Cursor, and other AI agents. Works with direct video files and YouTube/yt-dlp-supported links. Pay-per-event pricing, no ffmpeg install needed.
- URL: https://apify.com/budding\_retrograde/clipforge.md
- Developed by: Chris Phillips (community)
- Categories: Automation, Videos, Developer tools
- Stats: 2 total users, 1 monthly users, 0.0% runs succeeded, 0 bookmarks
- User rating: No ratings yet
Pricing
from $15.00 / 1,000 video trims
This Actor is paid per event and usage. You are charged both the fixed price for specific events and for Apify platform usage.
Learn more: https://docs.apify.com/actors/running/actors-in-store.md#pay-per-event
What's an Apify Actor?
An Actor is a serverless cloud program that runs on the Apify platform. It has two run modes. In Batch mode, an Actor accepts a well-defined JSON input, performs an action which can take anything from a few seconds to a few hours, and optionally produces a well-defined JSON output, datasets with results, or files in key-value store. In Standby mode, an Actor provides a web server which can be used as a website, API, or an MCP server.
Apify vocabulary and the platform model are defined once, in the agent quickstart at https://apify.com/agents.md.
How to integrate an Actor?
If asked about integration, you help developers integrate Actors into their projects. You adapt to their stack and deliver integrations that are safe, well-documented, and production-ready.
Do not guess an integration path. Every one of them is in the agent quickstart at https://apify.com/agents.md: the Apify MCP server, Agent Skills with the Apify CLI, the JavaScript and Python clients, the REST API, and the account-free path for an agent with no human to sign in. It also carries the rule on stating cost before the first paid run.
For examples already wired to this Actor's own input schema, see the API section below.
Each client library has reference documentation the quickstart does not restate: JavaScript/TypeScript (npm install apify-client) and Python (pip install apify-client).
README
ClipForge — Video Trim, Watermark, Subtitle & Vertical Convert API with an MCP Server
What is ClipForge?
ClipForge is a video processing API that trims, watermarks, extracts audio from, converts to 9:16 vertical, and burns in SRT subtitles on any video — a direct video file URL, or a link from YouTube and the thousands of other sites yt-dlp supports. Call it as a plain REST API from any language, or connect the built-in MCP server to hand these operations straight to Claude, Cursor, or any other MCP-compatible AI agent. No ffmpeg installation, no server to run — just an input URL and a few parameters.
What can ClipForge do?
- Trim — cut a video down to an exact start time and duration.
- Extract audio — pull the audio track out as an MP3, with adjustable bitrate (64k-320k).
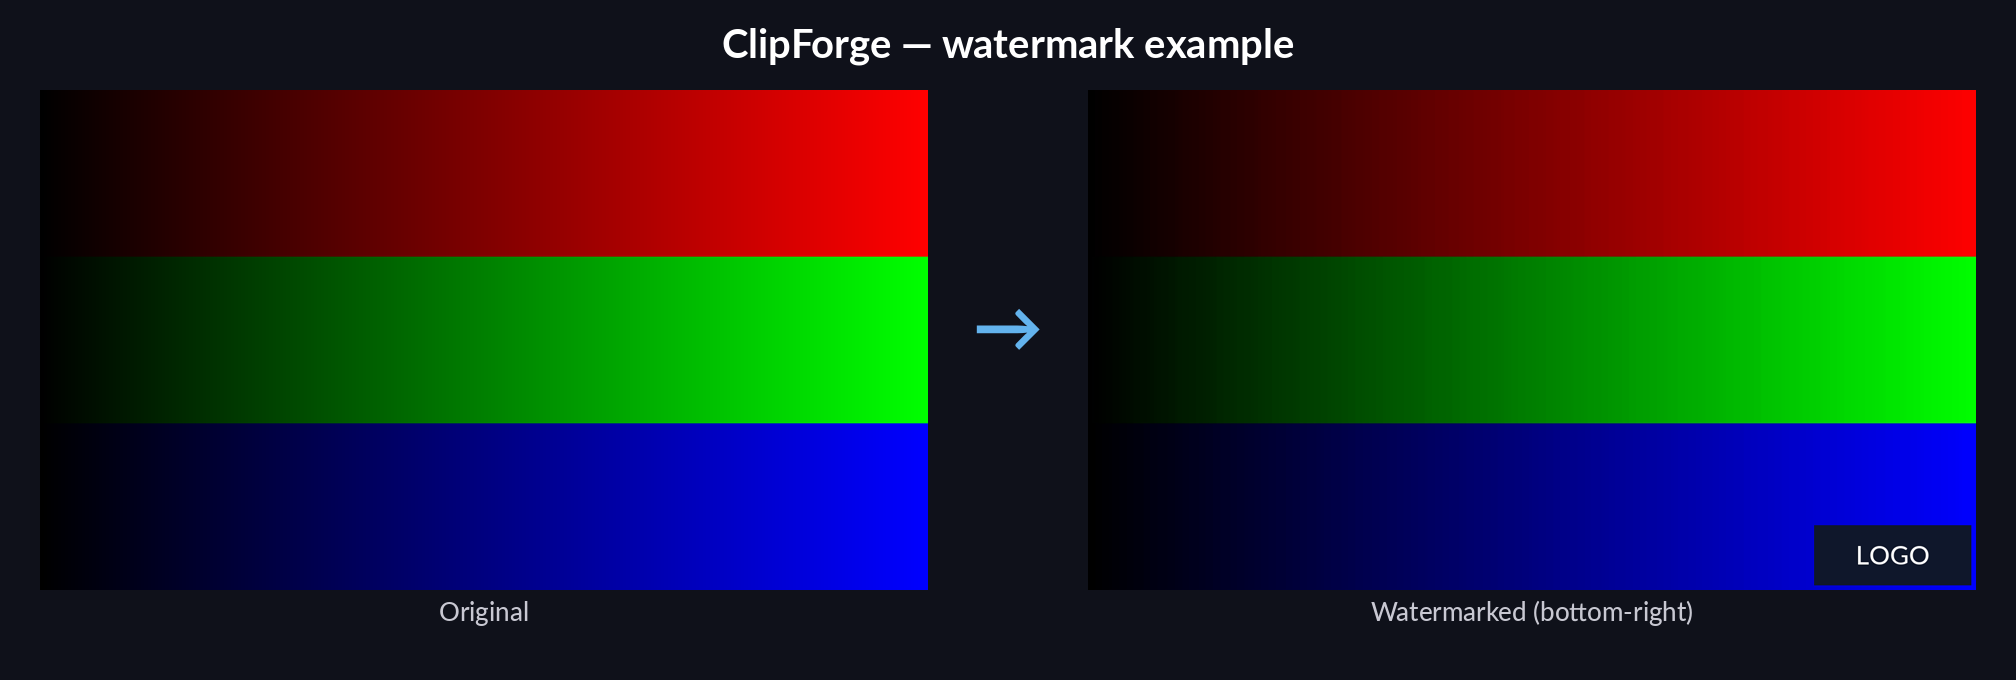
- Watermark — overlay an image onto the bottom-right corner of a video.
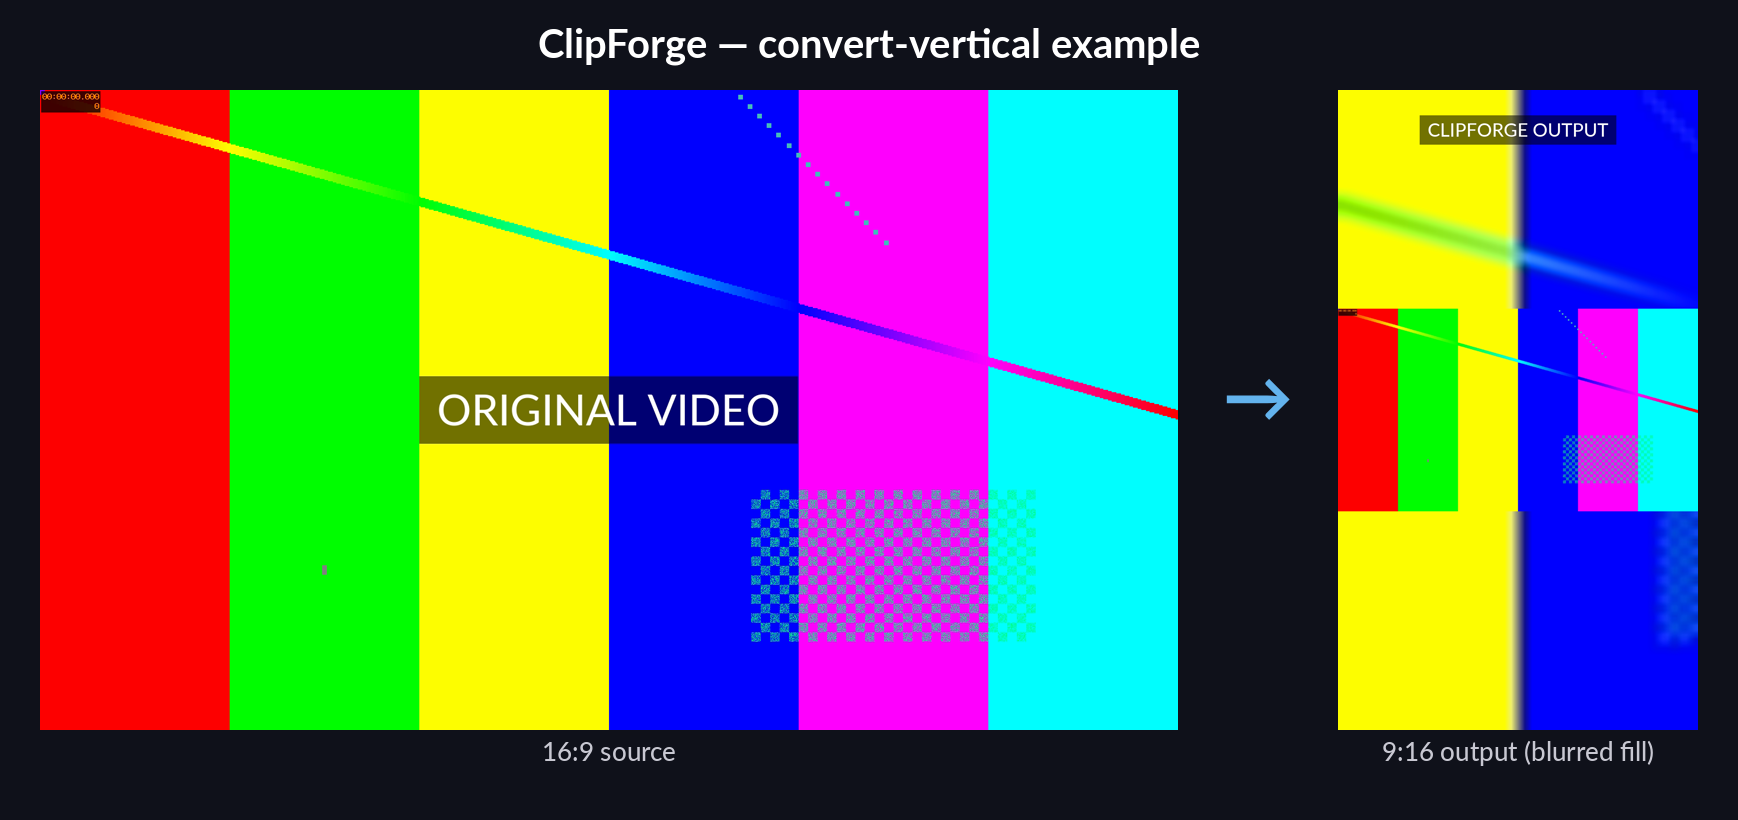
- Convert to vertical — reformat a standard 16:9 video into 9:16, with a blurred, scaled copy of the video filling the background, ready for Shorts, Reels, and TikTok.
- Overlay subtitles — burn raw SRT subtitles directly onto a vertical 9:16 video conversion.
- Accepts direct media file URLs (
.mp4,.mov, etc.) and YouTube/yt-dlp-supported links — no need to pre-resolve a stream URL yourself. - Two calling styles: synchronous endpoints that stream the result straight back for short clips, and an async job endpoint (submit, poll, download) for longer sources.
- Ships as an MCP server, so any MCP client can call
Trim,ExtractAudio,Watermark,ConvertToVertical, and subtitle-enabled tools directly.
Examples
Convert to vertical:
Watermark:
Remember the Apify platform!
ClipForge isn't just an ffmpeg wrapper — it comes with everything the Apify platform gives you on top: pay-per-event billing so you only pay for what you actually process, a persistent Standby API endpoint with no cold-start run management, built-in request monitoring, and one-line integration with Make, Zapier, and every other Apify-connected tool.
How do I use ClipForge?
Option 1 — REST API
Every call needs your Apify API token, either as a token query parameter or an Authorization: Bearer header.
Trim a video (synchronous, streams the MP4 back):
curl -X POST "[https://YOUR-ACTOR-URL.apify.actor/trim?token=YOUR_APIFY_TOKEN](https://YOUR-ACTOR-URL.apify.actor/trim?token=YOUR_APIFY_TOKEN)" \
  -H "Content-Type: application/json" \
  -d '{
    "inputUrl": "[https://example.com/video.mp4](https://example.com/video.mp4)",
    "startTime": 30,
    "duration": 15
  }' \
  --output trimmed.mp4


# Actor input Schema

## `action` (type: `string`):

Select the media processing operation to execute.
## `inputUrl` (type: `string`):

Direct HTTP/HTTPS URL to the source media or stream.
## `startTime` (type: `integer`):

Start offset in seconds (required for 'trim' and 'extract-clip').
## `duration` (type: `integer`):

Clip duration in seconds (required for 'trim' and 'extract-clip').
## `format` (type: `string`):

Output format for the 'extract-clip' action (mp3 or mp4).
## `bitrate` (type: `string`):

Audio bitrate for MP3 extraction (e.g. 128k, 192k, 320k).
## `watermarkUrl` (type: `string`):

Direct HTTP/HTTPS URL to a PNG/JPEG image for the 'watermark' action.
## `subtitles` (type: `string`):

Raw SRT subtitle text or a public URL to an .srt file for the 'convert-vertical-subtitles' action.

## Actor input object example

```json
{
  "action": "trim",
  "inputUrl": "https://commondatastorage.googleapis.com/gtv-videos-bucket/sample/BigBuckBunny.mp4",
  "startTime": 0,
  "duration": 5,
  "format": "mp3",
  "bitrate": "192k"
}
API
You can run this Actor programmatically using our API. Below are code examples in JavaScript, Python, and CLI, as well as the OpenAPI specification and MCP server setup.
JavaScript example
import { ApifyClient } from 'apify-client';

// Initialize the ApifyClient with your Apify API token
// Replace the '<YOUR_API_TOKEN>' with your token
const client = new ApifyClient({
    token: '<YOUR_API_TOKEN>',
});

// Prepare Actor input
const input = {
    "inputUrl": "https://commondatastorage.googleapis.com/gtv-videos-bucket/sample/BigBuckBunny.mp4"
};

// Run the Actor and wait for it to finish
const run = await client.actor("budding_retrograde/clipforge").call(input);

// Fetch and print Actor results from the run's dataset (if any)
console.log('Results from dataset');
console.log(`💾 Check your data here: https://console.apify.com/storage/datasets/${run.defaultDatasetId}`);
const { items } = await client.dataset(run.defaultDatasetId).listItems();
items.forEach((item) => {
    console.dir(item);
});

// 📚 Want to learn more 📖? Go to → https://docs.apify.com/api/client/js/docs
Python example
from apify_client import ApifyClient

# Initialize the ApifyClient with your Apify API token
# Replace '<YOUR_API_TOKEN>' with your token.
client = ApifyClient("<YOUR_API_TOKEN>")

# Prepare the Actor input
run_input = { "inputUrl": "https://commondatastorage.googleapis.com/gtv-videos-bucket/sample/BigBuckBunny.mp4" }

# Run the Actor and wait for it to finish
run = client.actor("budding_retrograde/clipforge").call(run_input=run_input)

# Fetch and print Actor results from the run's dataset (if there are any)
print(f"💾 Check your data here: https://console.apify.com/storage/datasets/{run.default_dataset_id}")
for item in client.dataset(run.default_dataset_id).iterate_items():
    print(item)

# 📚 Want to learn more 📖? Go to → https://docs.apify.com/api/client/python/docs/quick-start
CLI example
echo '{
  "inputUrl": "https://commondatastorage.googleapis.com/gtv-videos-bucket/sample/BigBuckBunny.mp4"
}' |
apify call budding_retrograde/clipforge --silent --output-dataset
MCP server setup
{
    "mcpServers": {
        "apify": {
            "type": "http",
            "url": "https://mcp.apify.com/?tools=fetch-actor-details,budding_retrograde/clipforge"
        }
    }
}
The hosted server signs you in with OAuth on first connect, so no API token belongs in this config. Clients without OAuth support can send an Authorization: Bearer <APIFY_API_TOKEN> header instead, using a token from API & Integrations in Apify Console (https://console.apify.com/settings/integrations).
OpenAPI specification
Download the OpenAPI definition: https://api.apify.com/v2/actors/Nrc1HPxDCvg0EuXnz/builds/dSOMk0wAsEs17nVHd/openapi.json