teleskopio MCP Server
kubernetes mcp server
Documentation
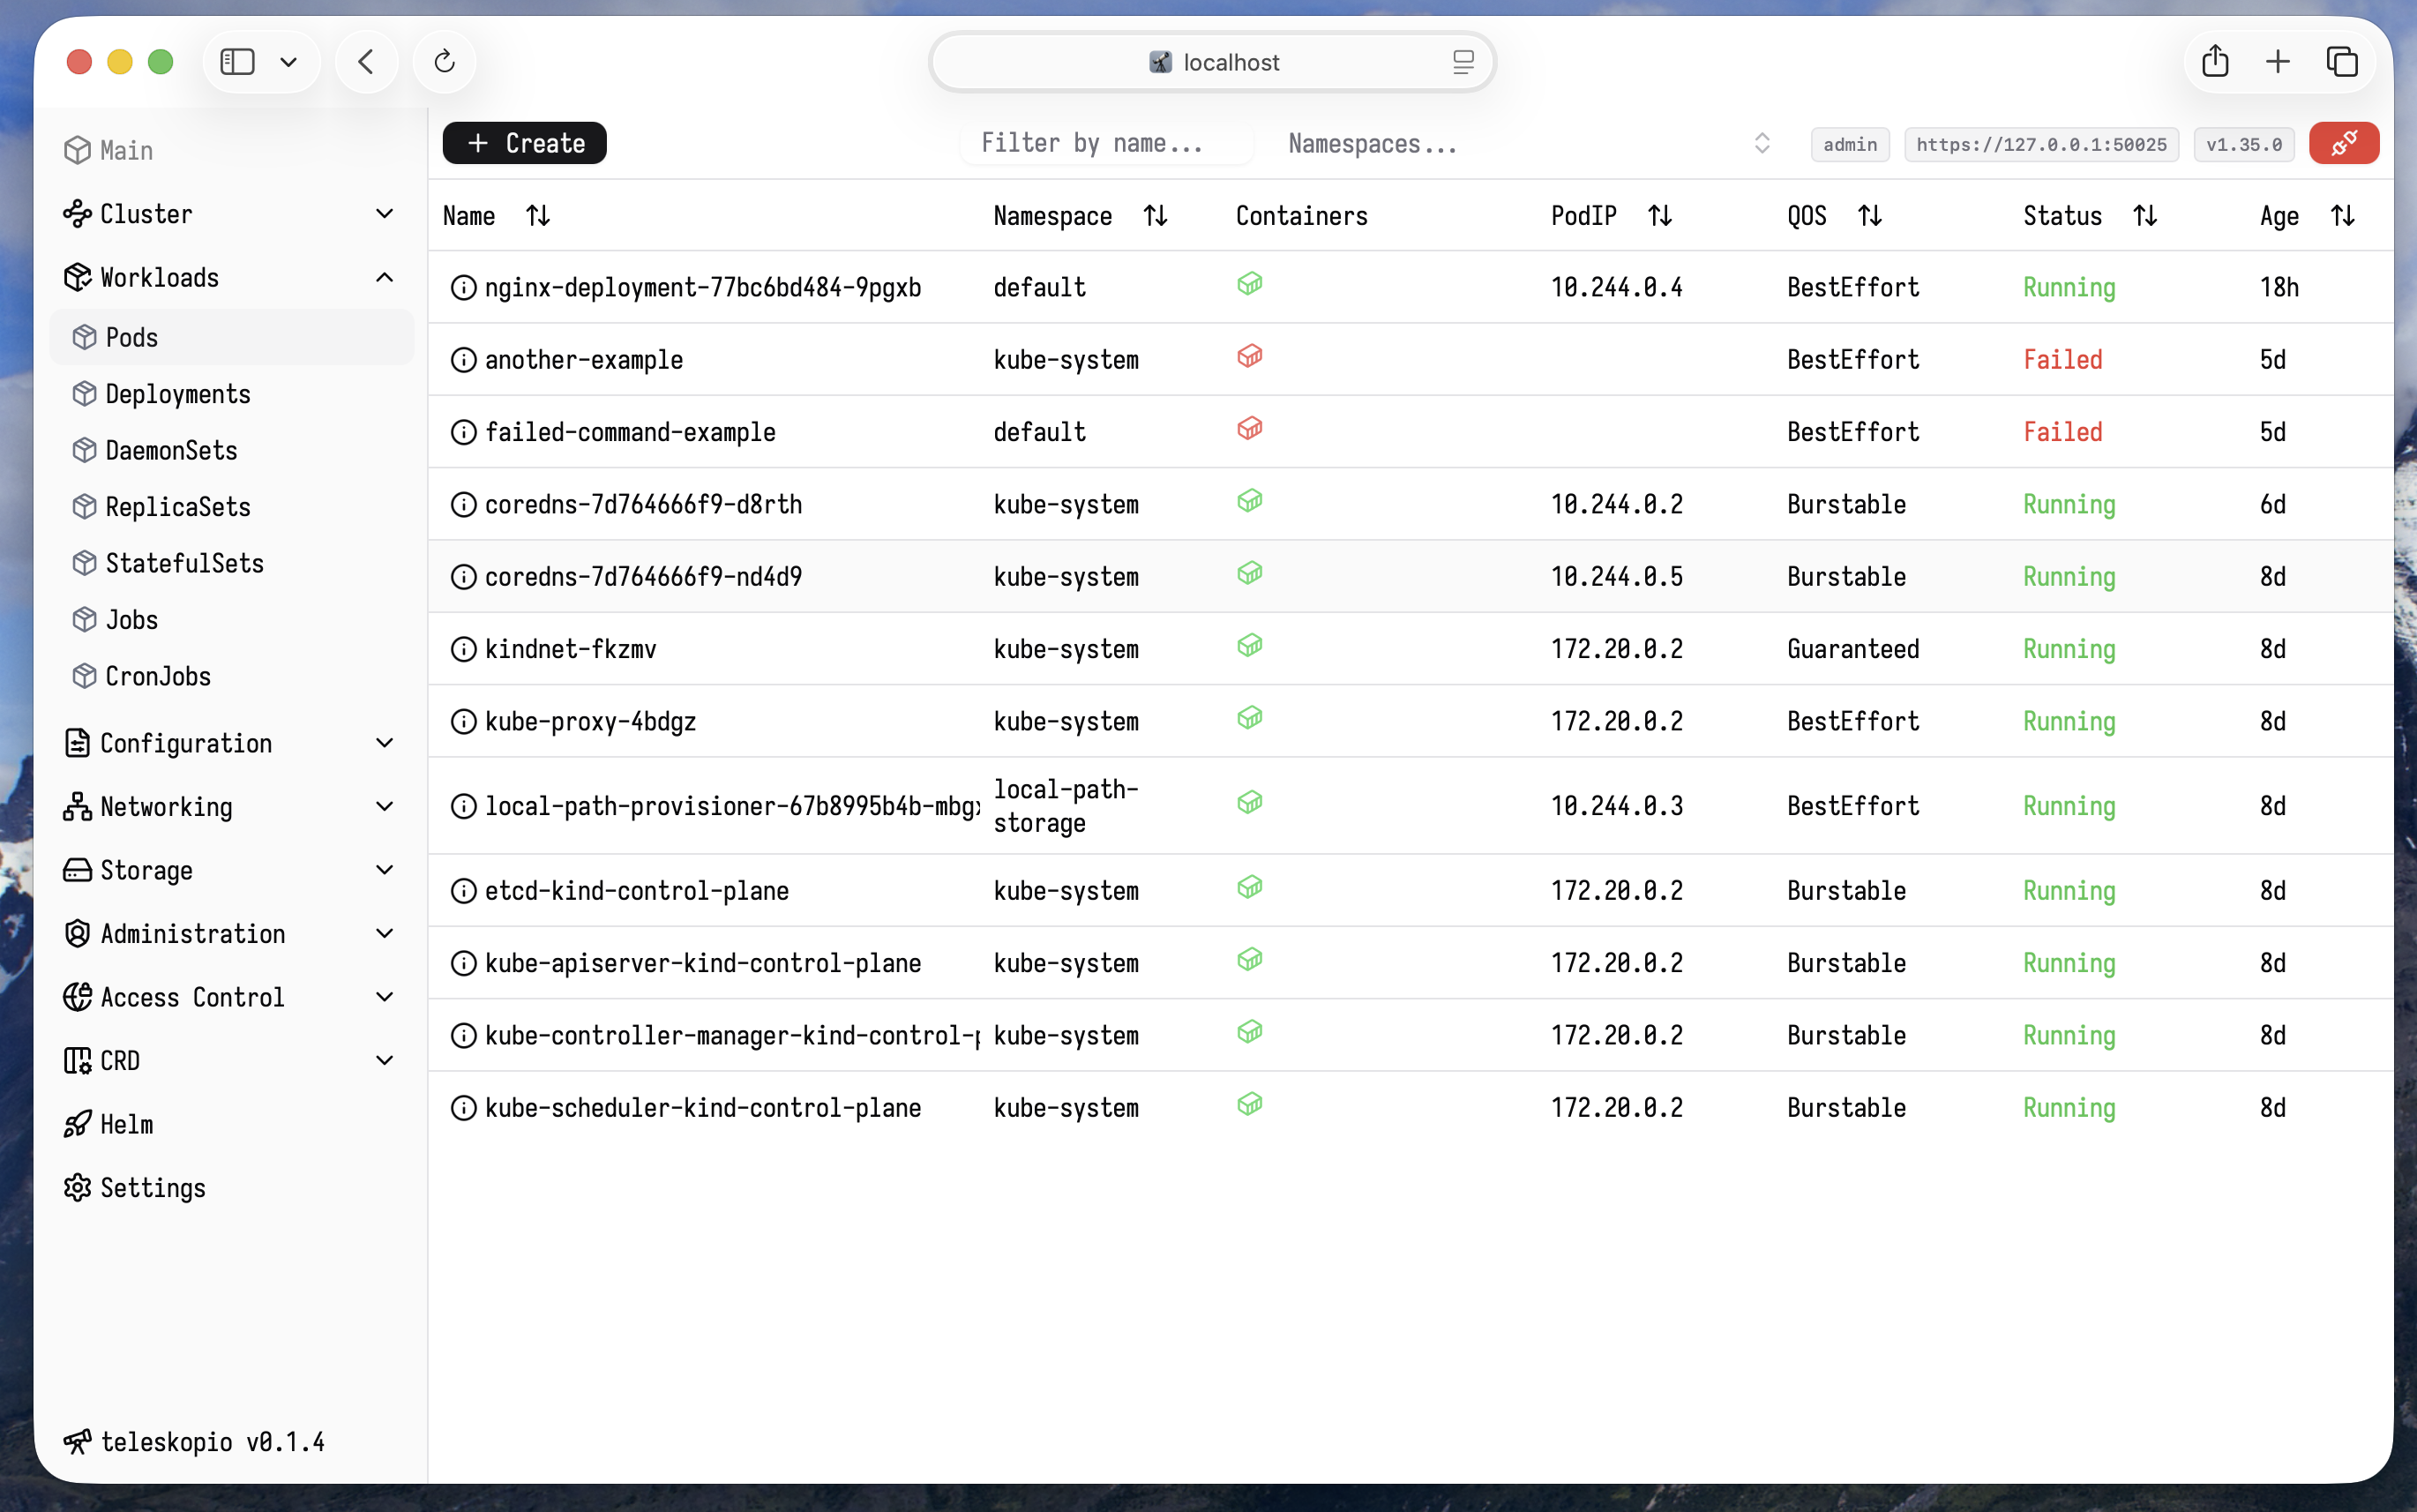
teleskopio lightweight kubernetes web client.
Features
- Multiple config support – respect
$KUBECONFIGvariable and checks theconfig.yamlfile. - Simple
JWTtoken authorization, admin and viewer role - Full access (admin) or Read Only access (viewer) to cluster. - Resource editor/creator - integrated Monaco Editor with syntax highlighting.
- Live updates - real-time resource changes with
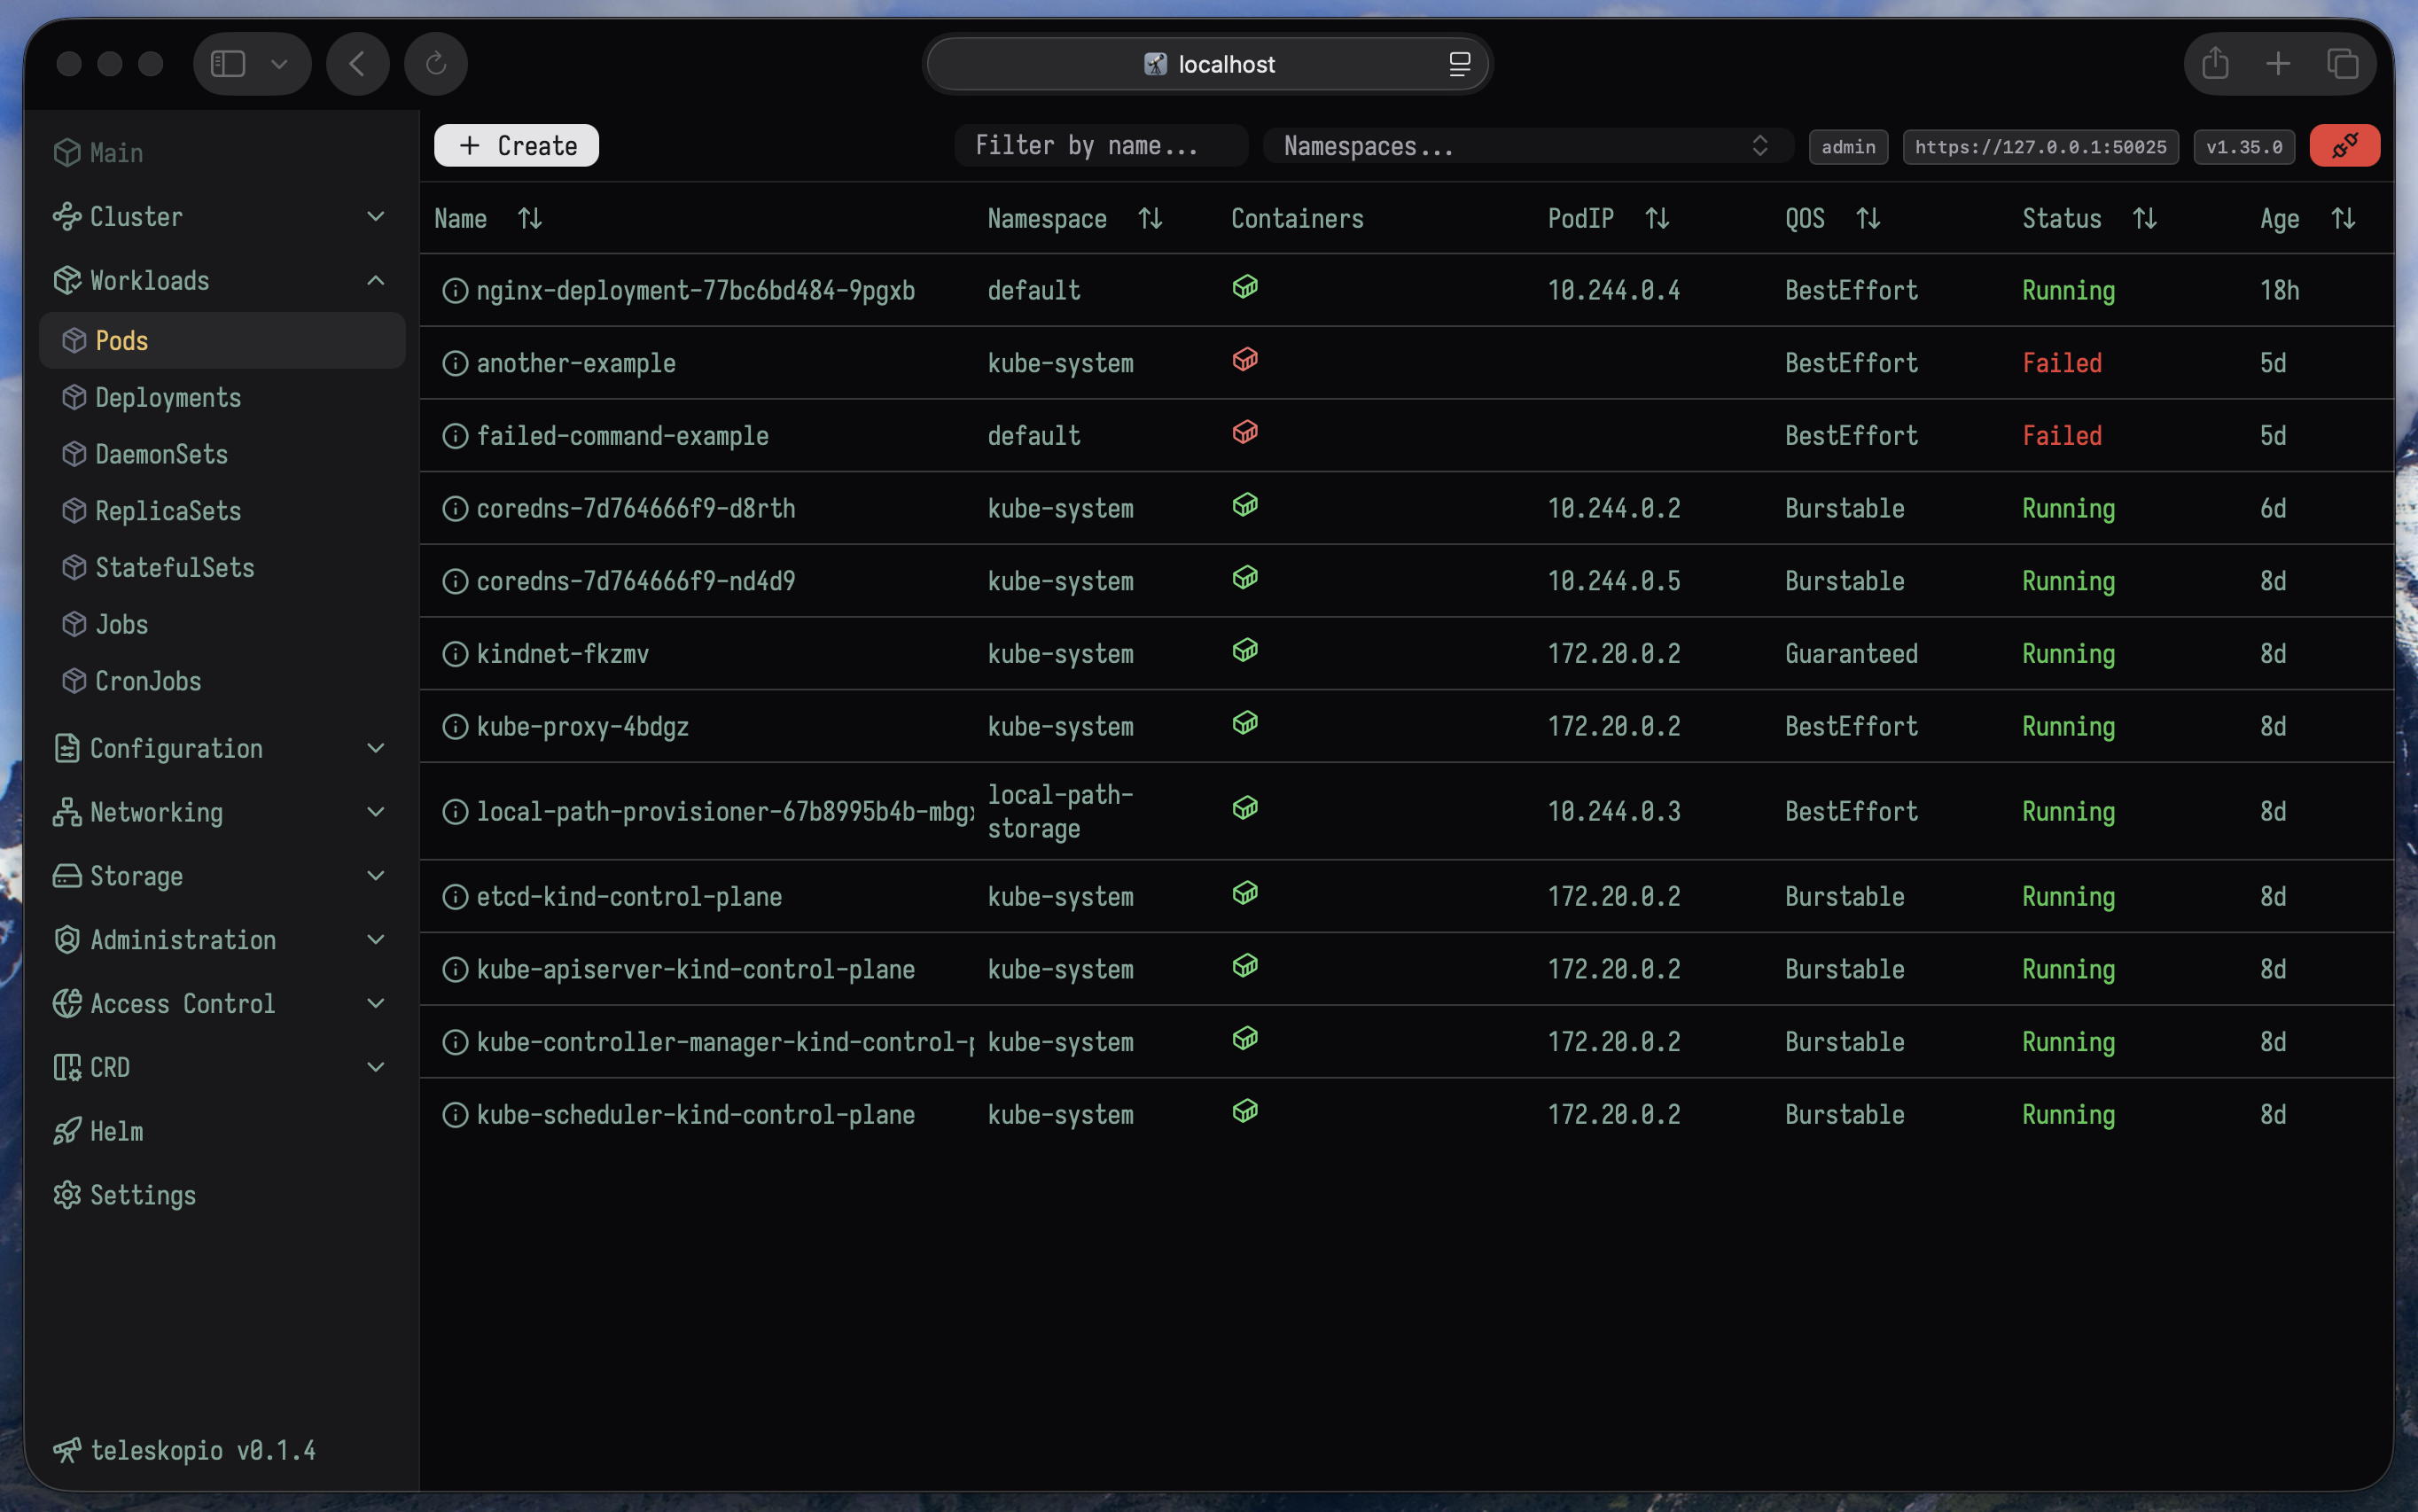
Kuberneteswatchers. Podlogs andEvent's - inspect logs and event history directly in the UI, owner links, share link to resource.- Light and dark themes and fonts.
- Scale resources
Deployments,ReplicaSets - Shortcuts to filter
CTRL + Fany resource, jump to sectionCTRL + Jany menu. - Objects multi-select operations (delete, drain, cordon, e.t.c.)
go-client- based native implementation that interacts directly with the Kubernetes API server, no pulling, only websocket events.- Kubernetes resource schemas per API version.
- Helm integration.
- Zero dependencies, no need to install
kubectl,helmon the host. - Air-gapped environments ready. No external requests.
- Built-in MCP server
Install
Linux
Download release.
MacOS
Use brew (ARM and Intel):
brew tap teleskopio/homebrew-teleskopiobrew install --cask teleskopio
Docker
- Pull docker image from Packages
docker pull ghcr.io/teleskopio/teleskopio:latest
- Generate config
docker run -it --rm ghcr.io/teleskopio/teleskopio:latest config > config.yaml
- Edit config, generate user passwords, add kube configs
$ htpasswd -nbB admin MySecret123 # apache2-utils
> admin:$2y$05$U7puDu7wKOMP6i4eI1nO4ux909bH8FuPadEQq2oxx7SRXrBh3xJIG
vim config.yaml # edit confAig and add admin user
# add kubeconfig content to kube.configs
# check example in config.yaml
- Run
Run with --network=host if you're using kind cluster
docker run -it --rm --network=host -p 3080:3080 \
  -v $(pwd)/config.yaml:/usr/bin/config.yaml ghcr.io/teleskopio/teleskopio:latest \
  --config=/usr/bin/config.yaml
Or run with docker network
docker run -it --rm -p 3080:3080 \
  -v $(pwd)/config.yaml:/usr/bin/config.yaml ghcr.io/teleskopio/teleskopio:latest \
  --config=/usr/bin/config.yaml
5:47AM INF set loglevel level=DEBUG
5:47AM INF version version=""
5:47AM INF initialize web server addr=:3080
...
Helm
Right now only building helm package from sources install option available.
Clone repository. Run make build-helm-chart (helm binary in PATH is required.)
Check out helm chart values.yaml.
By default RBAC's for teleskopio give access to all cluster and to any kind of operation.
$ git clone [email protected]:teleskopio/teleskopio.git
$ cd teleskopio
$ make build-helm-char
helm package ./deploy/teleskopio
Successfully packaged chart and saved it to: /home/dev/teleskopio/teleskopio-0.1.4.tgz
# Add you own config.yaml
$ cat config.yaml
service:
  type: ClusterIP
  port: 3090

config:
  name: config
  content:
    log_color: false
    log_json: true
    log_level: INFO
    server_http: ":3090"
    jwt_key: "b2436e01424c714e4583f2f2851a0e1304440157" # openssl rand -hex 20
    auth_disabled: false
    users:
      - username: admin
        password: "$2y$05$PgEhSAwkE0RlbYiJqSxF/e529Xu5HGey.cEY/qqoksLlFckk3kaiW" # htpasswd -nbB admin MySecret123
        role: "admin"
      - username: user
        password: "$2y$05$PgEhSAwkE0RlbYiJqSxF/e529Xu5HGey.cEY/qqoksLlFckk3kaiW"
        role: "viewer"
    kube:
      configs:
# Install local helm chart with own values.yaml
$ helm install teleskopio ./teleskopio-0.1.4.tgz -f values.yaml
NAME: teleskopio
LAST DEPLOYED: Sun Feb  1 15:39:52 2026
NAMESPACE: default
STATUS: deployed
REVISION: 1
DESCRIPTION: Install complete
NOTES:
1. Get the application URL by running these commands:
  export POD_NAME=$(kubectl get pods --namespace default -l "app.kubernetes.io/name=teleskopio,app.kubernetes.io/instance=teleskopio" -o jsonpath="{.items[0].metadata.name}")
  export CONTAINER_PORT=$(kubectl get pod --namespace default $POD_NAME -o jsonpath="{.spec.containers[0].ports[0].containerPort}")
  echo "Visit http://127.0.0.1:8080 to use your application"
  kubectl --namespace default port-forward $POD_NAME 8080:$CONTAINER_PORT

# Follow NOTES instruction and use port-forward
$ kubectl --namespace default port-forward $POD_NAME 8080:$CONTAINER_PORT
Forwarding from 127.0.0.1:8080 -> 3090
Forwarding from [::1]:8080 -> 3090
Open http://127.0.0.1:8080.