TakeProfit MCP
officialProvides access to TakeProfit.com's Indie documentation and tooling — a Python-based scripting language for building custom cloud indicators and trading strategies on the TakeProfit platform.
What can you do with TakeProfit MCP?
- Write Indie indicators from scratch — Ask the assistant to code a complete indicator based on your trading idea, like an RSI-MACD momentum combo.
- Validate and explain Indie code — Paste a script to check it for errors or get a walkthrough of how complex algorithm combinations work.
- Search marketplace and built-in indicators — Find published or built-in indicators by name, title, or description instead of writing new code.
- Manage private scripts — Use
TakeProfit_ListUserScripts,TakeProfit_LoadPlatformScript, andTakeProfit_SaveScriptto list, load, edit, and save your "My scripts" indicators. - Manage watchlists with live quotes — Use
TakeProfit_ListWatchlists,TakeProfit_GetWatchlist,TakeProfit_CreateWatchlist, andTakeProfit_EditWatchlistSecuritiesto read, create, and edit lists with real-time pricing. - Create and manage alerts — Set up, edit, pause, and review alerts, including on private indicators that were never published.
Documentation
What is the TakeProfit MCP Server?
LLMs can now write, convert, validate, and explain Indie code using the TakeProfit MCP Server.
Get AI-Powered Indie Development Help:
- Ask LLM to write complete indicators from scratch based on your trading ideas
- Get explanations of complex algorithm combinations and how they work together
Discover Indicators
- Search the community Marketplace for published indicators by name or description — the LLM can recommend an existing indicator instead of writing one from scratch
- Search built-in indicators by name, title, or abbreviation
Work with Your Own Scripts and Watchlists
The server does not stop at the language. Once you are signed in, it also reaches the private data behind your account:
- Your private scripts — list what is in My scripts, load a script into the conversation, edit it, and save it back to the platform
- Alerts — create, edit, pause, and review alerts, including alerts on a private indicator you never published
- Watchlists — list them, read what is in them with live quotes, create new ones, and add or remove instruments
See Working with your platform data below for what each of these can do.
Interactive Learning:
- Ask “how would I implement X indicator?” and get working code examples
- Understand the logic behind technical analysis through code explanations
- Learn Indie best practices through AI-guided development
Examples:
- “Create a momentum indicator that combines RSI and MACD divergence”
- “Help me build a support/resistance detector using price action”
- “Explain how to implement a custom volatility-based stop loss”
- “Write an indicator that detects chart patterns like triangles”
Step-by-Step Setup Instructions
- Claude
- Claude Сode
- Codex
- Cursor
- VSCode
- mcp-remote
Claude and Claude Desktop integration
Step 1: Add custom connector
- Download, install & sign in / sign up to Claude Desktop or login using web-interface of Claude
- Go to Settings -> Connectors in Claude or Claude Desktop and click “Add custom connector”
- Enter the
TakeProfitname and urlhttps://mcp.takeprofit.com/mcp Add custom connector to claude
 - Press
Configurebutton for new connector, make sure all the tools are turned on and chooseAllow unsupervisedfor all tools Enable tools and allow unsupervised
Step 2: Verify Functionality
- Exit the settings and return to the chat window
- Ask to
get the Indie docs TOC using TakeProfit MCPor togenerate SMA indicator in Indie language and validate this using TakeProfit MCPand watch the AI execute the technical workflow for you.
Claude code CLI integration
Available on macOS, Linux, and Windows.
Step 1: Install NodeJS 18+ if it is not already installed
- Go to the official Node.js website: https://nodejs.org/en/download/
- Download the LTS (Long-Term Support) version for your operating system — it’s the stable version recommended for most users
- Run the installer — no need to change settings during installation
You can ignore the PowerShell window that may appear and close itself after installation. If in doubt, restart your computer and continue.
Step 2: Install claude code
Run in the terminal: npm install -g @anthropic-ai/claude-code
Step 3: Add the integration
Execute the command claude mcp add --transport http takeprofit https://mcp.takeprofit.com/mcp in your terminal (not in claude chat).
Step 4: Authorize the connection
Run claude code with the claude command. If this is the first run of claude code, the setup wizard will appear and you need to complete the authorization, subscription, and configuration steps.
Then type /mcp in the chat, pick takeprofit, and choose Authenticate — a browser window opens for you to sign in to TakeProfit. Until that is done the server is listed as Needs authentication and its tools stay unavailable.
Step 5: Verify functionality
Ask to get the Indie docs TOC using MCP or to generate SMA indicator on Indie language and validate this using MCP and watch the tools run.
Claude code VSCode extension integration
Available on macOS, Linux, and Windows.
Step 1: Install claude code extension to your VSCode IDE
Download and install from marketplace or just install it in the VSCode window on the Extensions tab.
Step 2: Add the integration
Execute the command /claude mcp add --transport http takeprofit https://mcp.takeprofit.com/mcp (with leading slash) just in claude code chat. Then terminate the current chat and reopen it to apply new setting.
Reopen the chat, type /mcp, pick takeprofit and choose Authenticate to sign in to TakeProfit. A newly added server is only available in chats started after it was added, and its tools stay unavailable until it is authorized.
Step 3: Run and use
Open the chat using the Ctrl+Shift+P (Cmd+Shift+P on Mac) and Run Claude Code command or by clicking on the Claude code icon in the upper-right corner of the IDE window.
Write /mcp to the chat to see integration info. Then ask to get the Indie docs TOC using MCP or to generate SMA indicator on Indie language and validate this using MCP to verify functionality.
Codex CLI integration
Step 1: Install Codex
Install the Codex CLI following the official instructions, then run codex once and complete the sign-in.
Step 2: Add the integration
Run this in your terminal (not inside the Codex chat):
codex mcp add takeprofit --url https://mcp.takeprofit.com/mcp
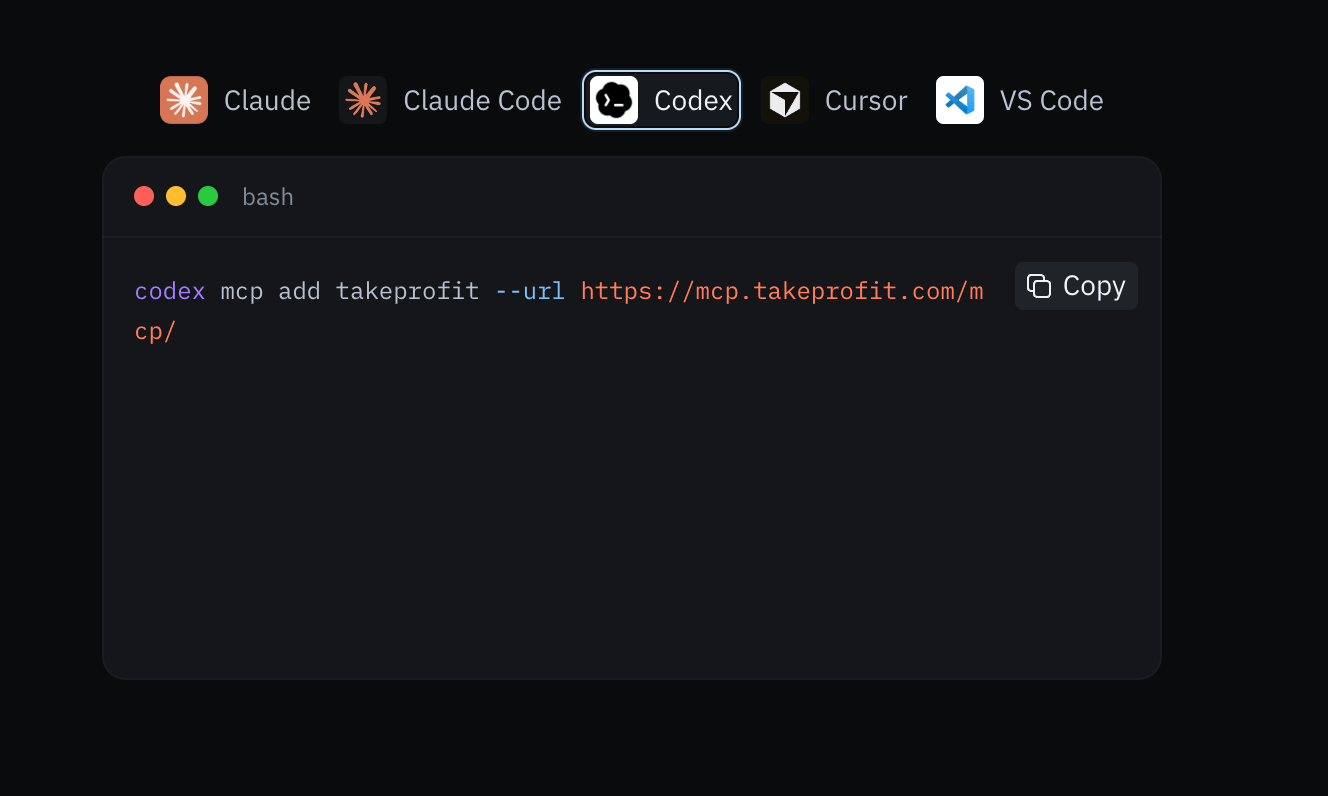
Connect the TakeProfit MCP server to Codex
Codex lists the servers it knows about with codex mcp list, so you can check that takeprofit was registered.
Step 3: Run and use
Start Codex with the codex command, then ask it to get the Indie docs TOC using TakeProfit MCP or to generate SMA indicator in Indie language and validate this using TakeProfit MCP. Approve the tool call when Codex asks for it, and watch the AI execute the technical workflow for you.
The first request that touches your own account — private scripts, alerts, watchlists — asks you to authorize the connection to TakeProfit.
Cursor integration
Step 1: Install the cursor IDE
Download cursor from official site, run it and do the initial setup.
Step 2: Add the integration
- Open Cursor Setting -> Tools & Integrations (or Cursor Setting -> MCP depends on Cursor version)
- Press the “Add Custom MCP” button and paste this to
mcp.jsonconfig:
{
  "mcpServers": {
    "TakeProfit": {
      "url": "https://mcp.takeprofit.com/mcp"
    }
  }
}
Or just add the TakeProfit server to the list if you already have other servers:
{
  "mcpServers": {
    "OtherServer1": {
      ...
    },
    "OtherServer2": {
      ...
    },
    "TakeProfit": {
      "url": "https://mcp.takeprofit.com/mcp"
    }
  }
}
- Open Cursor Setting -> Models and choose a model that can work with the MCP, for example
claude-4-sonnet
Step 3: Open the chat and use
Toggle AI Pane to open a chat and use new integration: ask to get the Indie docs TOC using MCP or to generate SMA indicator on Indie language and validate this using MCP. If you are not logged in to cursor yet, you will be redirected to the authorization page.
NOTE: cursor will wait for approve from you when using the mcp for the first time, you will need to press the “Run tool” button so that it can access the MCP
VSCode integration
Step 1: Download and install the VSCode IDE
Download VSCode from official site and install this. Make sure you’re using a recent version with agent mode.
Step 2: Add the integration
- Auto: click this link to install
Press “Trust” if VSCode asks “Trust and run MCP server TakeProfit?” - Or manual:
- press
Ctrl + Shift + P(Cmd + Shift + Pon Mac) to open VSCode command line and execute theMCP: Open User Configurationcommand- paste this to
mcp.jsonconfig:
- paste this to
- press
{
    "servers": {
        "TakeProfit": {
            "url": "https://mcp.takeprofit.com/mcp"
        }
    }
}
Or just add the TakeProfit server to the list if you already have other servers:
{
    "servers": {
        "OtherServer1": {
            ...
        },
        "OtherServer2": {
            ...
        },
        "TakeProfit": {
            "url": "https://mcp.takeprofit.com/mcp"
        }
    }
}
Step 3: Open the chat and use
- press
Ctrl + Alt + I(Cmd + Option + Ion Mac) to open chat or executeChat: Open chatcommand in VSCode command line (Ctrl + Shift + Pon Windows,Cmd + Shift + Pon Mac) - set up Copilot and authorize using your github account if VScode asks
- write any first message to start the chat
- select agent mode, choose a model that can work with the MCP, for example
Claude Sonnet(enable access to the Claude model if VScode asks) - press the Tools button to view the list of available tools and enable the TakeProfit tools
- enter a prompt to use MCP, for example
get the Indie docs TOC using TakeProfit MCP. VSCode will wait for approve to use MCP, allow this (pressContinuebutton) and watch the AI execute the technical workflow for you.
mcp-remote integration
Some AI applications do not support remote mcp, but can only work with local mcp tools. In this case, you can use the npm package mcp-remote.
For example, if you have a free claude account, integration with the remote mcp may not be available, but you can configure it with a local mcp.
Step 1: Install Node.js
- Go to the official Node.js website: https://nodejs.org/en/download/
- Download the LTS (Long-Term Support) version for your operating system — it’s the stable version recommended for most users
- Run the installer — no need to change settings during installation
You can ignore the PowerShell window that may appear and close itself after installation. If in doubt, restart your computer and continue.
Step 2: Open Claude Desktop Configuration
- If you haven’t already, download and install Claude Desktop
- Open the Claude application
- Navigate to File → Settings → Developer
- Click “Edit Config” — this will open the configuration file in a text editor
Step 3: Edit Configuration File
Open the config file, which will be located at:
- Mac:
~/Library/Application Support/Claude/claude_desktop_config.json - Windows:
%APPDATA%\Claude\claude_desktop_config.json
If the file is empty or contains only {}:
Replace the file contents with:
{
 "mcpServers": {
  "TakeProfit": {
   "command": "npx",
   "args": [
    "-y",
    "mcp-remote@latest",
    "https://mcp.takeprofit.com/mcp"
   ]
  }
 }
}
If the file already contains other MCP servers:
Add the TakeProfit server to the existing mcpServers block. For example, if the file looks like this:
{
 "mcpServers": {
  "OtherServer1": {
   "command": "..."
  },
  "OtherServer2": {
   "command": "...",
   "args": [...]
  }
 }
}
Then change it to:
{
 "mcpServers": {
  "OtherServer1": {
   "command": "..."
  },
  "OtherServer2": {
   "command": "...",
   "args": [...]
  },
  "TakeProfit": {
   "command": "npx",
   "args": [
    "-y",
    "mcp-remote@latest",
    "https://mcp.takeprofit.com/mcp"
   ]
  }
 }
}
Step 4: Save and Restart
- Save the configuration file (Ctrl+S on Windows, Cmd+S on Mac)
- Completely close Claude Desktop
- Launch Claude Desktop again
Step 5: Verify Functionality
After restarting, you should see a tools icon in the bottom left corner of the chat input box. Click on it to open the “Search and tools” menu. If the TakeProfit MCP server is working correctly, you should see “TakeProfit” listed in the tools menu.
Similarly, you can use the mcp-remote in other situations where it is convenient.
Test Your Setup
Try asking LLM one of these questions to test the connection:
“Can you show me the documentation for the RSI algorithm?”
“Help me create a simple moving average indicator in Indie”
“Validate this code: [paste some Indie code]”
“What algorithms are available for calculating Bollinger Bands?”
If the MCP server is working correctly, LLM will respond using Indie documentation and logic.
Once you receive generated code, test it by pasting it into the indicator code editor on the TakeProfit platform to verify that it runs without errors.
Working with your platform data
Everything in this section runs against your own account, so you are asked to authorize the connection to TakeProfit before any of it works. After that the assistant sees exactly what you see on the platform, and nothing more.
Your private scripts
The server reaches the private indicators in My scripts, not only the code written in the current conversation. That closes the loop between the chat and the IDE: pick up a script you started on the platform, work on it with the assistant, and save the result back.
- List returns your platform indicators and the assistant’s own working copies together, newest first. Each row says whether the working copy is saved on the platform and whether a newer platform version already exists. Temporary scripts are never listed.
- Load brings one exact version of a private script into the conversation, where it can be read, edited, and validated. Loading never exposes built-in, published, or another user’s source code.
- Save writes it back. The first save creates a new private indicator in My scripts; a later save on a script that is already linked creates its next version. A working copy with unsaved local changes is never silently overwritten.
- Once a private indicator is saved, you can put an alert on one of its plots straight away — publishing it to the Marketplace is not required.
Prompts that work:
List my scripts on TakeProfit.
Load my "ATR Bands" indicator, add an input for the multiplier, and validate it.
Save this as a new version of my "ATR Bands" script.
Create an alert on the upper band of my saved ATR Bands indicator for BTC/USDT.
| Tool | What it does |
|---|---|
TakeProfit_ListUserScripts | Lists your private platform indicators and the assistant’s working copies, with save status and version. |
TakeProfit_LoadPlatformScript | Loads one version of a private platform script into the assistant. |
TakeProfit_SaveScript | Saves a working copy to My scripts, either as a new indicator or as the next version of an existing one. |
Scripts and versions written this way land in My scripts on the platform like any other indicator — open the IDE to review the code, or add the indicator to a chart from there.
Watchlists
The assistant can read and edit your watchlists, which is the fastest way to answer questions about a whole list at once instead of one ticker at a time.
- List returns your own watchlists with their titles and how many instruments each one holds. Built-in lists are not exposed — duplicate one into My Watchlists first if you want the assistant to work with it.
- Read returns everything stored in one list, optionally with live quotes for the whole list in a single request — the basis for “which of my names are up today” style questions.
- Create makes a new list, optionally pre-filled with up to 50 instruments.
- Edit adds and removes instruments in an existing list; both directions go in one request, so “swap AAPL for MSFT” is a single change.
- Delete removes a list permanently. The tool requires the exact current title as confirmation, so an assistant that mixed up two similar lists is refused instead of deleting the wrong one.
Prompts that work:
What is in my "Crypto majors" watchlist, and how is each name doing today?
Create a watchlist called "Semis" with NVDA, AMD, AVGO, and TSM.
Add SOL and remove DOGE from my "Crypto majors" list.
Set the same crossover alert on every symbol in my "Semis" watchlist.
| Tool | What it does |
|---|---|
TakeProfit_ListWatchlists | Lists your watchlists with titles and instrument counts. |
TakeProfit_GetWatchlist | Reads one watchlist, optionally with quotes for every instrument in it. |
TakeProfit_CreateWatchlist | Creates a new watchlist, optionally pre-filled with instruments. |
TakeProfit_EditWatchlistSecurities | Adds and removes instruments in an existing watchlist. |
TakeProfit_DeleteWatchlist | Permanently deletes a watchlist. |
Deleting a watchlist cannot be undone from the chat. Confirm the list by name before you let the assistant delete it, and use the edit tool when you only want to drop a few instruments.
An instrument is stored as a ticker and an exchange together, so the assistant resolves the pair first. If a name is stored on a different venue than you asked for, it will say which one — check it before you read the quotes as your own.
Alerts
Alert management over MCP is covered in Alerts, including the full tool list.
Notes
Claude Account Requirements
- You’ll need a Claude account to use this integration. While it technically works with any account, having a paid plan is strongly recommended so that Claude can properly handle longer prompts and return complete responses:
- Claude Pro ($20/month): Suitable for most scripts and general usage
- Claude Max ($100/month): Provides the largest context window, ideal for longer or complex scripts
- Claude Pro ($20/month): Suitable for most scripts and general usage
💡 Check current pricing plans here: https://www.anthropic.com/pricing
Performance Notes
- Works best for code up to ~200-300 lines
- If your script is too long, try splitting it across multiple prompts or chats
- Modern LLM can usually finish or patch incomplete scripts when prompted correctly
Common Issues and Solutions
”node not found” Error
- Make sure Node.js is installed correctly
- Restart your computer after installation
- On Windows, check that Node.js is in your PATH environment variables
MCP Server Won’t Connect
- Check your internet connection
- Make sure the configuration file is saved correctly
- Try restarting the application
- Verify Node.js is working by running
node --versionin command line
Was this page helpful?
⌘I