Teradata MCP Server
officialA collection of tools for managing the platform, addressing data quality and reading and writing to Teradata Database.
Documentation
Teradata MCP Server


Connect AI agents directly to Teradata with enterprise security and extensibility.
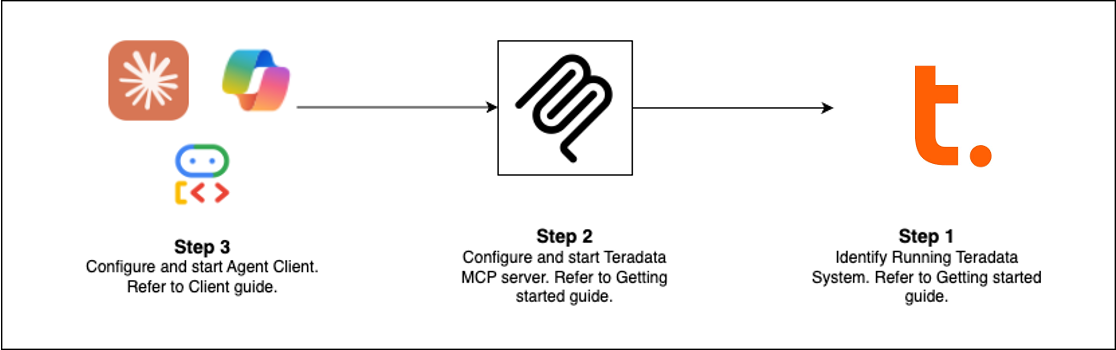
Quick Start (Choose Your Path)
| Client | Best For | Setup Time |
|---|---|---|
| Claude Desktop | Exploratory analysis, platform admin | 5 min |
| VS Code + Copilot | Data engineering, agent development | 5 min |
| Open WebUI | Testing new LLMs locally | 5 min |
| Code Examples | Build your own client | varies |
| Flowise | Visual agent builder | 10 min |
Pre-requisites: Teradata database (or free sandbox) + uv
Claude Desktop Setup (No Installation)
Add this to claude_desktop_config.json (Settings > Developer > Edit Config):
{
  "mcpServers": {
    "teradata": {
      "command": "uvx",
      "args": ["teradata-mcp-server"],
      "env": {
        "DATABASE_URI": "teradata://<USERNAME>:<PASSWORD>@<HOST_URL>:1025/<USERNAME>"
      }
    }
  }
}
What You Can Do
| Use Case | Capabilities | Tools |
|---|---|---|
| Query & Analyze | Explore tables, profile data, explain results, visualize patterns—no SQL needed | base, dba, qlty, plot |
| AI & RAG Pipelines | Semantic search, retrieval-augmented generation, vector storage | rag, tdvs, fs |
| Database Admin | Manage security, monitor capacity, automate backups | dba, sec, bar |
| Custom Logic | Define domain tools, metrics, and semantic layers in YAML | Learn more → |
What's New (Latest Release)
- FastMCP v3 — Guaranteed resource cleanup with improved lifespan management
- Hooks Capability — Intercept tool calls for custom monitoring, audit, or rate-limiting
- Row Limit Protection — Configurable caps (
DEFAULT_ROW_LIMIT,MAX_ROW_LIMIT) prevent LLM token overflow - Enhanced Security — VX views for fine-grained row-level access control
Extend & Deploy
Add Custom Logic
Use hooks to intercept tool calls for monitoring, audit trails, or validation → Hooks Guide
Define Semantic Layers
Create domain-specific tools, prompts, and cubes in YAML → Customization Guide
Deploy Everywhere
Run as CLI (uv), HTTP server, Docker container, or cloud service → Installation Guide
See It In Action
- Voice Agent — Real-time bidirectional audio with Amazon Nova Sonic
- Web Agent — Interactive chat UI with Google ADK framework
- Flowise Builder — Visual drag-and-drop workflows
- Custom Middleware — Performance monitoring patterns
Learn More
- Full Documentation — Installation, configuration, architecture, security
- Video Tutorials — Step-by-step walkthroughs
- Developer Guide — Extend and contribute
- Architecture — How components work together
Contributing
We welcome contributions! See our Contributing Guide and Developer Guide to get started.